MMA8452Q Accelerometer Breakout Hookup Guide
 jimblom
Example Hookup
Solder Something
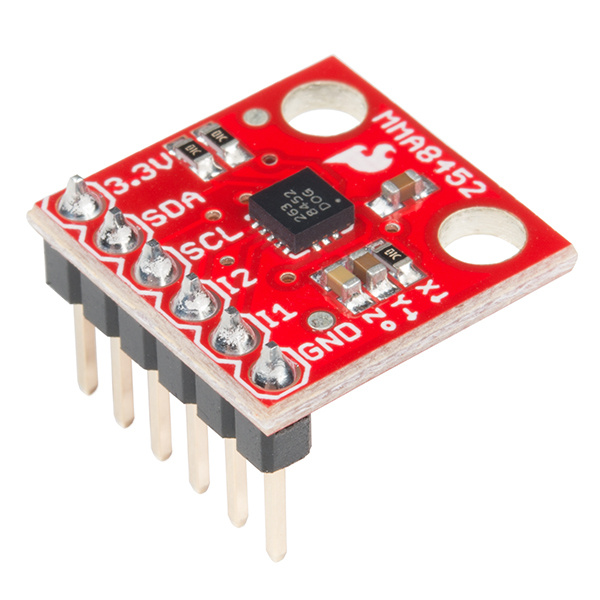
Before you can plug the breakout board into a breadboard, or connect it to anything, you'll need to solder connectors or wires to the break-out pins. What, exactly, you solder into the board depends on how you're going to use it.
If you're going to use the breakout board in a breadboard or similar 0.1"-spaced perfboard, we recommend soldering straight male headers into the pins (there are also long headers if you need 'em).
If you're going to mount the breakout into a tight enclosure, you may want to solder wires (stranded or solid-core) directly into the pins.
You can also purchase the MMA8452Q with headers already soldered to the breakout.
Simple Hookup
We'll use Arduino to communicate with the MMA8452Q and interpret the data from the sensor. Since we're using I2C, all we need is two wires between the Arduino and accelerometer (aside from power and ground). Here's the hookup:
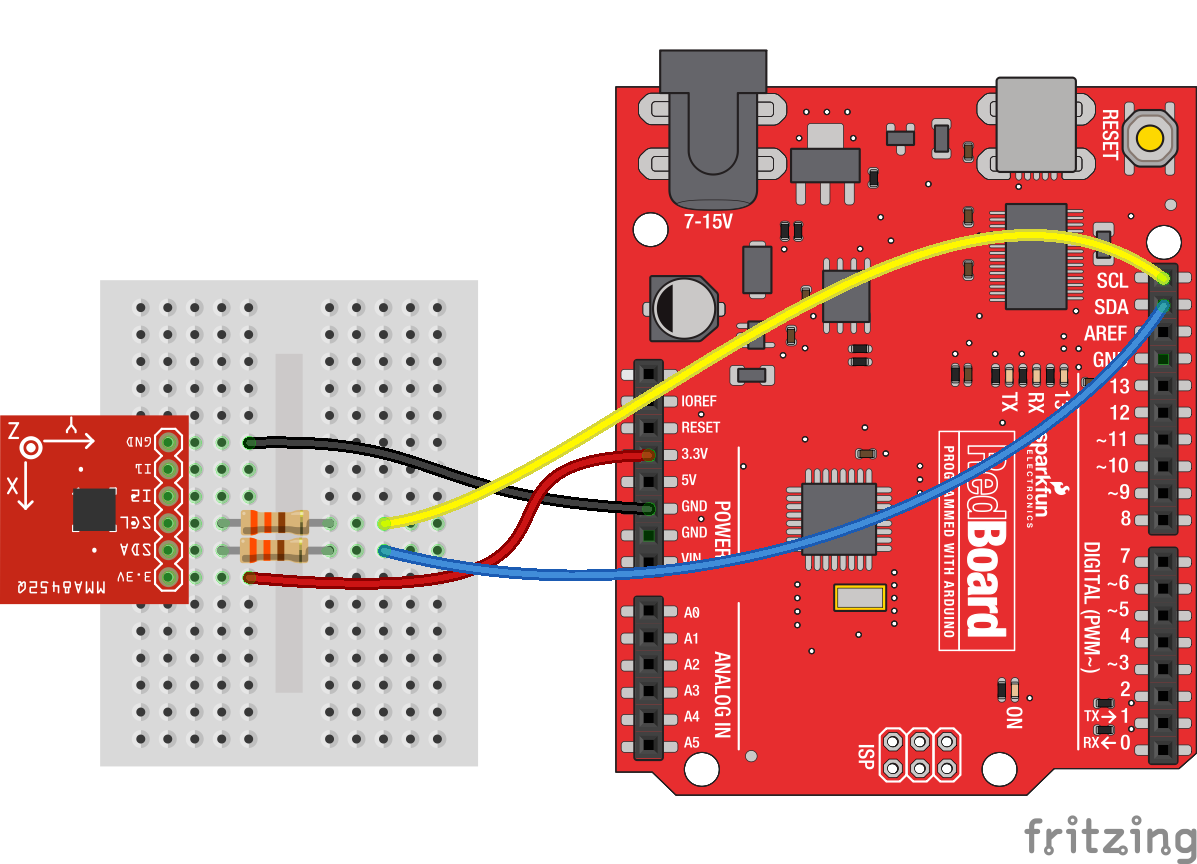
We simply have to supply the accelerometer with power (3.3V and GND), then hookup the SCL and SDA lines between devices. A couple of 330Ω resistors in series on each I2C line will help to perform some simple level shifting. If you want more advanced level shifting...
Level Shifting
Since the MMA8452Q's maximum voltage is 3.6V, you'll need to do some level shifting between your Arduino and accelerometer. Powering the accelerometer off the Arduino's 3.3V rail is a good start, but you'll also need to add some protection on the SDA and SCL lines.
In the example hookup above, we used a pair of series resistors on the SDA and SCL lines. This version of "level shifting" works in a pinch, but, if you want a more reliable level-shifting setup, we recommend using a more robust level shifter between the boards.
There are a handful of logic-level shifting boards available. For example, here's a hookup using a Bi-Directional Logic Level Shifter between Arduino and accelerometer:
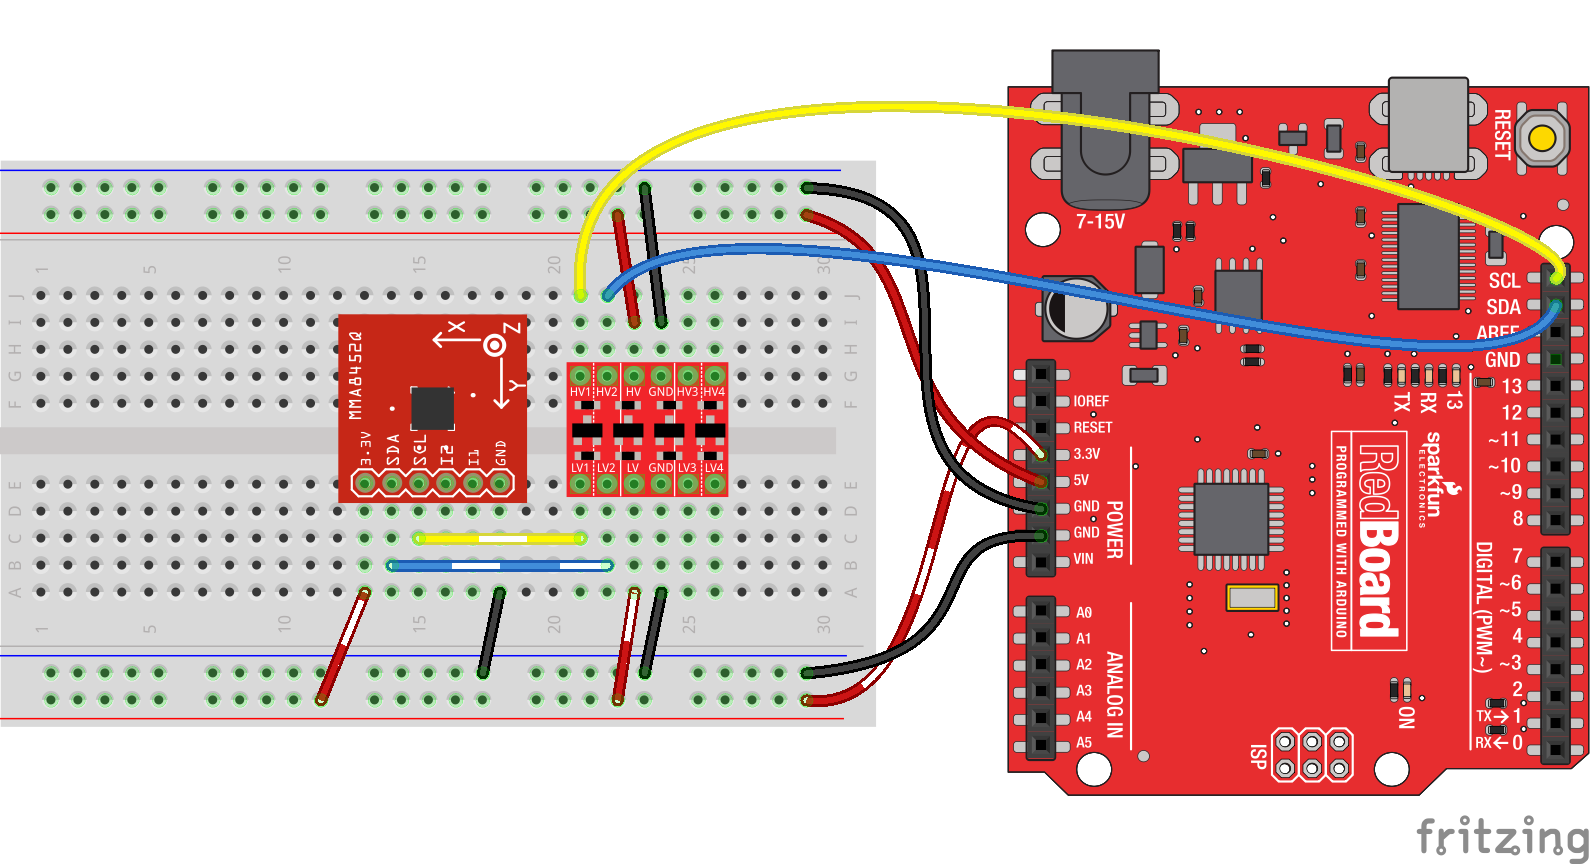
Or, if you just want to skip level shifting entirely, you can use a 3.3V Arduino Pro (or Pro Mini), and run the whole system at 3.3V. As anyone who's built electronics knows: there's more than one way to skin the cat.