MicroMod Weather Carrier Board Hookup Guide
 El Duderino, MAKIN-STUFF
Hardware Assembly
Now that we are familiar with the hardware and sensors on the Weather Carrier Board, it's time to assemble it with your chosen MicroMod Processor and get it connected to your computer.
Inserting your Processor
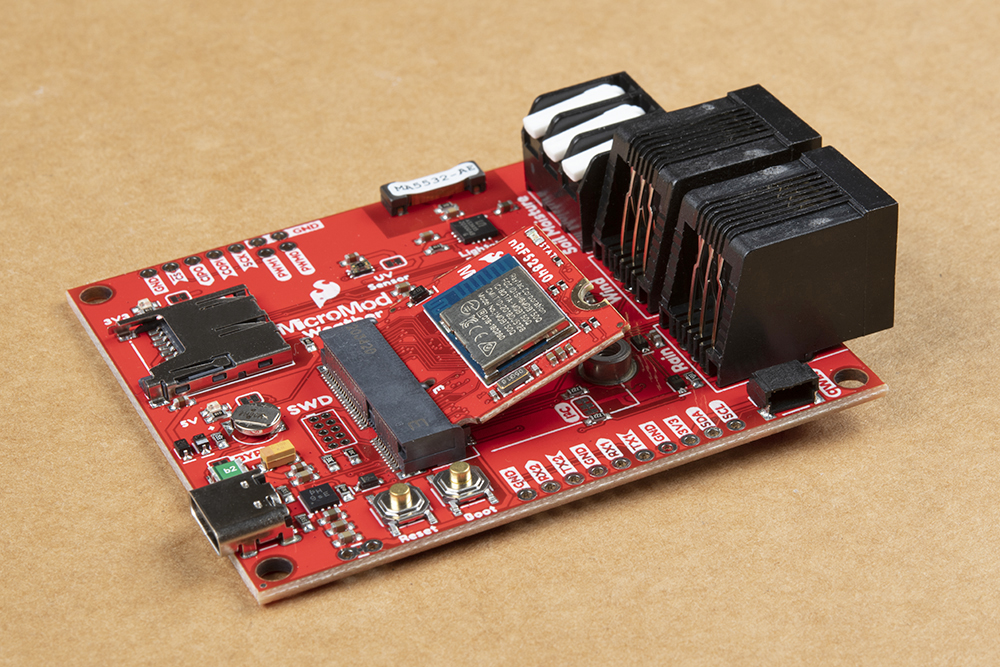
With the M.2 MicroMod connector, connecting your processor board is a breeze. Simply match up the key on your processor's beveled edge connector to the key on the M.2 connector. At a 45° angle, insert the processor board to the M.2 connector. The processor board will stick up at an angle as seen here:
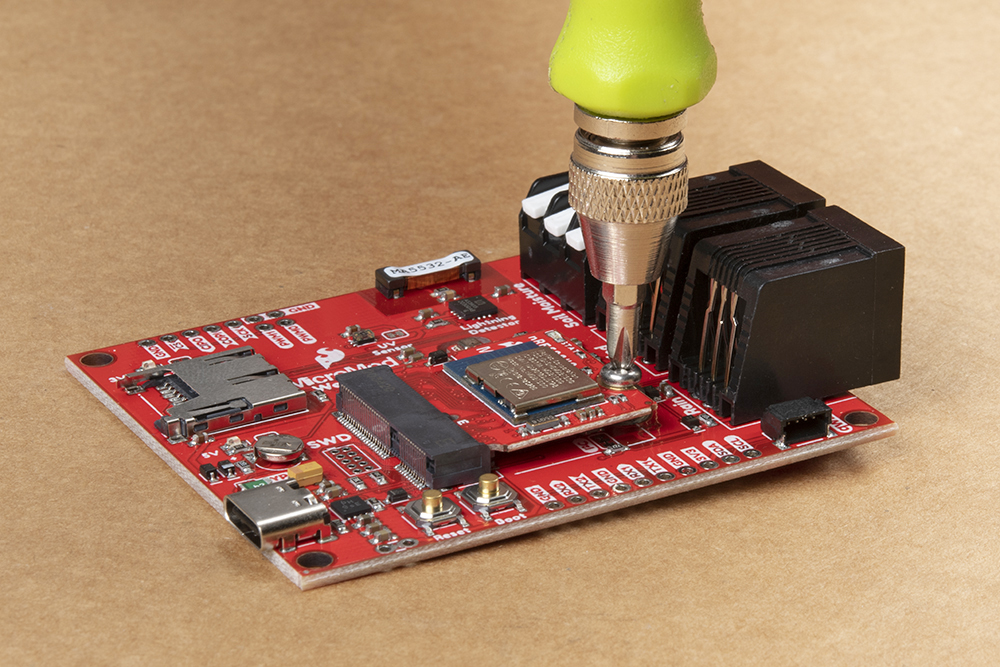
Once the board is in the socket, gently press the processor board down, grab the set screw and tighten it with a Phillip's head screwdriver:
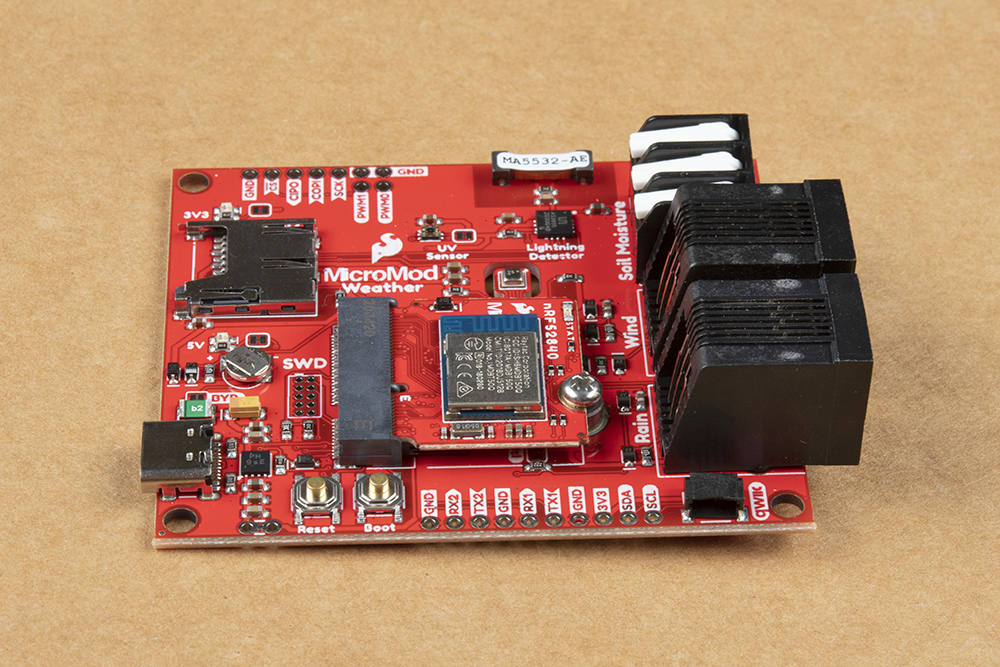
Once the processor board is secure, your assembled MicroMod system should look similar to the image below!
Assembling External Sensors
For users with the Soil Moisture Sensor and/or the Weather Meters Kit some extra assembly is required. We have detailed assembly instructions for both of these peripherals in their respective Hookup Guides. You can find them here:
Soil Moisture Sensor Hookup Guide
Weather Meter Hookup Guide
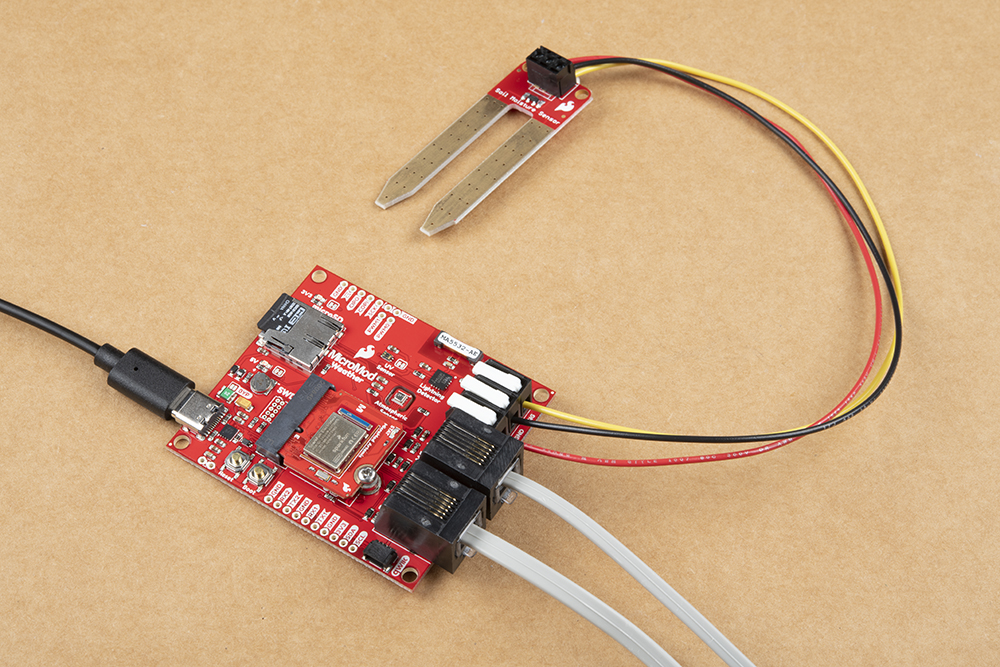
Once your external sensors are assembled, connecting them is a snap (literally). To connect the Soil Moisture Sensor, simply plug in the three wires to the three-pin latch terminals taking care to match the signals. For the Weather Meters, just plug the connectors for the Wind & Rain signals into their matching RJ11 jacks on the Weather Carrier Board.
Connecting Everything Up
With your processor inserted and secured it's time to connect your MicroMod Weather Carrier Board to your computer using the USB-C connector. Depending on which processor you choose and which drivers you already have installed, you may need to install drivers for your board. Refer to your processor's hookup guide for detailed instructions on how to install them.
With your MicroMod Weather Carrier Board, Processor Board, and any external sensors assembled we can now move on to uploading some code to monitor your environment! Head on to the next section for an example to test all the sensors the Weather Carrier Board features.