MicroMod Qwiic Pro Kit Project Guide
 bboyho
 Hardware Hookup
If you have not already, make sure to check out the Getting Started with MicroMod: Hardware Hookup for information on inserting your Processor Board to your Carrier Board. The MicroMod Qwiic Carrier Board Hookup Guide also goes over how to connect the boards together as well!
Getting Started with MicroMod
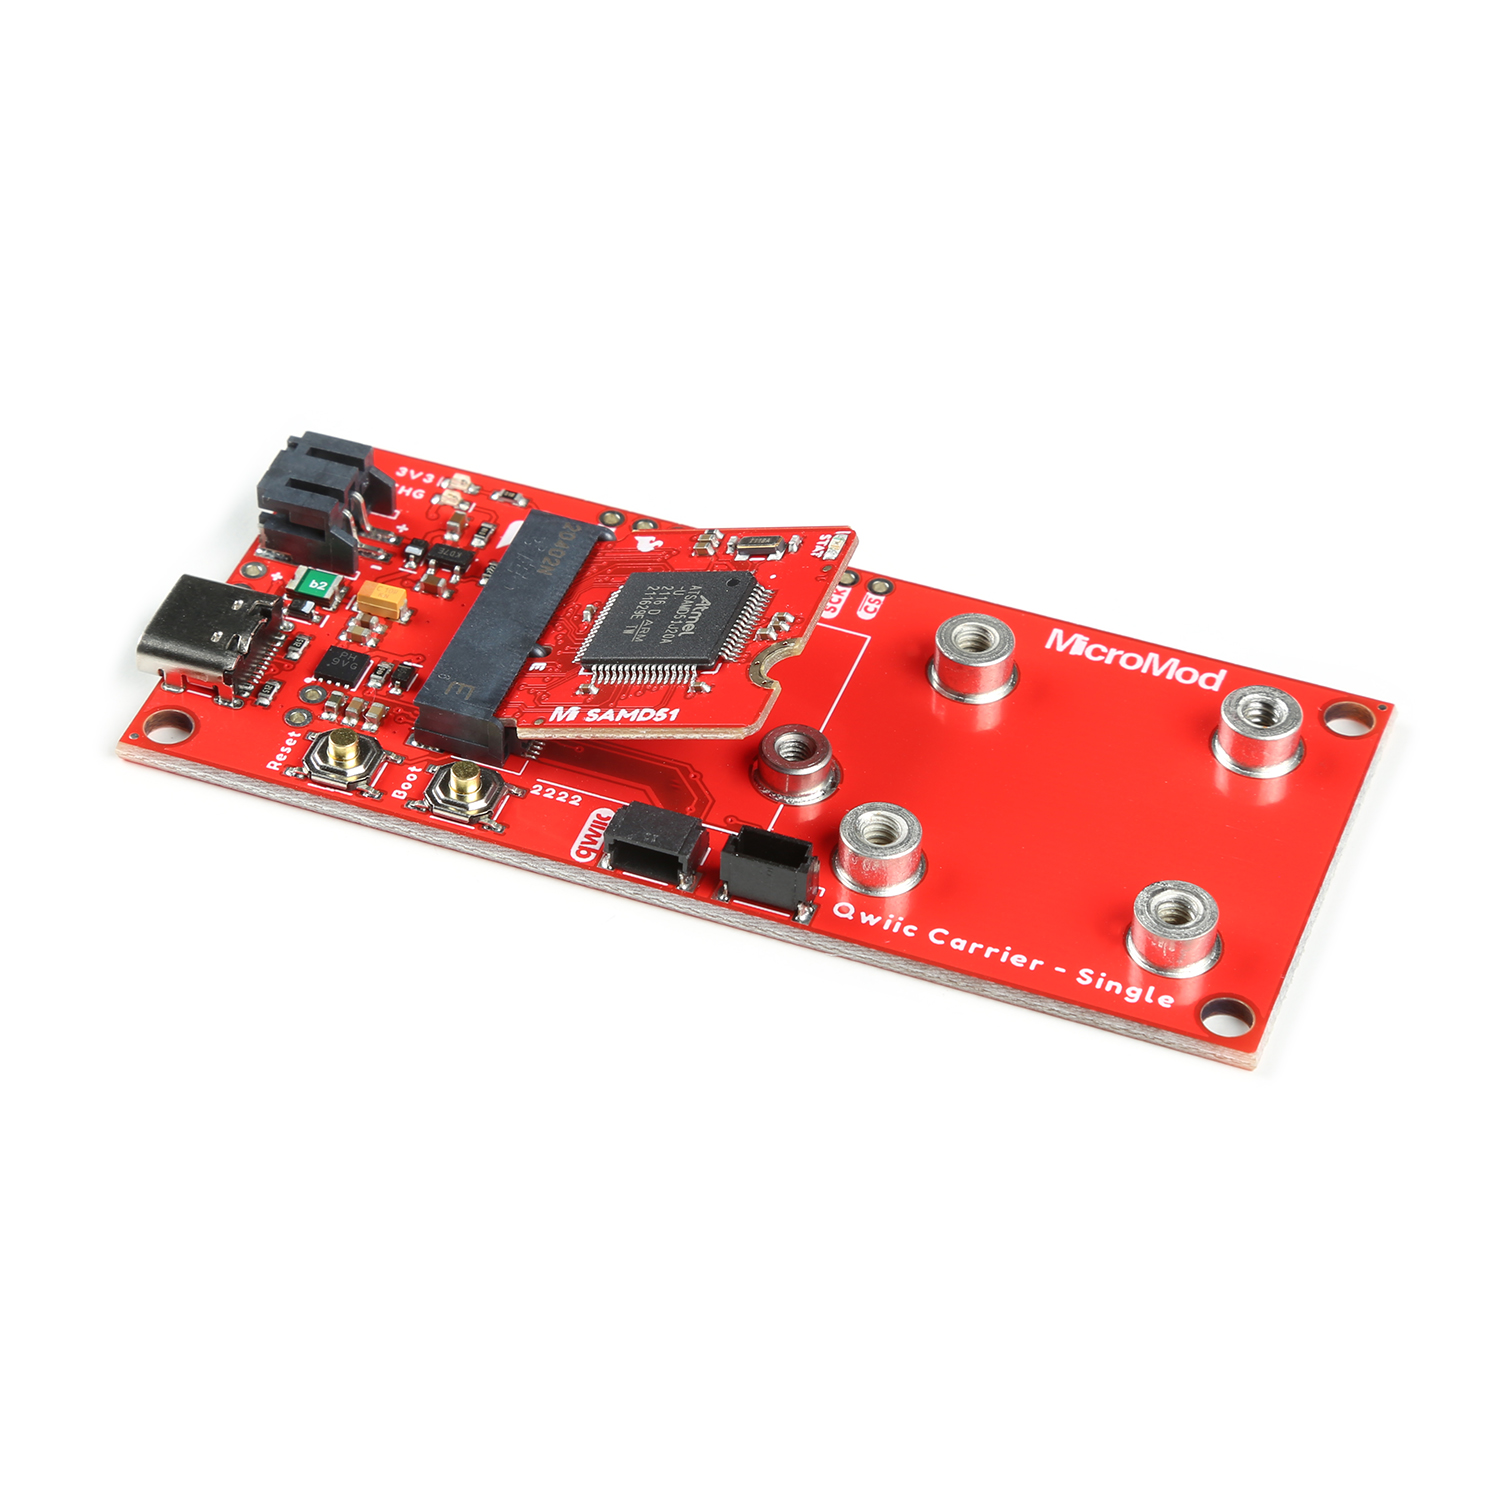
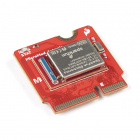
Remove the screw across from the MicroMod Qwiic Carrier Board - Single. Then insert the MicroMod SAMD51 Processor Board into the M.2 socket. The Processor Board will stick up at an angle (at around 25°), as seen here.
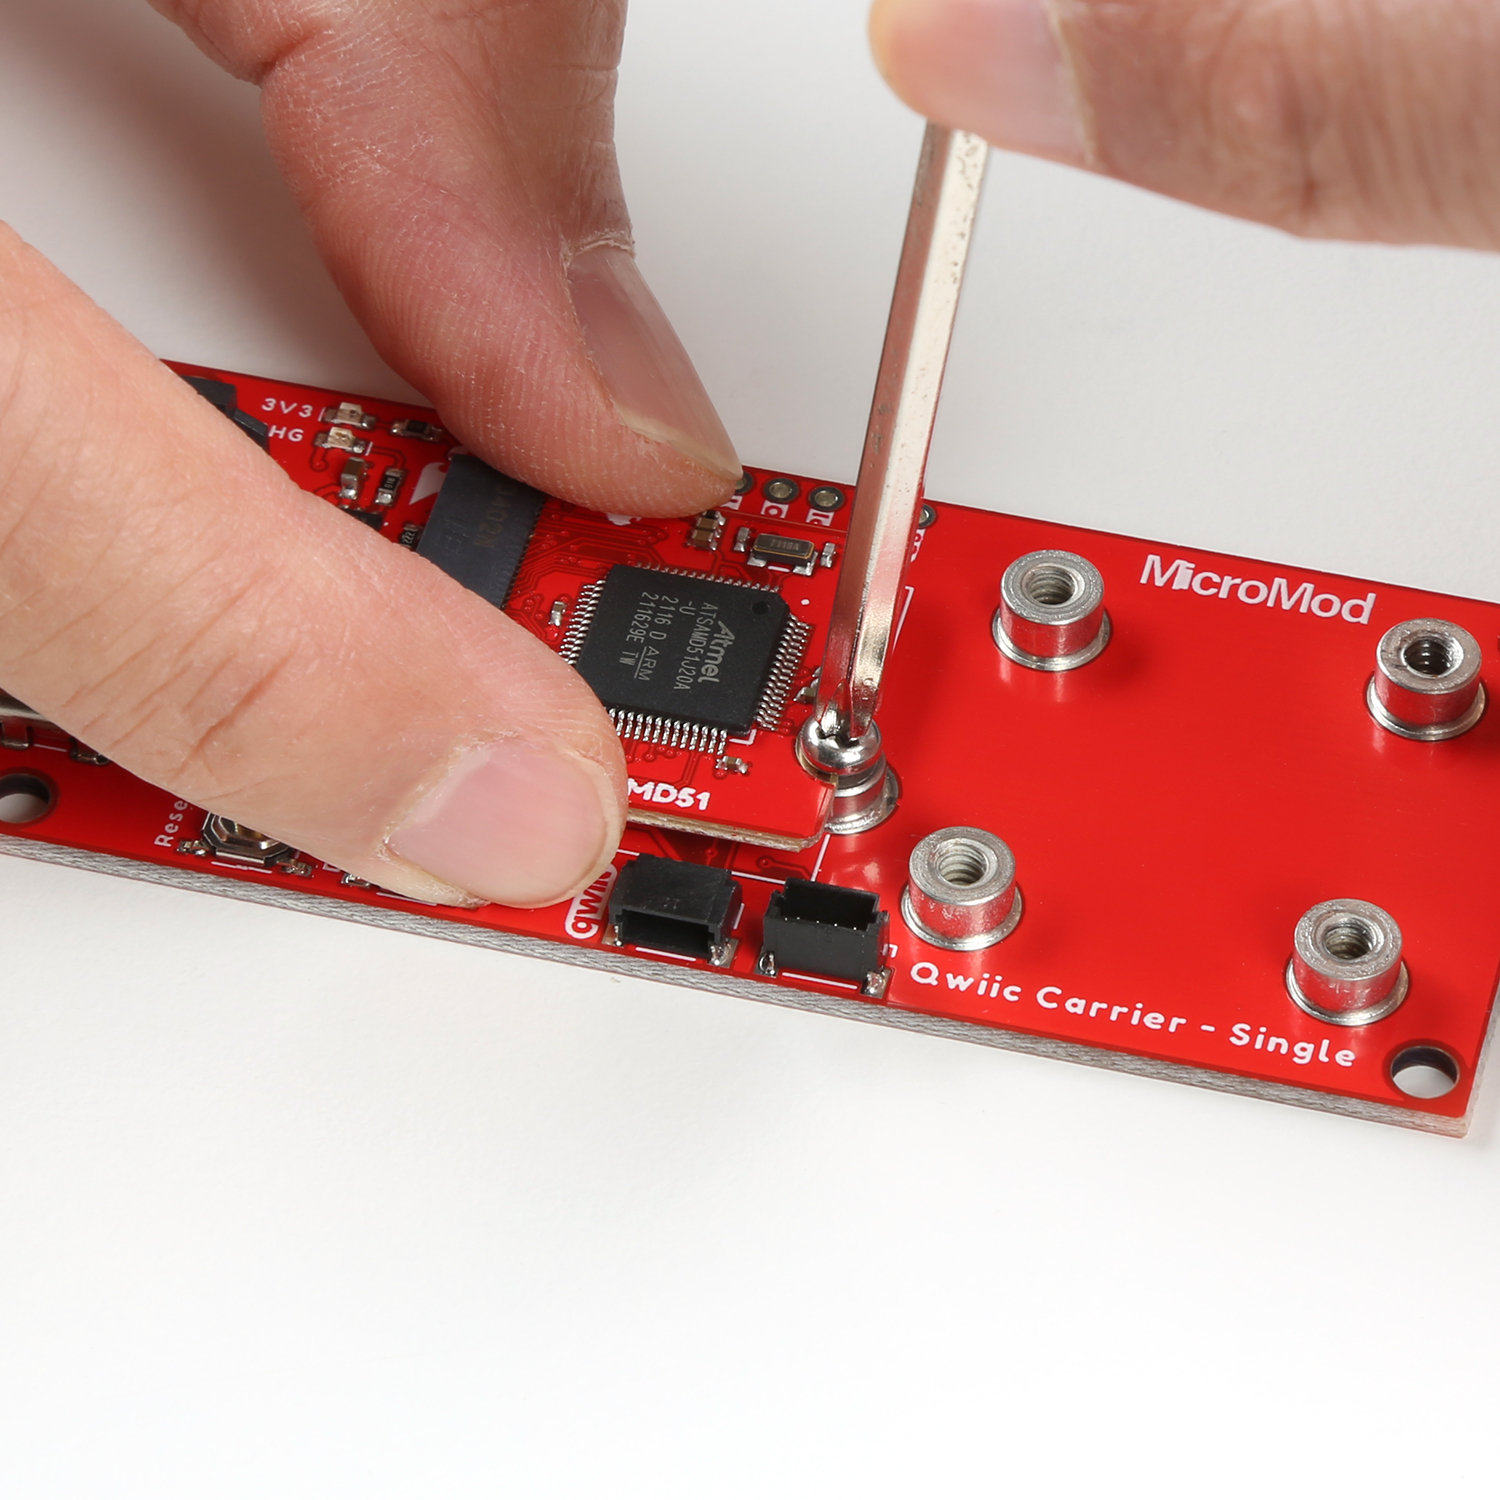
Hold the board down and tighten the screw with a Philip's head.
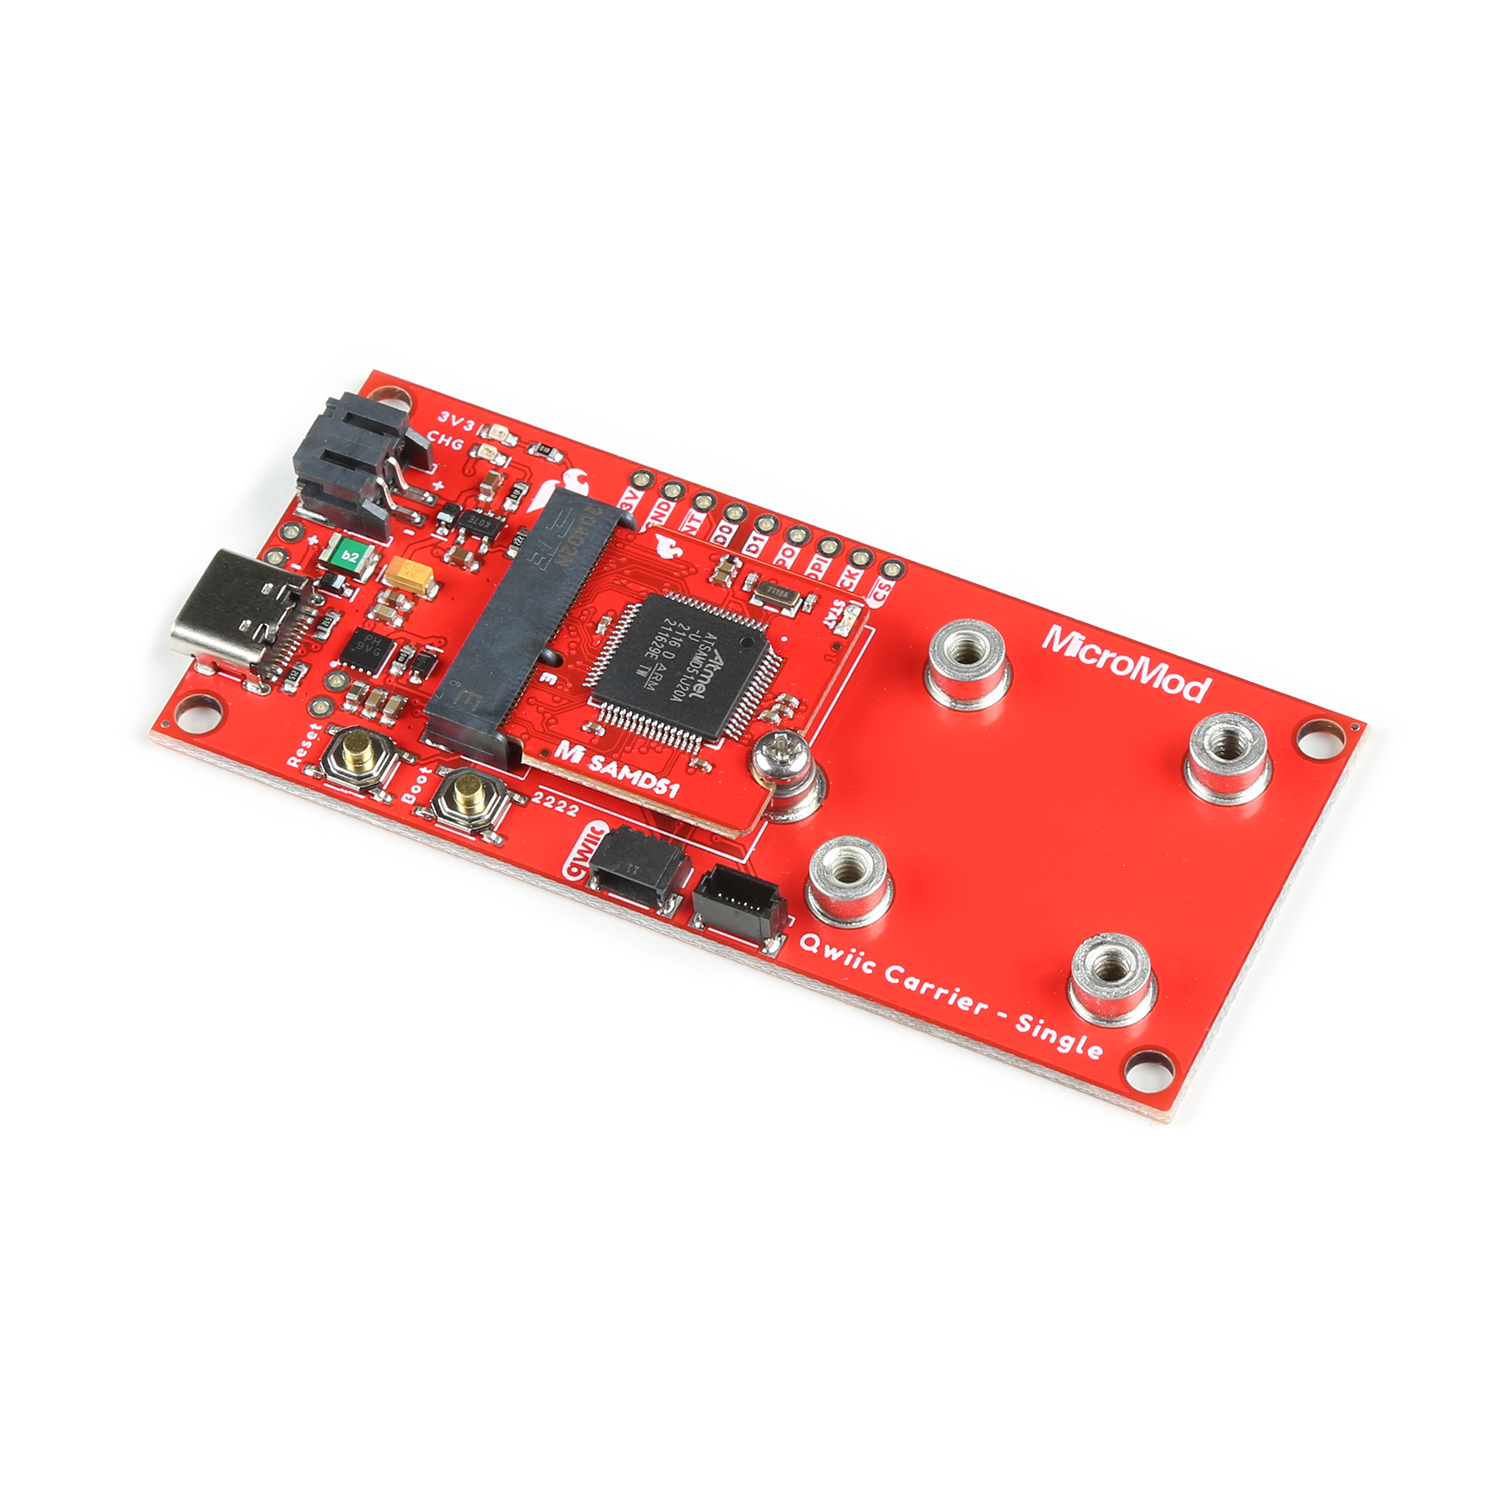
Once connected, your board should be secured to the MicroMod Qwiic Carrier Board - Single like the image shown below.
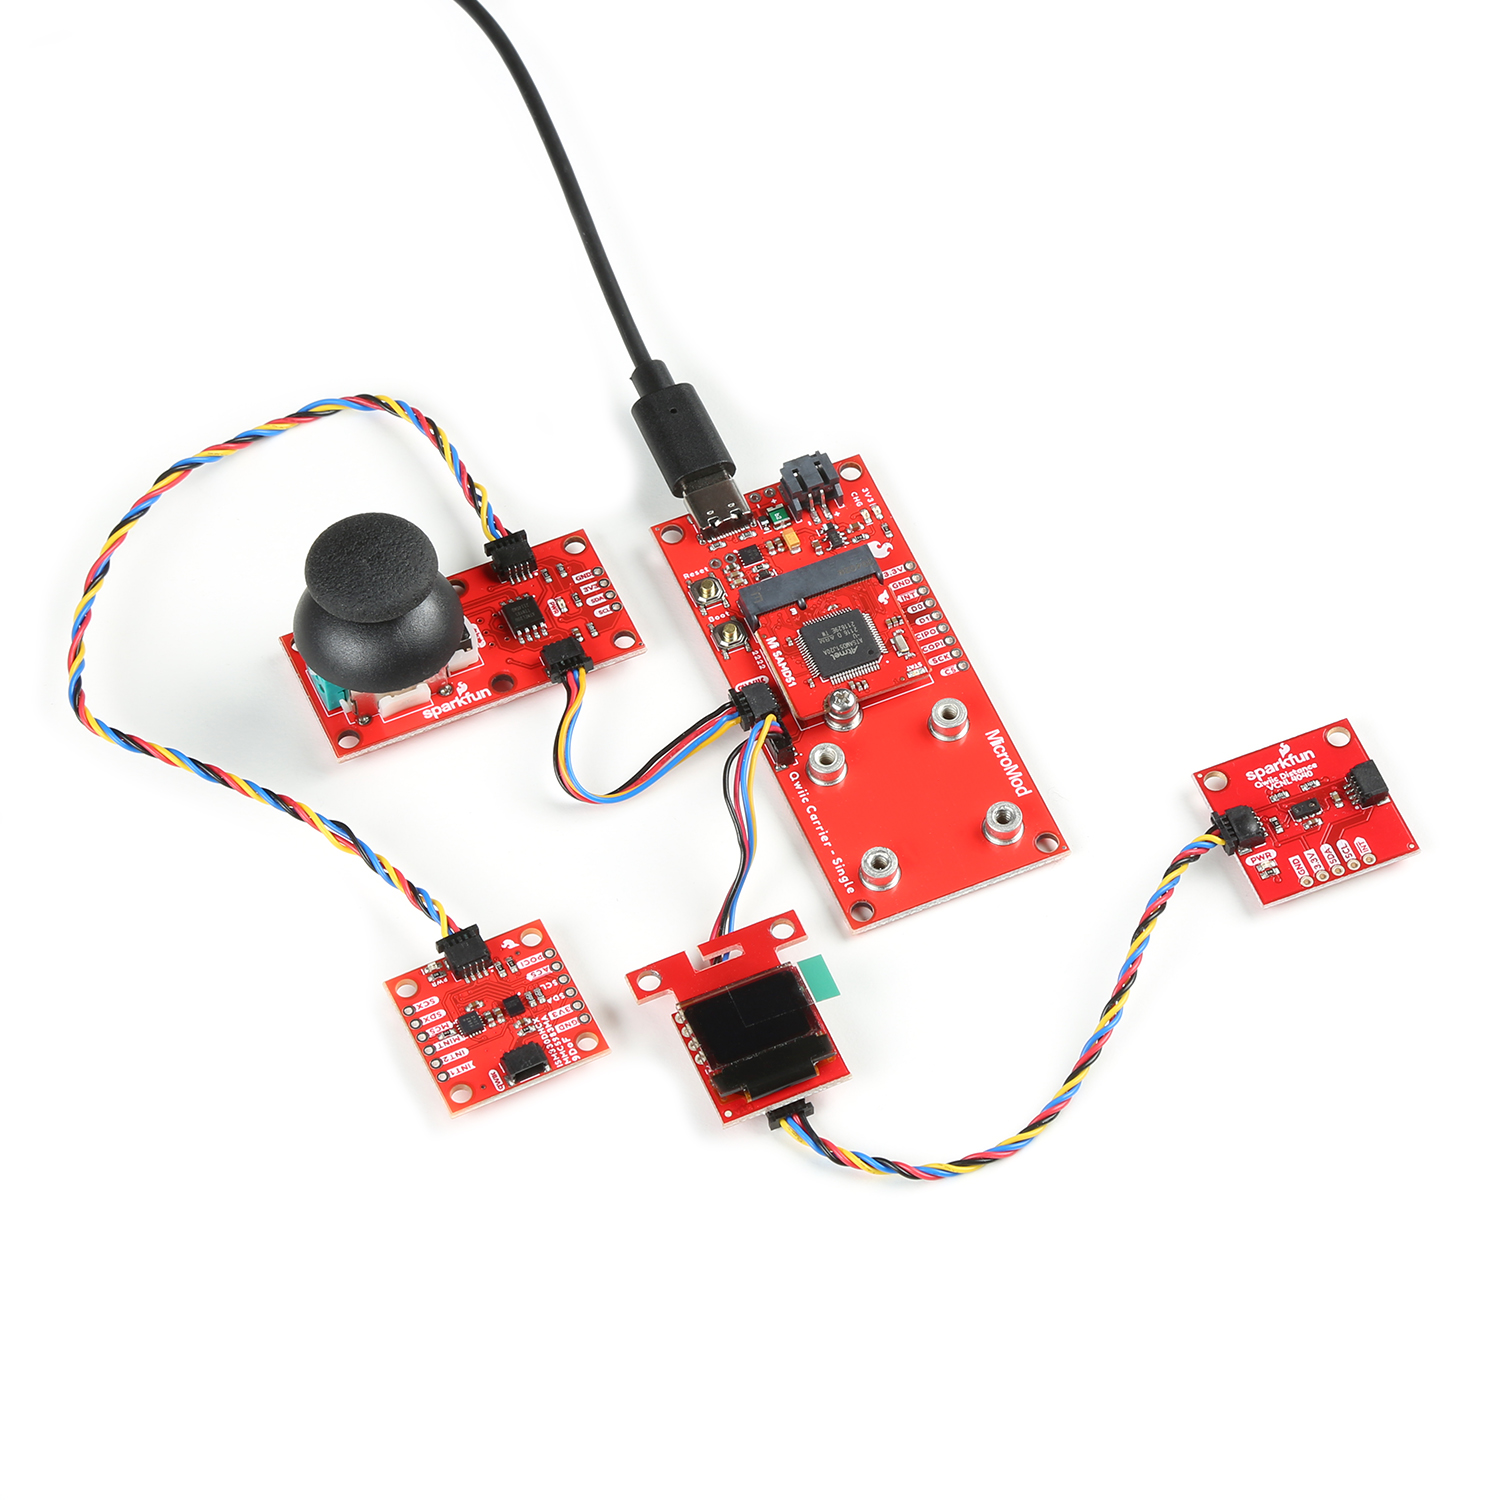
Insert the Qwiic cable of your choice between each to each of the boards. You can daisy chain the boards any way you like. However, we found it easier to control the 9DoF's accelerometer by having it at the end and connecting a longer Qwiic cable. Depending on the player, you will need to orient the 9DoF's accelerometer with respect to the paddle. The vertical and horizontal Qwiic connectors also connect to the same port so you can connect to either one. We also found it easier to connect the Qwiic Distance Sensor with VCNL4040 to the other end as well. Then connect the USB cable between your computer and MicroMod Qwiic Carrier Board - Single.
Mounting Qwiic Boards to the Standoffs
You can also mount the Qwiic Micro OLED breakout to the end of the two standoffs as shown below. Remove the yellow tape that is covering the mounting holes. Align the mounting hole with the standoffs. Insert a 4-40 screw between the Qwiic Micro OLED's mounting hole and tighten. You'll need to use some elbow grease to drive each 4-40 screw into the standoffs since they are slightly offset. Make sure to be careful with the Qwiic connector that is closest to the mounting holes. The height of the standoffs and the position of the connector can make the connector push against the end of the Qwiic Carrier Board - Single. However, it was enough to hold the display down.
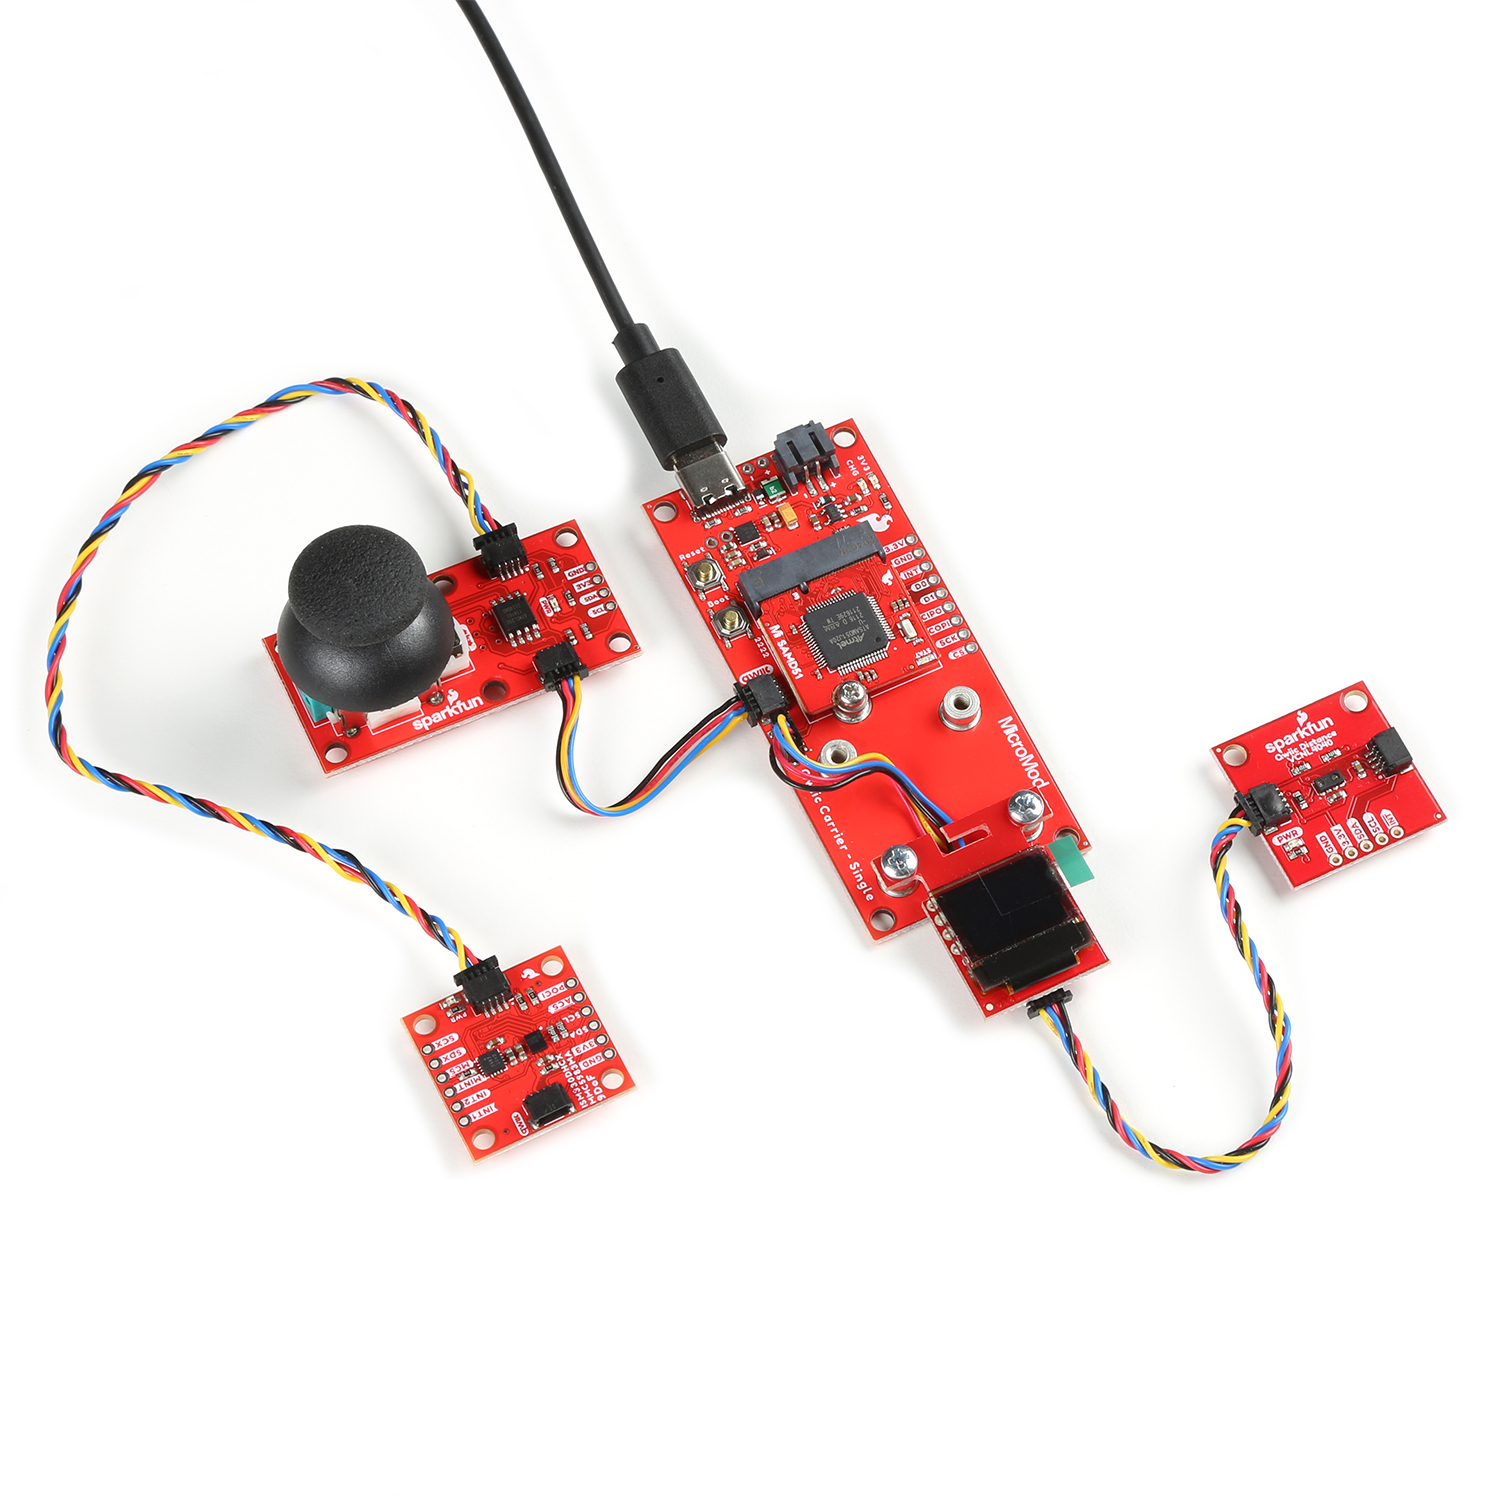
We recommend not mounting the Qwiic Distance Sensor, Qwiic Joystick, and Qwiic 9DoF so that users that are sitting across from each other are able to control their paddle on their side without getting in the way of the display.
