micro:arcade Kit Experiment Guide
Experiment 1: Basic Use of The Controller:bit
Introduction
We take buttons for granted! We press the keyboard in front us all day long, we use game controllers until they ware out and we never really think about what goes on behind the scenes in terms of programming or even in the hardware circuit. In this initial experiment, you will hookup your micro:bit to the controller:bit and test the buttons to make sure everything is up and running and your first introduction to the game command blocks in Microsoft MakeCode.
Parts Needed
You will need the following parts:
- 1x micro:bit Board (Not Included with Kit)
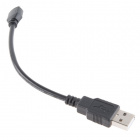
- 1x micro-B USB Cable (Not Included with Kit)
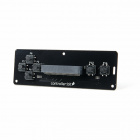
- 1x controller:bit Carrier Board
Didn't get the kit? Have no fear! Here are the parts you will need to complete this experiment. You may not need everything though depending on what you have. Add it to your cart, read through the guide, and adjust the cart as necessary.
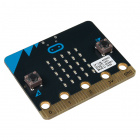
micro:bit Board
DEV-14208Suggested Reading
- Getting Started with the micro:bit - Basic hookup and programming of the micro:bit
Introduction to the button
Buttons are part of our everyday lives! They are an actuator that closes, or completes a circuit when you press it and sometimes release it.
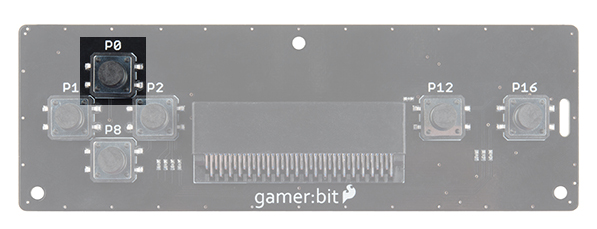
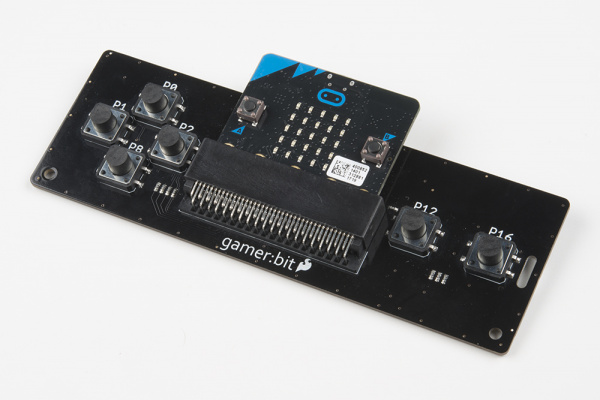
The buttons on the controller:bit are called momentary push buttons, meaning that they are only actuated or complete the circuit when you are physically pressing them. These types of buttons are great for things that you want to happen quickly, for example trigger a character to jump or chime in during a game show. The image below highlights one of the buttons that we will be using in this experiment.
Behind the button itself you also need to realize that a button is read by a pin on your micro:bit. That pin reads whether it is HIGH or LOW, ON or OFF, 1 or 0. A pin being pulled HIGH is 3.3 volts being applied to it, while LOW is 0 volts, or grounded. A button actuation can either pull the pin HIGH or LOW depending on how it is wired as well as the program running on your micro:bit.
Hardware Hookup
The only hardware hookup at this point is inserting your micro:bit into the controller:bit correctly! Insert your micro:bit with the LED array facing up (the same direction as all of the buttons).
Running Your Script
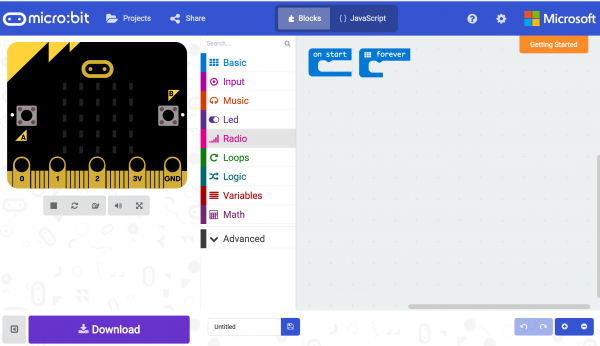
We are going to use Microsoft MakeCode to program the micro:bit. Please open a browser window and navigate to makecode.microbit.org. This should open the makeCode environment that you used to install the gamer:bit extension in.
Be sure to add the gamer:bit extension as instructed in the Installing the gamer:bit Extension in MakeCode section of this tutorial.
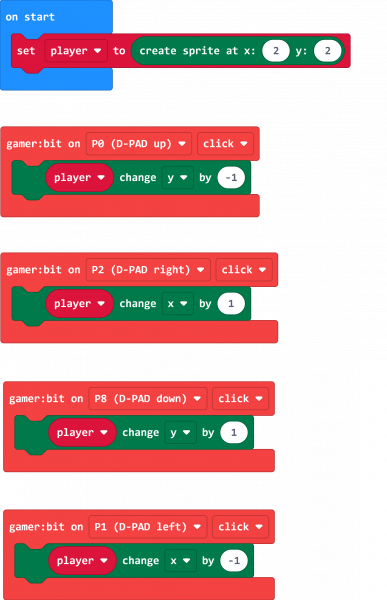
Now, you can either download the following example script below and drag and drop it onto your micro:bit, or use it as an example and build it from scratch in Microsoft MakeCode.
Code to Note
Let’s take a look at the code blocks in this experiment.
Create Sprite at
The "players" or "objects" in a video game are called sprites. On the micro:bit, sprites are a single LED in the LED array that you can control. You create a sprite by creating a variable in MakeCode.
You can create a variable under the Variables drawer and use the "Make a Variable" option and name it. We named our variable player. To initially create our sprite in the On Start block, we set the variable to Create Sprite at block and pass it an x and y value.
The coordinate system of the micro:bit's LED array starts at the top left of the array. The variable for x increases as you move from left to right (from 0 to 4). The variable fory increase from the top to the bottom (from 0 to 4). We set our sprite to the location 2,2 which is the center of the LED array.
Controller:bit On
To move our sprite around the tiny screen, we read if the D-Pad (direction buttons) are being clicked (i.e. pressed and then released) or not. We track these button clicks using an event block from the gamer:bit toobox drawer that is only triggered when you interact with a specific button on the controller:bit,. This block is called the Gamer:bit On block. You can track any of the buttons / pins on the gamer:bit as well as using following event types:
- DOWN - If the specified button is UP or being held down
- UP - If the specified button is UP or when it is released
- CLICKED - If the specified button has been pressed AND released.
[SPRITE] Change by
Under the game:bit toobox drawer, there are a number of blocks to help you manipulate or change your sprite. A basic one to start out with is the [SPRITE] Change by block. This block allows you to change x, y, direction, brightness, or blink of a sprite by a number. We use this block to change the X and Y coordinates and move the sprite around.
If we change the Y coordinate of the sprite by -1 it will move up one spot. A positive 1 will move the sprite down. For the X coordinate, positive 1 is moving to the right and -1 is to the left.
What You Should See
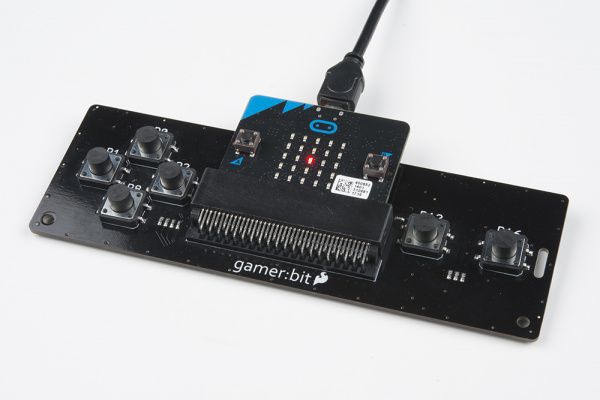
Once your code is loaded, you should press the direction buttons on the D-pad. As a result, your sprite should move around the screen. Pretty sweet! You have built something that is a pretty good start to a possible game.
Troubleshooting
controller:Bit blocks not showing up - Make sure you have a network connection and you have added the extension to your MakeCode environment.
micro:bit not showing up on my machine - Try unplugging the USB cable and plugging it back in. Also, be sure that you have the cable inserted all the way into your micro:bit
Button events don't seem right?! - Make sure that you have specified the correct direction to the correct direction of the X and Y coordinates.
