LilyPad Basics: E-Sewing
Sewing with Conductive Thread
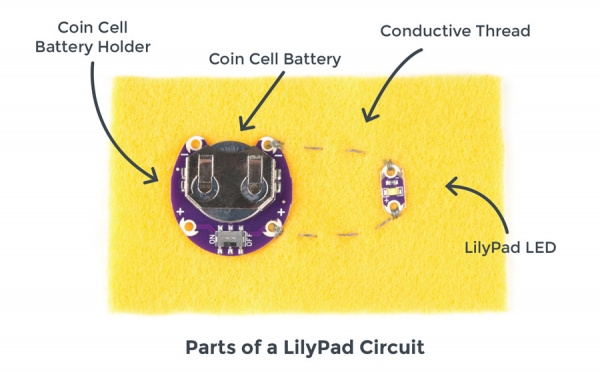
Most LilyPad projects use conductive thread to complete electrical circuits. The following sections will introduce you to some basic sewing techniques as well as a few special pointers for using conductive thread to build working circuits. Even if you’re already familiar with using a needle and thread, this section may still be useful to you, specifically where it pertains to sewing with LilyPad parts.
Securing Your Components |
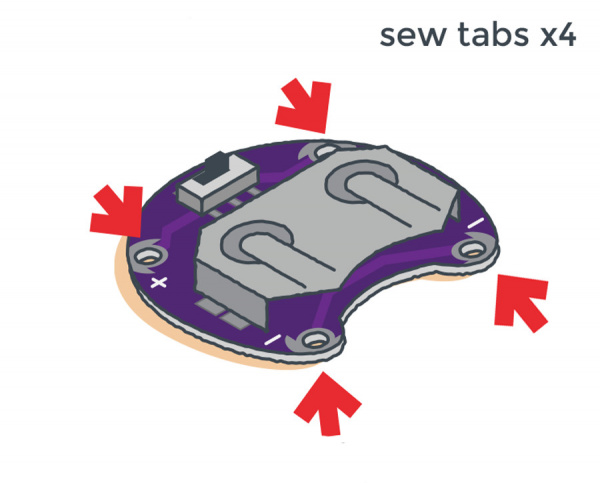
Each LilyPad piece has large holes with conductive silver pads called sew tabs. These tabs are designed to give you plenty of room to pass a needle and thread through the hole several times. Before you begin stitching your circuit, identify the sew tabs you would like to connect, and orient them so they are easily accessible in your design. If following along with SparkFun templates, the pieces will have a specific location on the design for both ease of sewing and visual appeal.
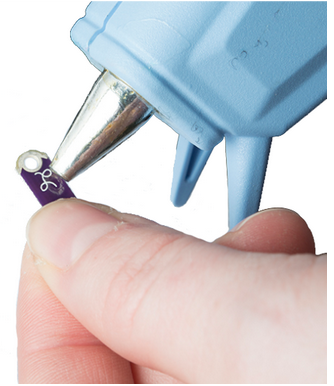
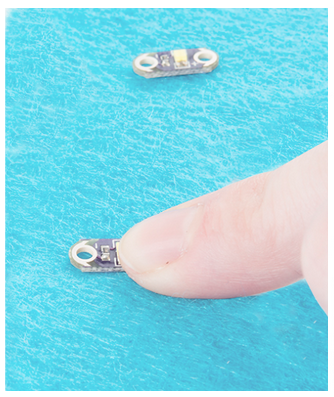
We recommend using a small dot of hot glue (preferred) or fabric glue to attach each LilyPad piece to the fabric to keep it from moving while you sew. Make sure not to accidentally seal up the holes in the sew tabs.
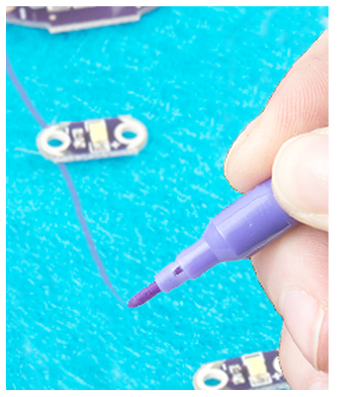
To help plan where the stitches will go, you can use a marker to draw lines between the components.
Threading a Needle |
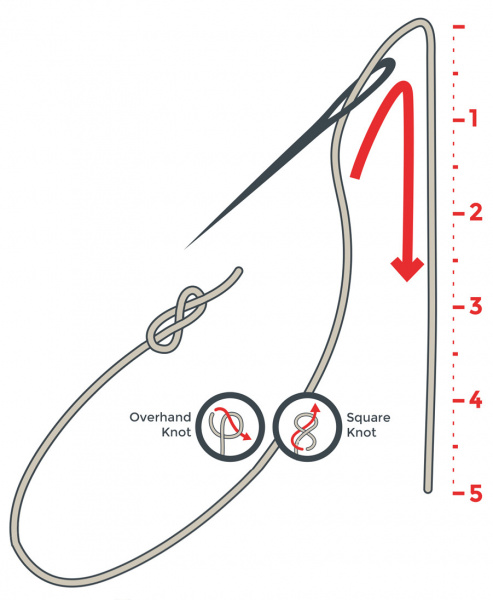
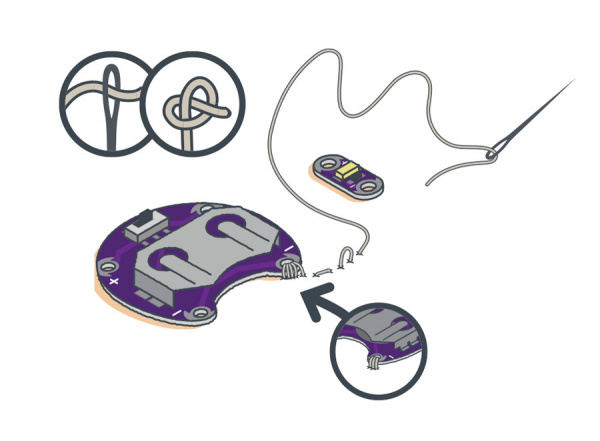
Cut a piece of conductive thread approximately 2 feet long. Push one end of the thread through the eye (opening) of the needle and pull through, leaving a tail of about 5 inches.
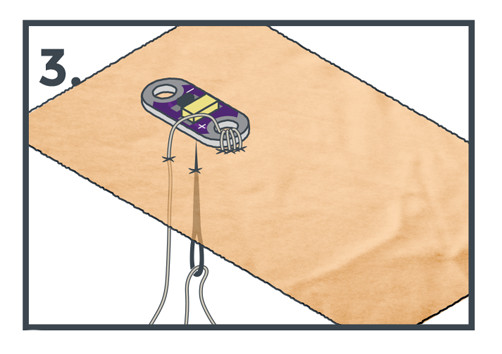
Before you begin sewing your project, you will need to tie a knot at the long end of the thread to prevent you from completely pulling it through the fabric. You can tie a simple overhand or square knot. The next sections will explain a few other knot methods.
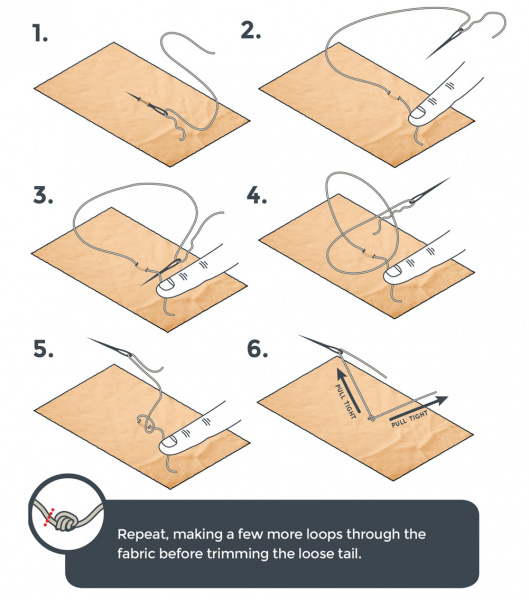
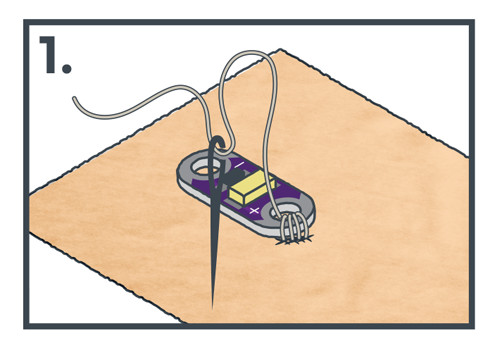
Starter Knot
A starter knot is a method of starting your stitch with a knot directly on your fabric.
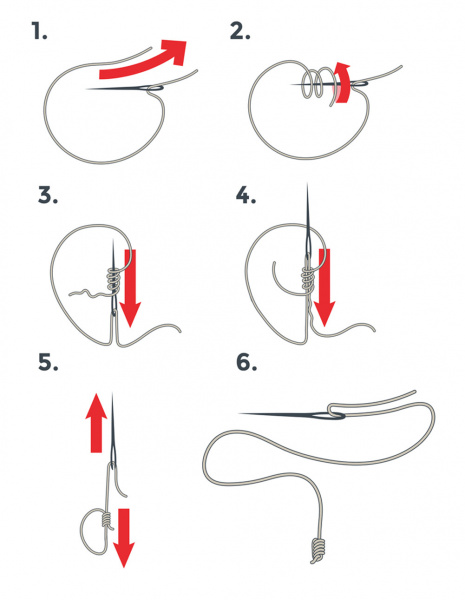
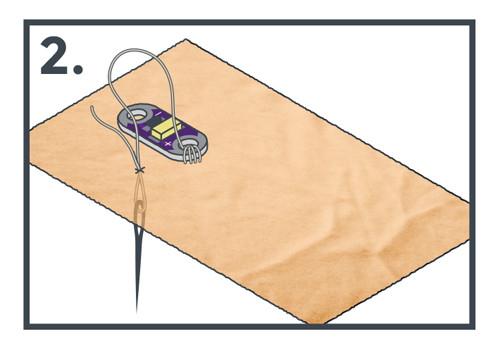
Quilter's Knot
The slightly more advanced quilter’s knot is a way to tie a quick, secure knot on the thread. After some practice, this knot can be tied very quickly.
Connecting To LilyPad Sew Tabs |
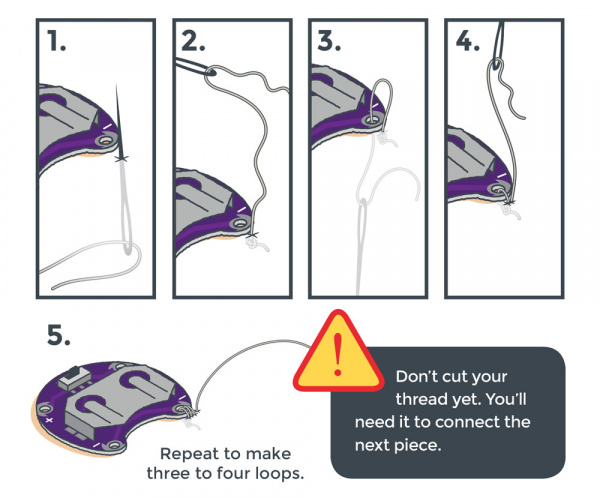
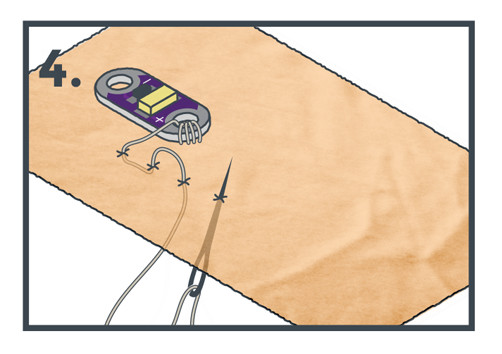
We’ll stitch conductive thread around LilyPad sew tabs in our circuits to connect the pieces together. It’s important that you make three to four loops each time you connect your thread around an empty sew tab and pull the thread snug with each pass. This ensures you have made a strong electrical and physical connection between the thread and the sew tab. Pull loops tight before continuing your stitch.
Sewing Basics |
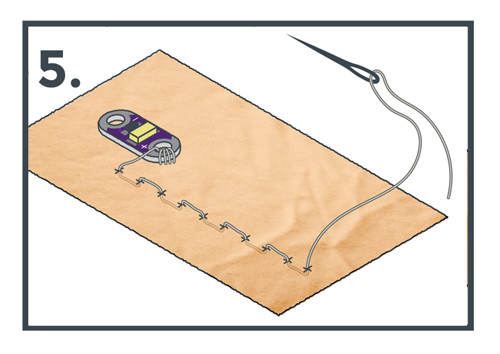
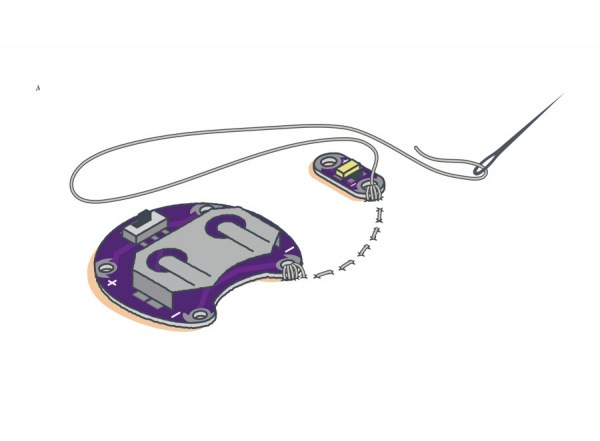
After sewing loops around a sew tab, a running stitch will enable you to connect LilyPad pieces together with a continuous length of conductive thread. Follow these steps:
Push the needle through the fabric about 1/4" in the direction of your stitch path.
Pull the slack of the thread through so it sits flush with the fabric.
Push the needle back up through the fabric another 1/4" along the stitch path.
Pull the slack of the thread through so it sits flush with the fabric.
Repeat this process to travel along the path to the next LilyPad piece you want to connect to, keeping stitches evenly spaced.
Running vs. Hidden Stitch
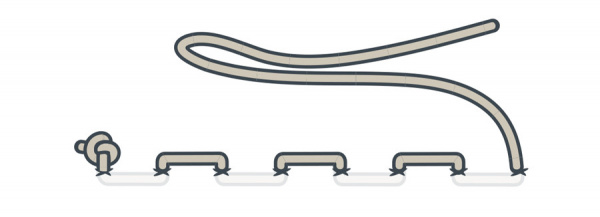
In a basic running stitch, the stitching will be even on both sides of the fabric.
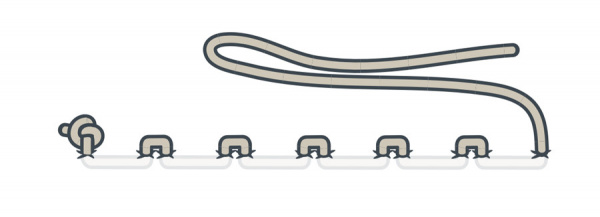
To hide the stitches so that they are not seen on the outside of the project, make a longer stitch on the back of the project and a very small stitch on the front of the project. This method is called a “hidden stitch.”
Connecting LilyPad Pieces |
Both running and hidden stitches will enable you to connect LilyPad components together with a single length of conductive thread. To connect two LilyPad pieces, continue stitching after completing three to four loops around the sew tab.
Connecting Multiple LilyPad Pieces
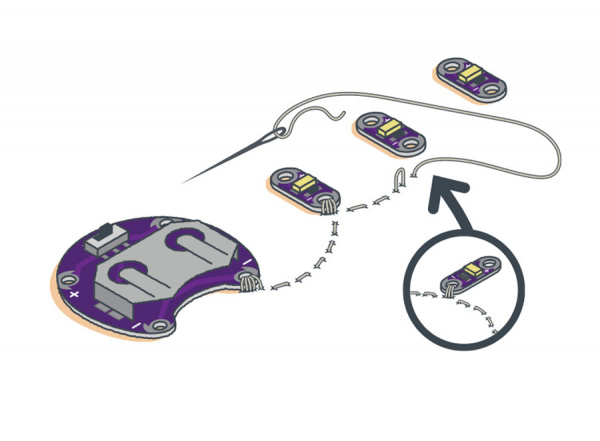
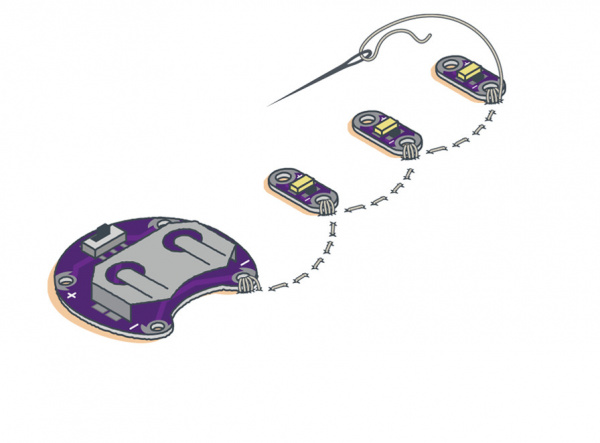
To connect more than two LilyPad pieces, instead of trimming your thread and starting over, continue stitching to the next piece, make three to four loops, and repeat as necessary. There is no need to use a new length of thread if the pieces will share a connection.
Finishing Your Connection |
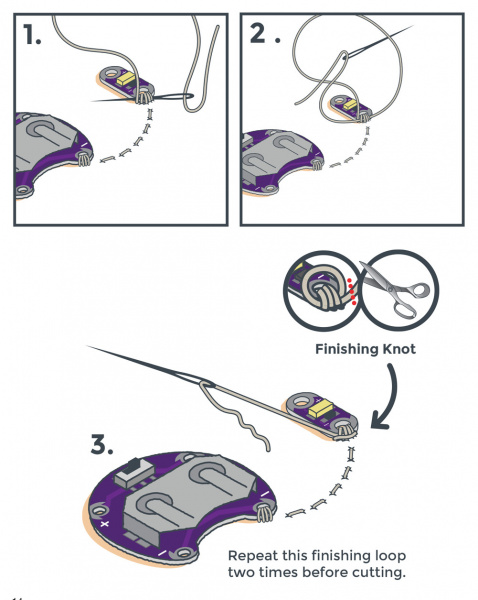
When you have completed connecting components, use a finishing knot. Thread tails can cause electrical shorts, so be sure to trim your thread afterward.
