Light Up Pennant with E-Textiles
 maya.,
  Gella
Gella 
Step 2: Attach Components
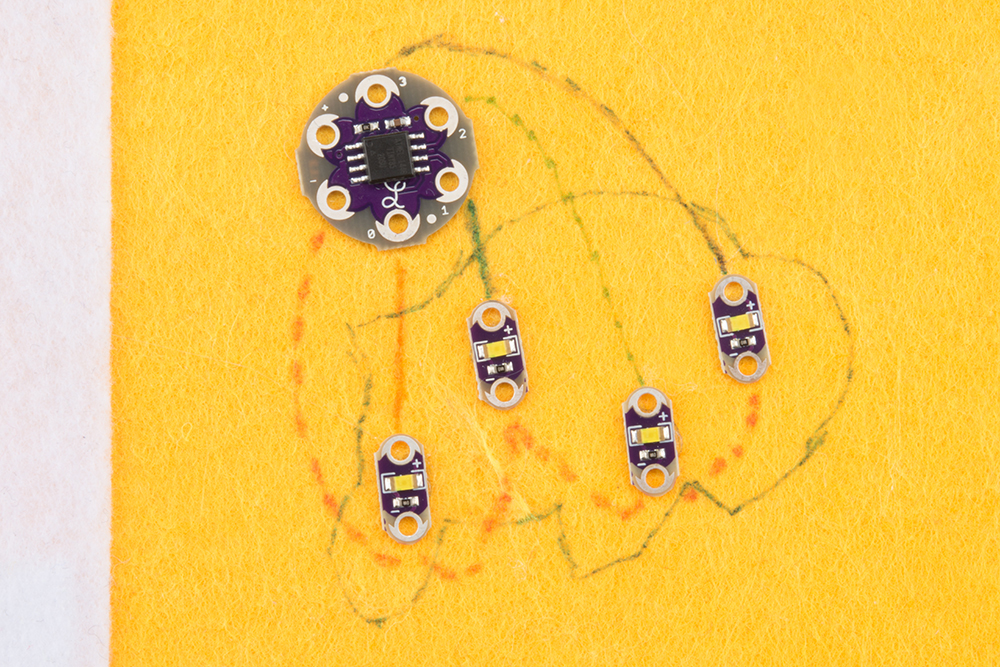
Once you've settled on a final design layout, arrange your components on the felt. Make sure to double check that the positive (+) side of the LED is set up to connect to a numbered petal on the LilyTwinke, LilyTiny, or LilyPad Arduino, and the negative (-) sides are arranged to easily connect to the negative petal on the boards.
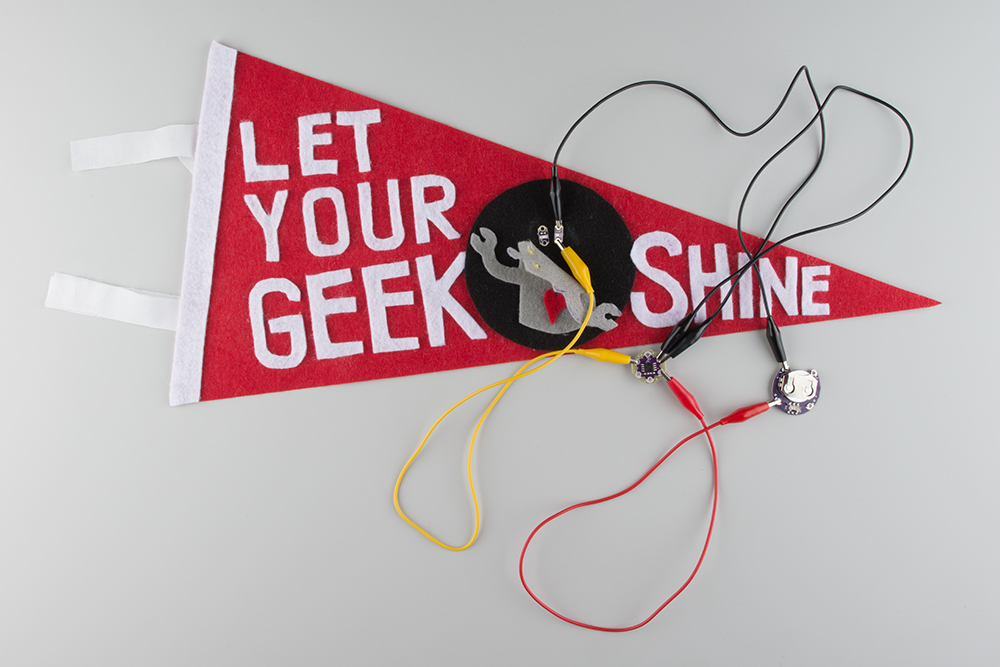
If you'd like to double check everything before sewing, use alligator clips to connect the components together and power up. Make sure to remove the battery before you begin sewing with conductive thread.
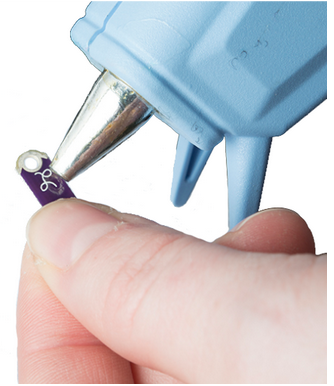
Using a small dab of hot glue, attach the components in place on the felt so they don't move around while you sew. Be careful not to accidentally fill the sewing holes with glue, especially on smaller components like the LilyPad LEDs.
To help plan your stitching, use tailor's chalk or a pen to draw stitch lines.