LDK Experiment 4: Make Your Own Button
 Dia
Dia 
Creating the circuit
Time to put your button to work in a functioning circuit! This will be a parallel button circuit, extremely similar to the one you created in LDK Experiment 3. We’ll start with the positive trace. Place your battery pack where you would like it on the fabric, remembering to leave room for the button you’ve made. You may have noticed that this battery pack is different from the one you used in the first 3 experiments. This one has a built-in switch, which will allow you to turn your circuit on and off. This way you won’t have to remove the battery, and you also won’t have to sew in an independent switch to each circuit. The built-in switch is only helpful when you would like to turn off everything being powered by the battery pack, but in those cases, it’s great to have.
Sew down your two positive pins, and stitch a trace to where you’d like the first side of your button to be. It doesn’t matter which side of the button you start with; since it isn’t polarized either side will work. Where you would ordinarily sew through a pin on a LilyPad board, you want to instead sew several stitches through the conductive thread pad you made at the end of the button tab. Make sure that your trace is in good, solid contact with the conductive thread that the pad is made of and also that this side of the button is firmly attached to the fabric. As with the LilyPad button, we don’t want to connect the two sides, so knot and cut your thread here.
Starting with a new trace, sew down the second side of the button, again being careful to both attach the button firmly to the fabric and establish connectivity through the connective pad you made in the tab earlier. Sew from here to the positive pin of your LED, and sew that down as well. Knot and cut your thread again. If you’d like, you can check your continuity again by pressing the probes into the positive pin of the battery and the positive pin of the LED. If your button is connected properly, you should still get a tone when you press the button.
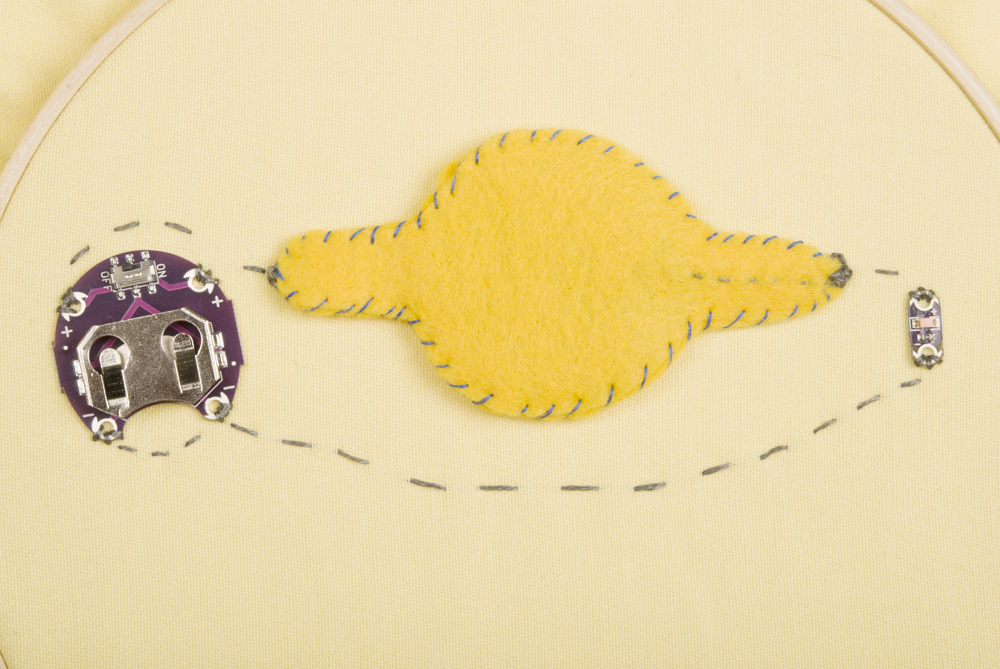
Starting a new trace, sew down the negative battery pins and continue to sew in a trace to the negative pin of the LED.
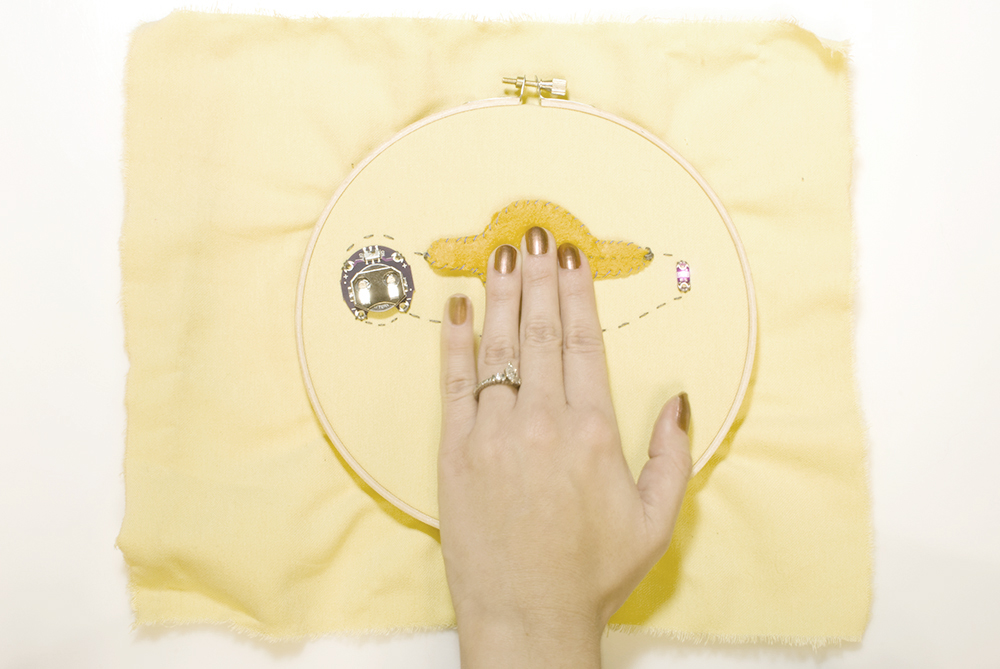
Slide in your battery, positive side up, turn on the switch, and press the button. Bing! The LED should light up when the button is pressed. To save battery power, turn the switch off whenever you’re not using the circuit.
Congratulations on your homemade button! Now that you know how it’s made, you can experiment with different shapes, fabrics, and functions, which makes it easy to customize your button for the project you’re using it in.