LDK Experiment 4: Make Your Own Button
 Dia
Dia 
Cutting the pieces
Let’s discuss our plan for a moment. What we want from this button is a reaction to being pressed. In order to get that, we’re going to build it such that there is an electrical connection between the two sides when it is pressed, but not when it is released. One of the easier ways to do this is to create two conductive layers and separate them with a permeable layer. When firmly pressed, the conductive layers will contact through the permeable layer, creating a connection. This sandwich will be conductive on the top and bottom, however, and prone to short circuits and interference. In order to protect it from these problems, we’ll sew the whole thing into a non-conductive covering made of felt.
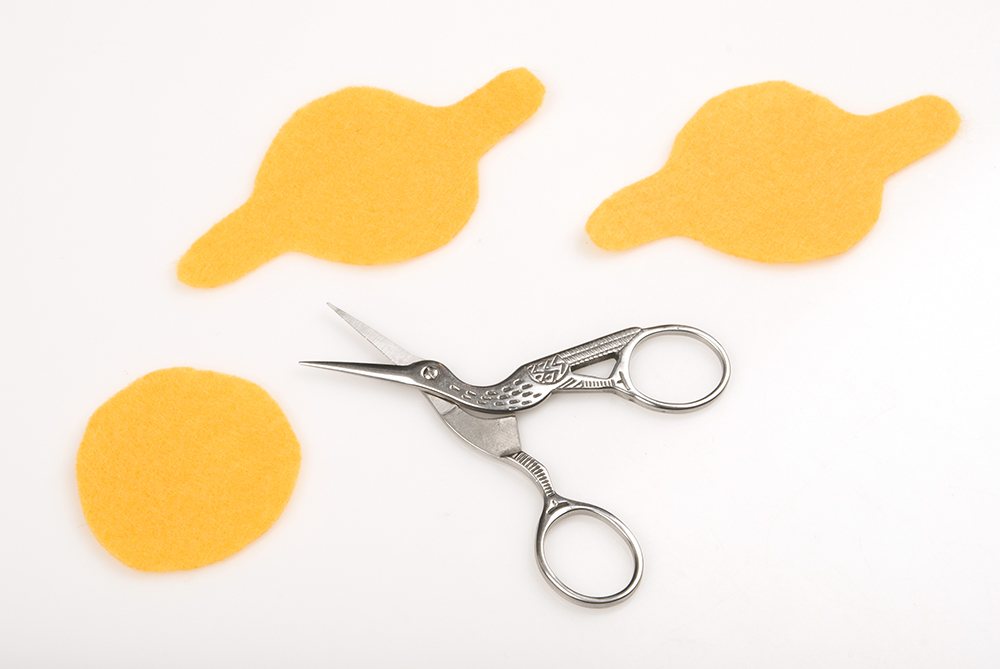
Starting with the felt, we’re going to cut our pieces. You need two circles with tabs poking out from the sides -- these will be the protective exterior covering of the button. You’ll also need a circle, just a little bit smaller than the central circle of each covering piece.
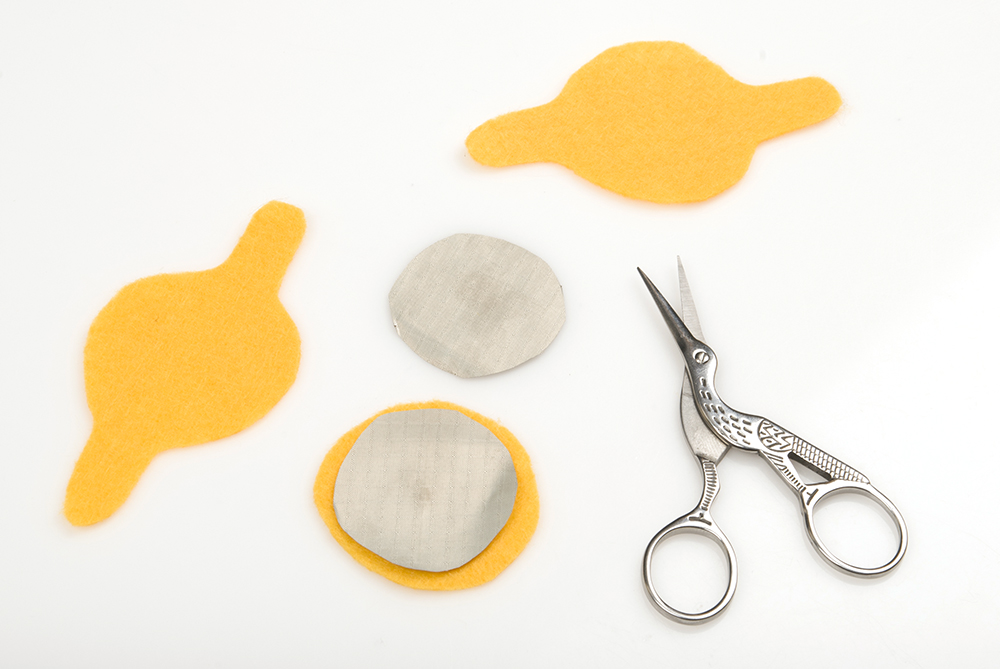
The conductive fabric, as the name implies, will serve as our conductive layer. The fabric is made out of silver-coated nylon ripstop material. Like other silver products, it will tarnish with handling and turn darker in color, so don't worry about that when you see it. It's perfectly normal. Also, these pieces will be on the inside, so it won't be visible in the finished product. From the conductive fabric, you need to cut two small circles. They should be of the same size, and both slightly smaller than the circle you cut out of the felt. You need to be able to set your felt circle on top of each conductive fabric without any conductive fabric peeking out from underneath. Trim if you need to.