Jetson Nano + Sphero RVR Mash-up (PART 2)
Getting Starting with the JetBot Image
Once you have your JetBot image burned and installed on the NVIDIA Jetson Nano, you will need to do an initial setup to get the Jetson Nano onto your WiFi network. To do this you will need to add a keyboard and mouse to the USB ports on your Jetson Nano and connect a monitor (or TV) to the HDMI port.
Now boot up your Jetson Nano. It should output all of the terminal boot sequence for a Linux computer and then present you with a desktop user login. Click on JetBot as the user and the password for the user is jetbot.
Once you login you should see a desktop available to you. In the upper right corner select the WiFi Network icon and select the wireless network that you would like to connect to. A dialog box will appear and enter the password for your network and “connect”.
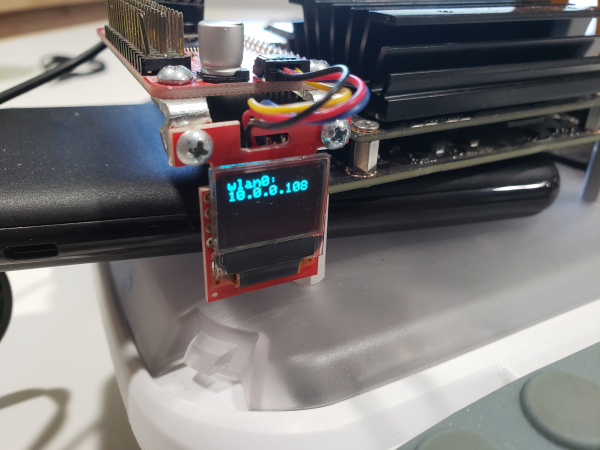
Once the Jetson Nano connects to the WiFi network an IP address and other network information should be displayed on the Qwiic OLED on the bot.
Before disconnecting the keyboard, mouse and monitor make sure you can complete the next step. Once you can access Jupyter Notebook you can disconnect everything and run the Jetson Nano completely headless through the Jupyter Notebook server being served at the IP address on the OLED display attached to the pHAT through our Qwiic system.
Jupyter Notebooks
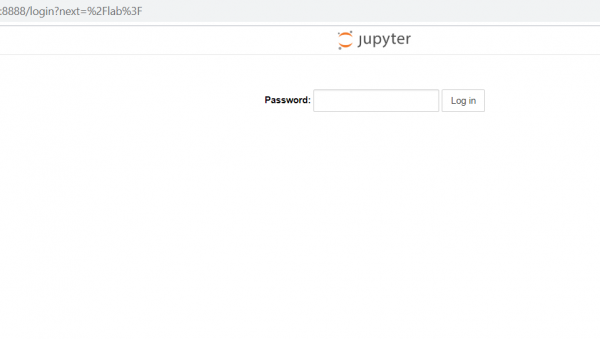
On a separate computer connected to the same SSID / Network as the JetBot, open a browser window and navigate to the IP address printed on the OLED display of your bot on port 8888...[IP_ADDRESS:8888].
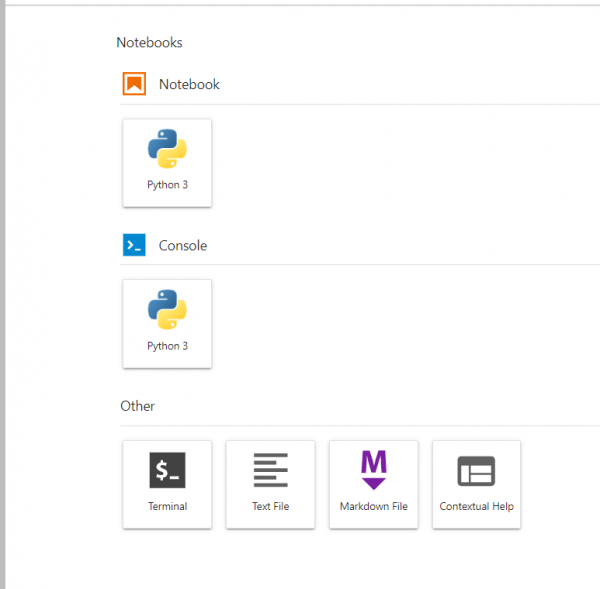
A Jupyter Notebooks logo should appear and then a login page asking for a password. The password is jetbot. Jupyter Notebooks will open in the browser and you will be presented with something similar to the following screen capture.


