How to Install FTDI Drivers
Windows - Quick and Easy
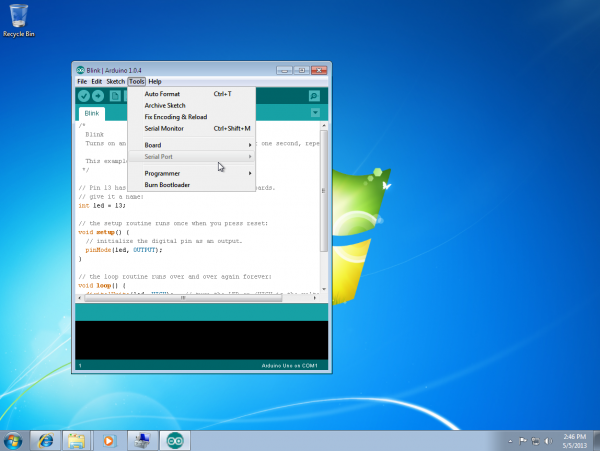
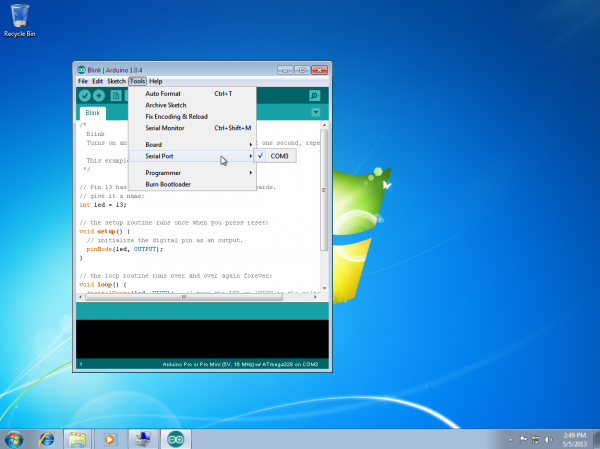
By default, windows does not have FTDI drivers installed. If you plug in your FTDI, open the Arduino IDE, go to 'Tools -> Serial Ports', and see nothing, you need the drivers! Let's go get them!
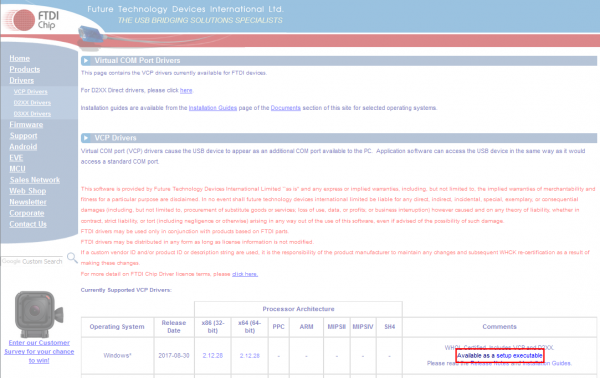
Download a copy of the v2.12.28 FTDI VCP Driver Executable here:
Windows FTDI VCP Driver Executable - v2.12.28 (CDM21228_Setup.exe) Otherwise, visit FTDI's VCP Drivers page for the latest download of the Windows FTDI Driver executable and clicking on the Window's "Available as a setup executable" link. Make sure to unzip the executable before proceeding to the next step.
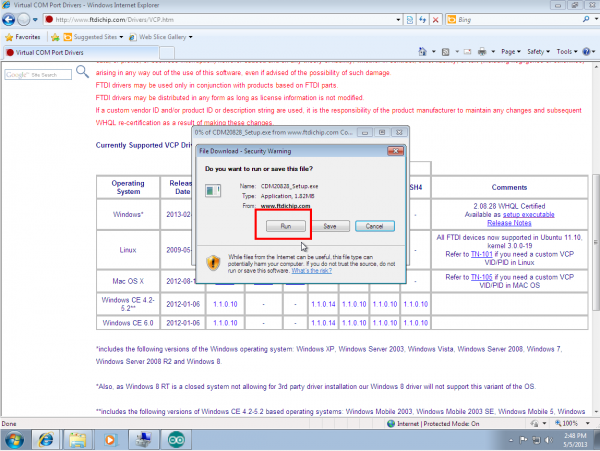
Choose 'Run' once it is has finished downloading, or find the file you just downloaded "CDM21228_Setup.exe" and double-click it to run it.
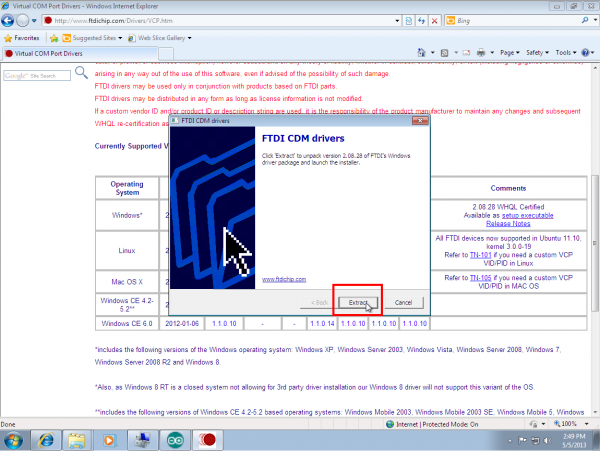
Note: At the time of this tutorial, the images were referencing the old “v2.12.00” FTDI VCP driver executable. The installation process will be the same regardless of the version number.Choose 'Extract' and continue through the installation until it finishes.
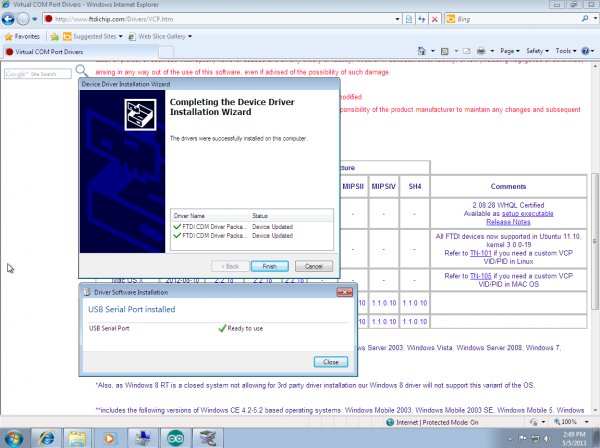
If everything was successful, you should see some nice green check marks, indicating success!
Note: You may need administrator privileges on your machine in order for this to run properly. If things didn't work out, try the next section of this tutorial: Windows - In Depth.Open up the Arduino IDE, and go to 'Tools -> Serial Port'. If you now have a COM port, congratulations! Again, if something went wrong, either retry this tutorial or give Windows - In Depth a try!
