GPS Geo-Mapping at the Push of a Button
Hardware Overview
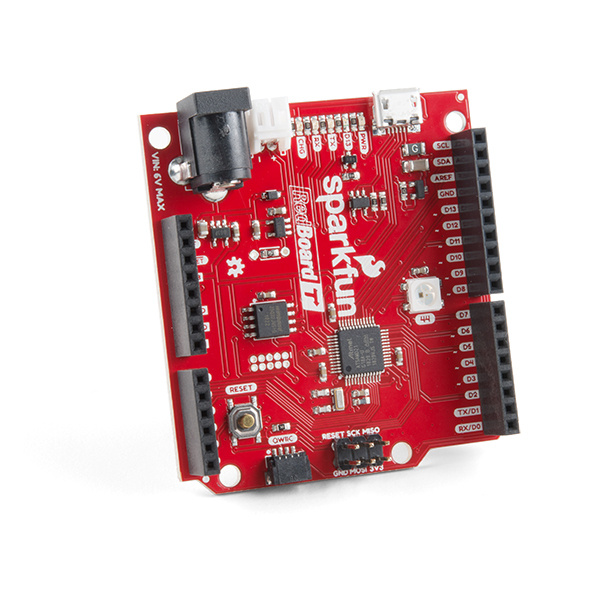
If you followed along with the last GPS tutorial, you'll have an idea of where we're going. However, since we're packing more stuff into a small module, we'll need more power. Unfortunately, the 5 libraries we'll be using pushes the original RedBoard to its limits. So to make up the gap, we'll use the SAMD21. Specifically speaking, the SparkFun RedBoard Turbo!
RedBoard Turbo
The Turbo is a relatively new development board, sporting the versatile ATSAMD21G18 ARM Cortex-M0+ microcontroller. It's also carrying an RTC Crystal, WS2812 addressable RGB LED, and a LiPo battery connector with charging capabilities. It's almost TOO powerful for our purposes, but it conveniently has everything we need.
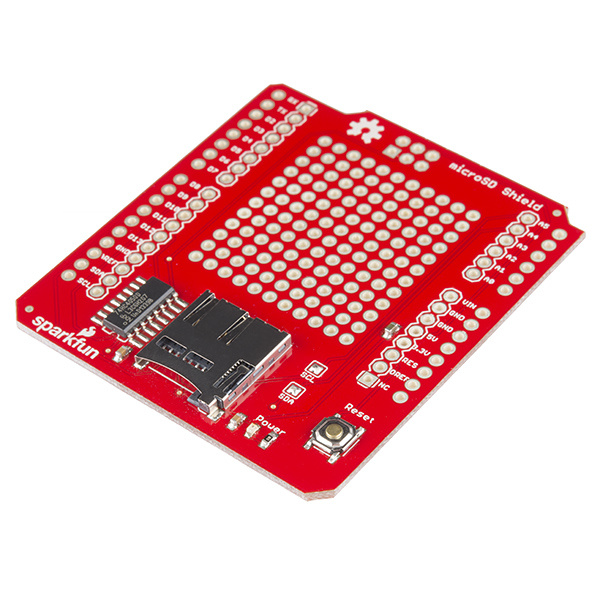
MicroSD Shield
The microSD shield is an Arduino Uno layout compatible memory shield. We'll interact with the microSD shield using the SPI bus through the shield's on board hex converter. Quick note, since the microSD shield is an older component than the Turbo there are some communication bugs, but we'll get to that a little later.
SAM-M8Q Chip Antenna GPS Breakout and Qwiic Micro OLED
It's worth mentioning once more the components carried across from the last tutorial. The SAM-M8Q Chip Antenna GPS provides simple and powerful GPS capabilities from Ublox's GPS systems. Those coordinates are then displayed to the user on the easy to wire, and no solder required, Qwiic Micro OLED screen.


