Getting Started with TJBot
 SFUptownMaker, jweisz, maryam
IBM Cloud
TJBot's magical powers come from Watson, IBM's artificial intelligence service. In order to use Watson, you'll need to create a free IBM Cloud account.
We'll now walk you through signing up for a IBM Cloud account.
Sign Up for an IBM Account
You'll need to go to this website to sign up for an IBM account. You'll then be able to use the IBMid you create to log into the IBM Cloud website.
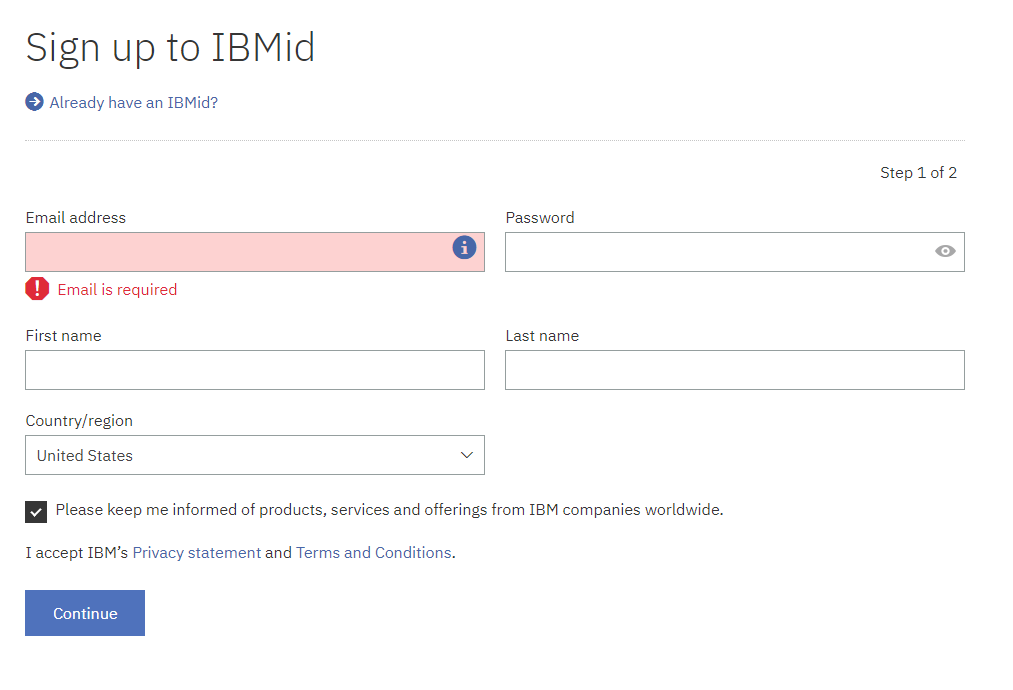
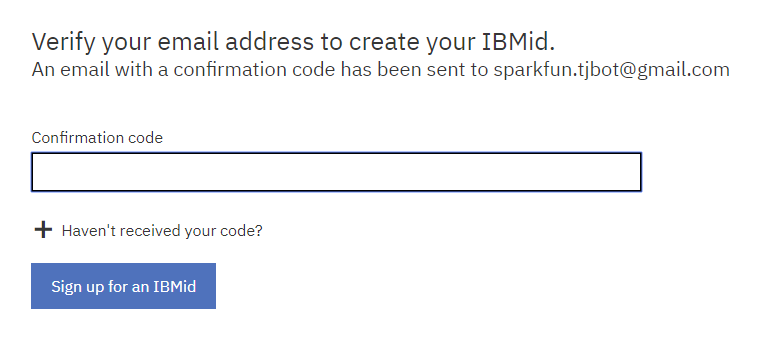
Fill in the blanks to create an account, then check your email. You should have a new message from IBM with a 7-digit confirmation code. Enter the code in the field as shown below.
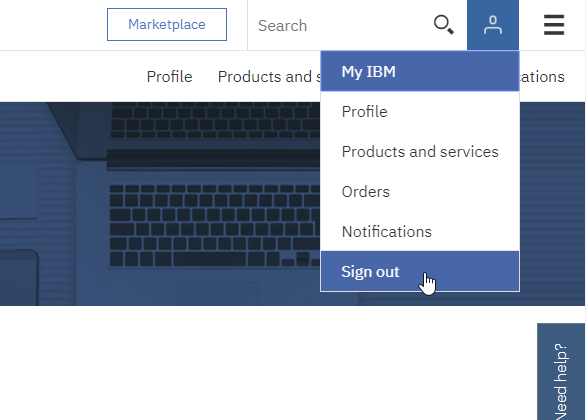
Once you've entered your confirmation code, you'll be taken to your IBM account dashboard. The only thing to do here is to log out using the menu in the upper right, as shown below.
Log In to IBM Cloud
Now you can log into the IBM Cloud website. Follow this link to the IBM Cloud registration page.
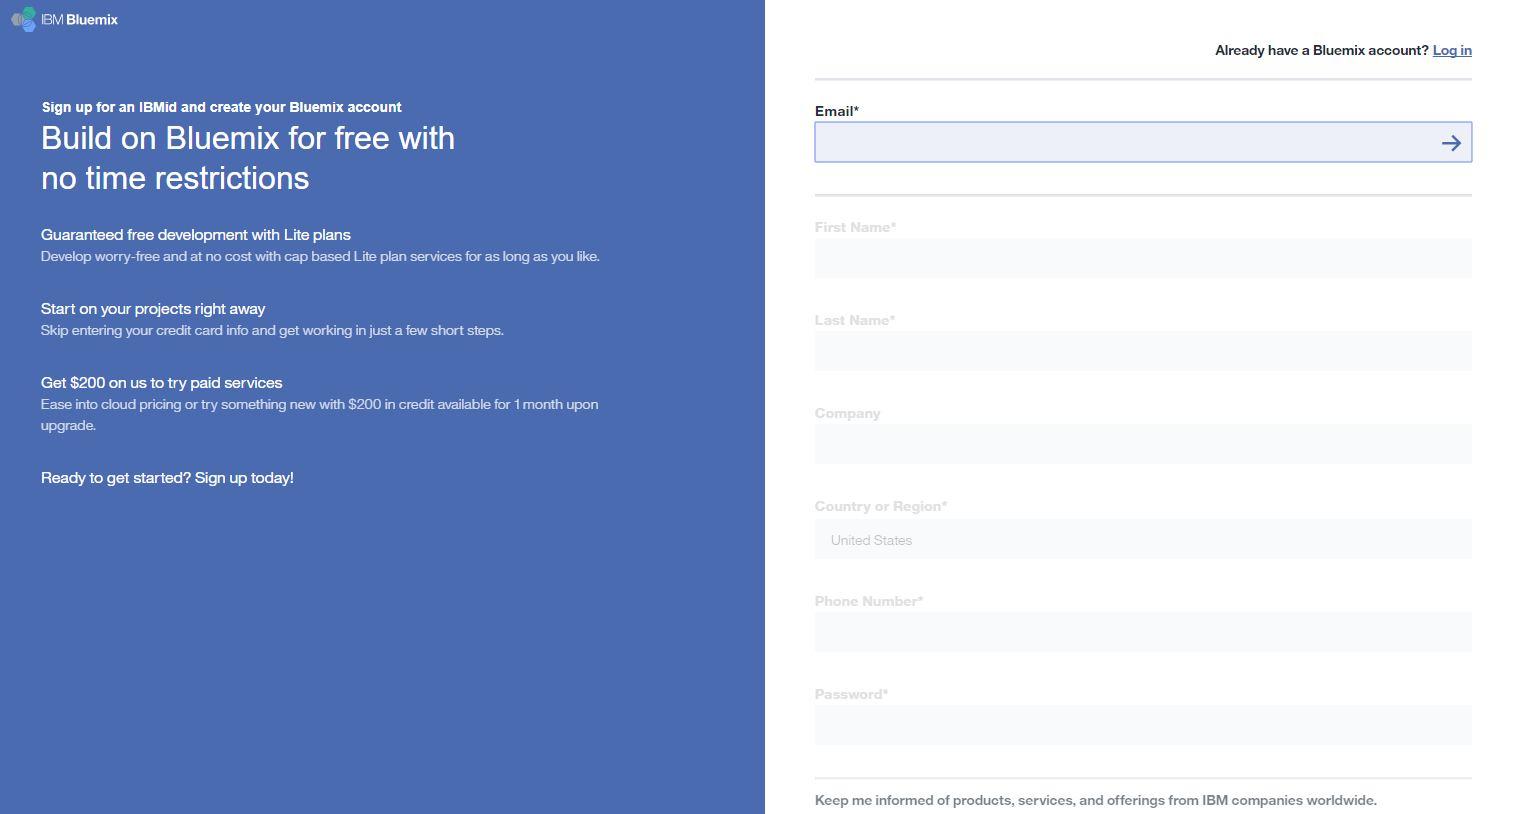
Put in the email address that you used for your IBMid and hit Enter. You'll be asked to provide a phone number.
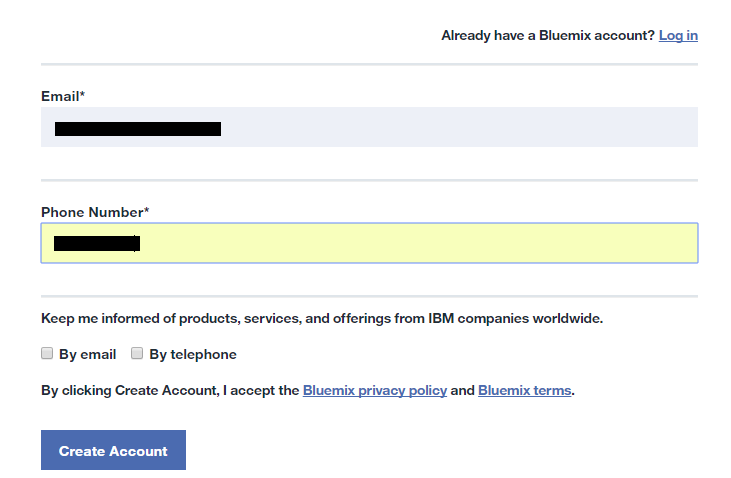
After you click "Create Account", you'll be asked to complete an anti-spambot captcha, and then you'll be taken to this page:
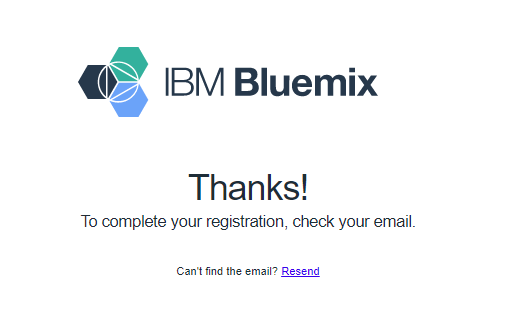
You'll get an e-mail shortly with an account confirmation link, as pictured below.

Click on the "Confirm Account" button to let IBM's Cloud team know you're a real person. That will open this page:

Click the blue "Login" button to be automatically logged into IBM Cloud.
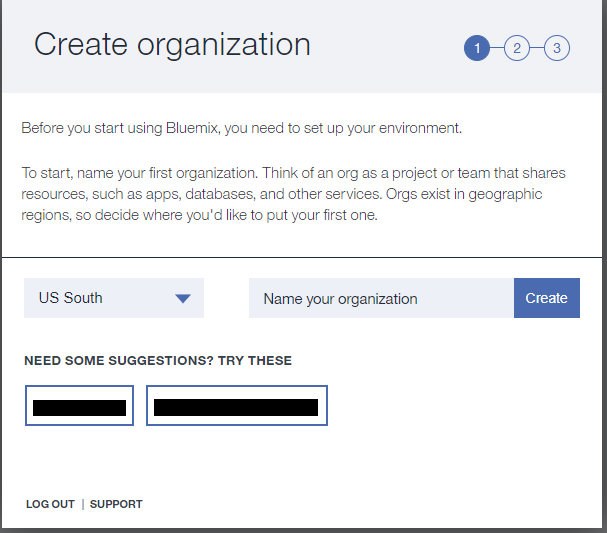
Set Up IBM Cloud
You'll now be asked to "Name your organization". This doesn't really matter and feel free to call it whatever you like, but it's a good idea to keep it short and easily typable for later usage.
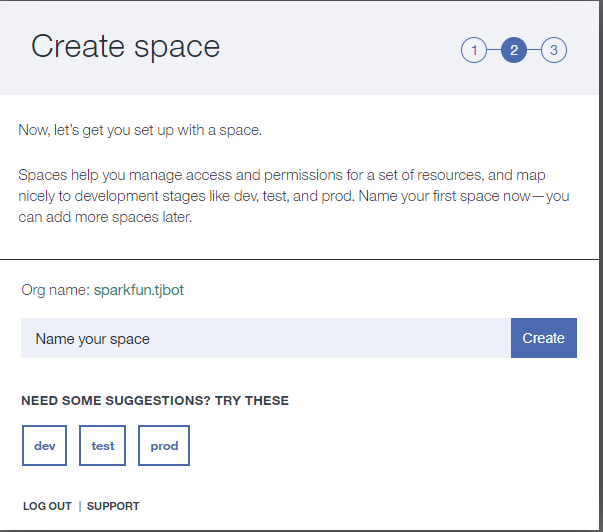
Once you've created your organization, you'll need to create a space. Again, the name doesn't really matter. I went with "test".
You'll now be notified that your account is "Good To Go!" and be given a summary of the organization and space names you just created.
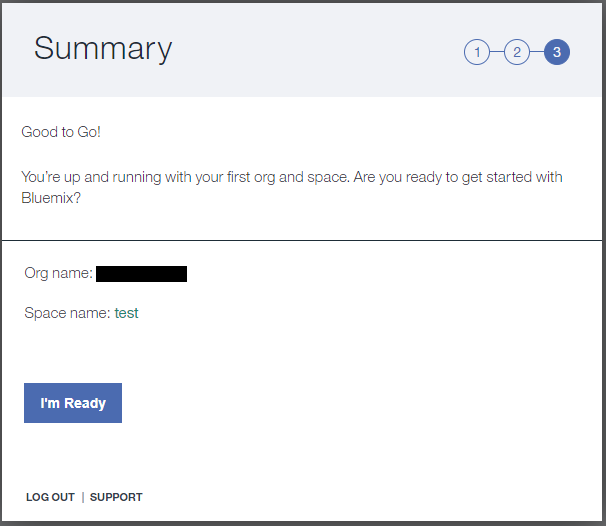
Click on the "I'm Ready" button.
The IBM Cloud Dashboard
Once the IBM Cloud is setup, you will be greeted with the IBM Cloud Dashboard after logging in as shown in the image below.
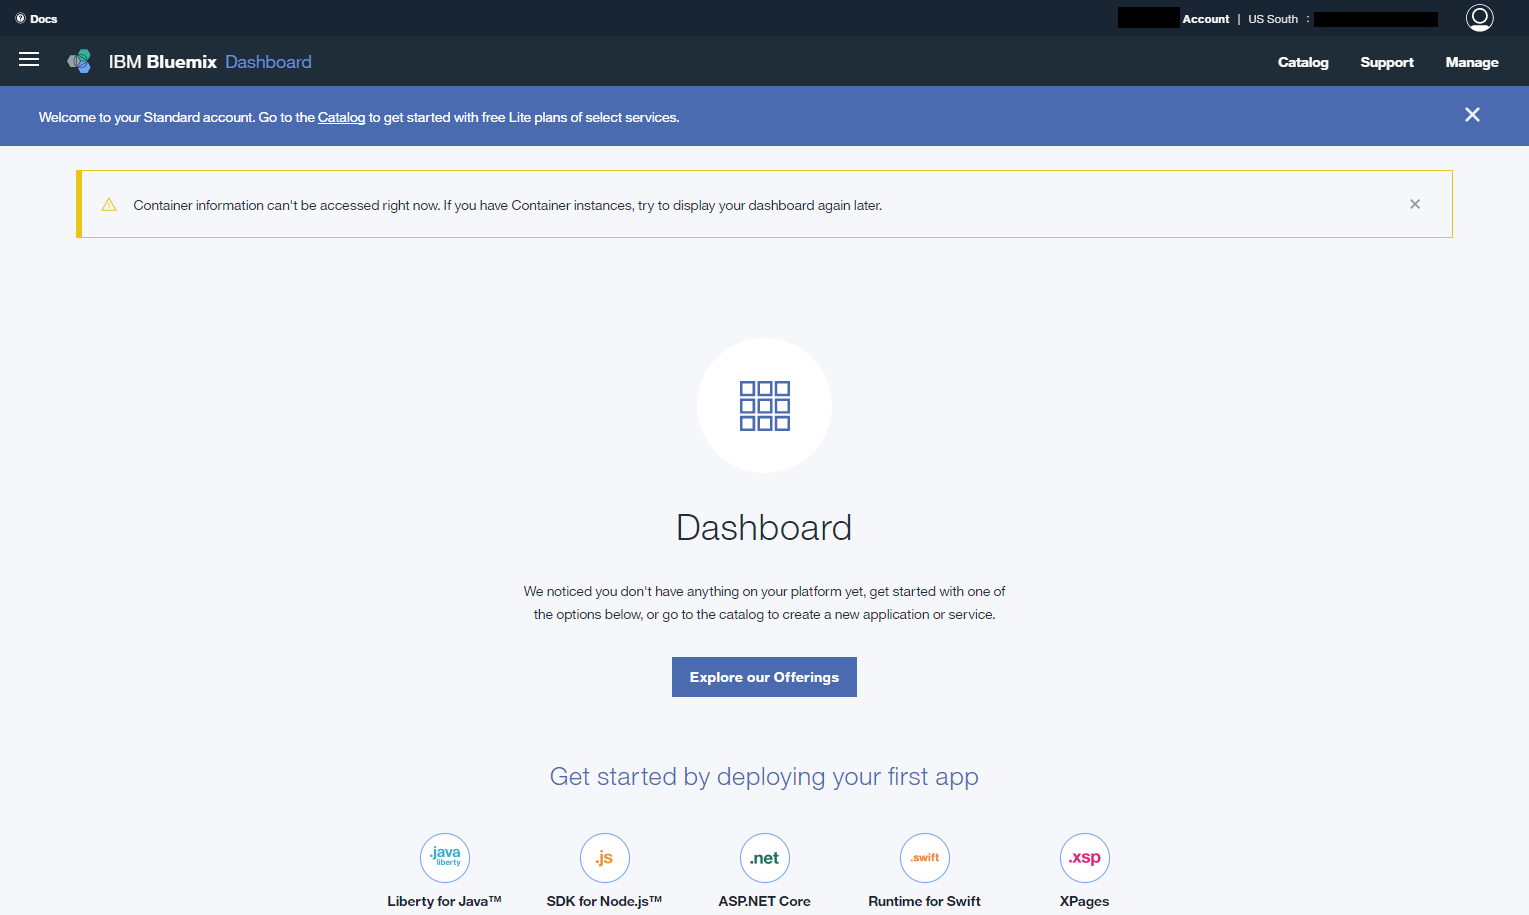
This is where you'll start out when you log in to your IBM Cloud account from now on. The last step we need to complete is to set up the payment information so we can access the paid services we need to make TJBot come alive.
Start by selecting the "Billing" option under the "Manage" menu in the upper right corner of the dashboard, as seen below.
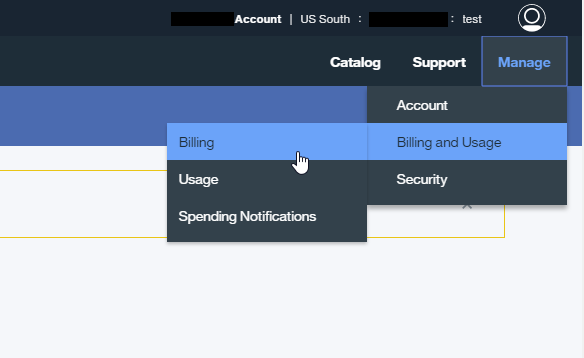
That will bring up this page. Click the "Add Credit Card" button in the middle of the page.

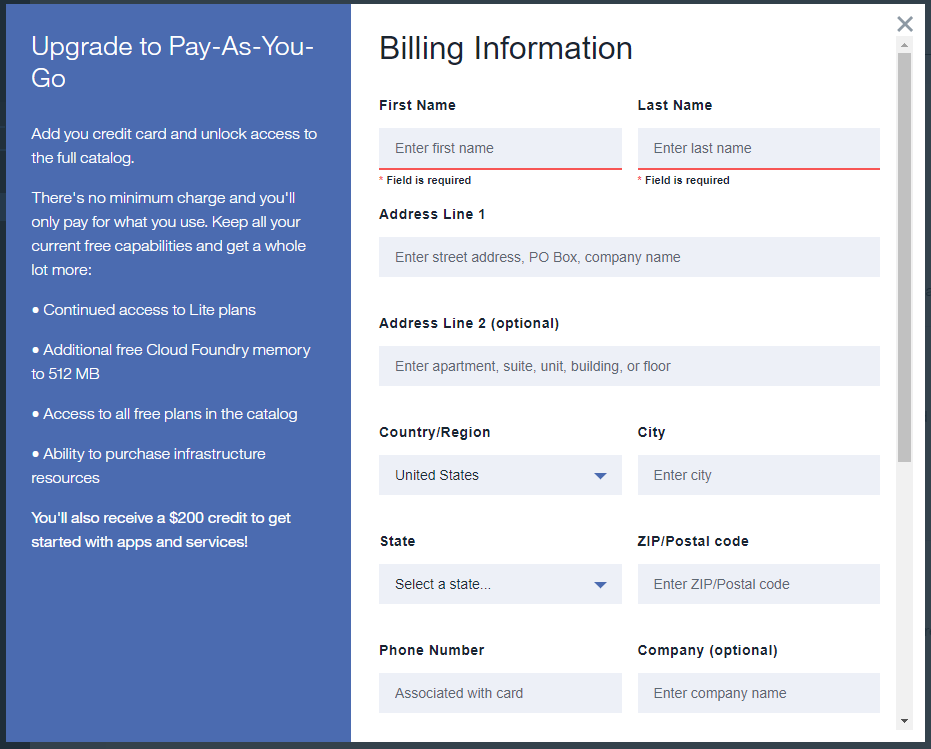
You'll be presented with this fairly standard billing information form. Fill it out and submit it.
You should now be the proud owner of an upgraded IBM Cloud account. You are now ready to complete the next steps of the tutorial. Now, let's have some fun with TJBot!
However, as of 12/26/2018, you can bypass this step:
- Open a second tab on your web browser and pull up the "lite" version of the service you wish to add (see examples below).
- While the "Create" button is greyed out, go back to the payment page and click "Add Credit Card".
- Without inputting any information, go back to the "lite" service tab and the "Create" button should be blue, and useable.