Getting Started with TJBot
 SFUptownMaker, jweisz, maryam
Have a Conversation with TJBot
The last recipe we'll explore uses the "Conversation" service and "Text to Speech" service to make TJBot at least minimally able to talk to us.
Speaker Hookup
At this point, we'll want to connect our mini-speaker to the Raspberry Pi. As with the power supply, there's only one place that the speaker can be connected. You may, if you choose, connect the charge cable for the speaker to a USB port on the Raspberry Pi, to ensure that the speaker will operate and remains fully charged.
Create Watson Services
As in the last two recipes, we'll need to create an instance of the "Conversation" and "Text to Speech" services. We'll also use the "Speech to Text" service we created for the first recipe. We'll need to fetch credentials for these various services and put them into, you guessed it, a config file on the Raspberry Pi. This time, you'll find the "config.default.js" file under "Desktop/tjbot/recipes/conversation". Open it in the text editor.
Start with the "Speech to Text" service. You can either return to your dashboard and click on the name of the service to bring up the familiar page with "Service credentials" on the left edge, or you can copy the credentials from the config file created for the first recipe.
Now, create a "Text to Speech" instance, following the same method you used to create instances in the first two recipes. Once more, you can leave the default values in place and just hit "Create". Copy the credentials into the text document.
Finally, create a "Conversation" instance. This one is a little more complicated. For the first portion, it works the same as the three other services we created, so just follow those steps again and copy the credentials into the text document. Default settings will once again suffice.
The last vital piece of information we need is the conversation workspace ID. Find the blank for this near the top of the text file, just above the credentials area for the Watson "Conversation" service. To acquire this, go to the IBM Watson Conversation website and log in with the same ID you used for the IBM Cloud website. Make sure you do this on the Pi's web browser. After logging in, you'll see this page:
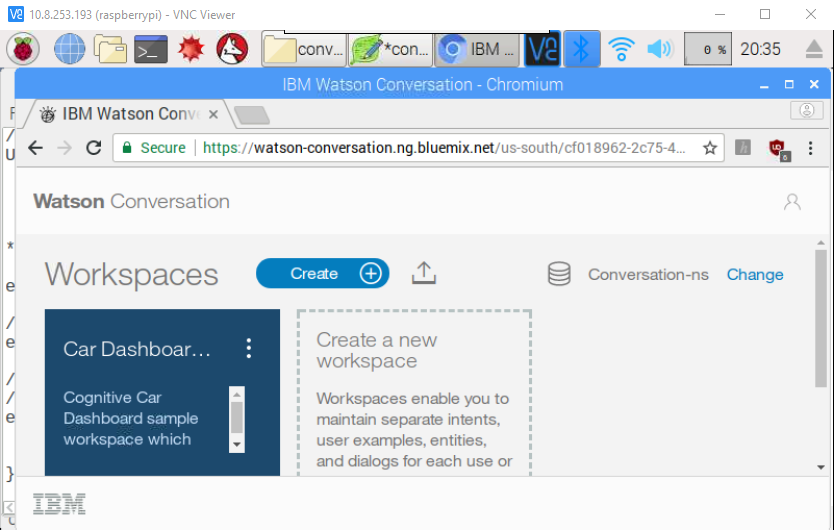
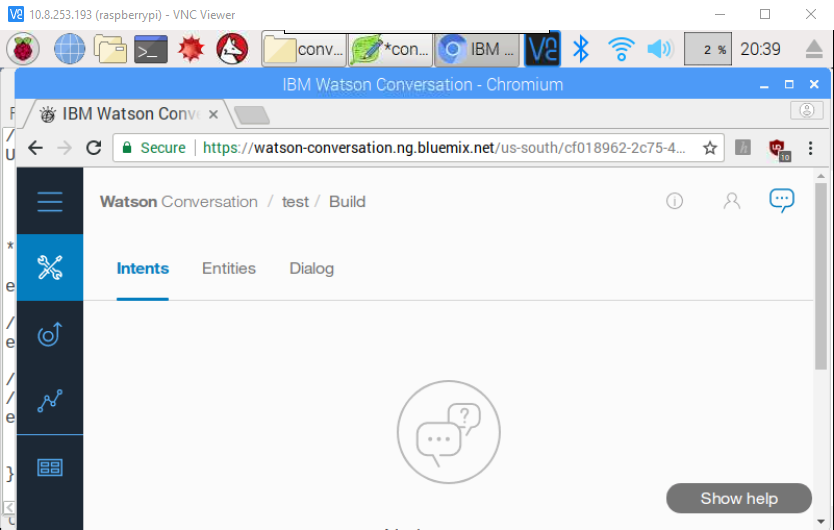
We need to upload a file, but first, we need to create a new workspace. Click on the "Create" button, then name your workspace (it doesn't matter what you call this one) and again click the "Create" button. That will take you to this page. Click on "Watson Conversation" at the top of the page to go back to the main Watson Conversation Workspace page.
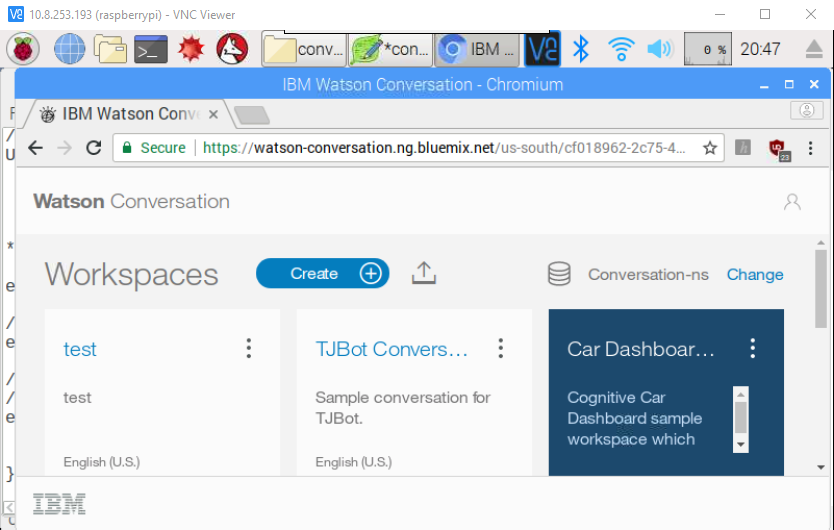
You'll be back at the main page. Click on the little "Upload" button (the half rectangle with the arrow pointing up) next to the "Create" button. If you hover over the button with your mouse's pointer, a text box will pop up with the words "Import workspace" as shown below.

Clicking on that button will bring up this window. Click on the "Choose a file" frame and find the file "Desktop/tjbot/recipes/conversation/workspace-sample.json". Leave the "Everything" radio button highlighted, then click "Import". That will get you to this page:
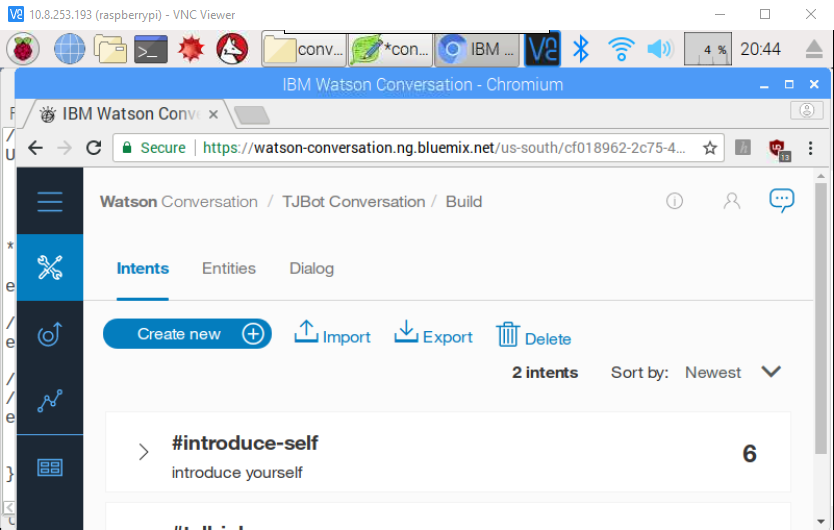
Click on "Watson Conversation" at the top of the page to go back to the main Watson Conversation Workspace page again.
Click on the three vertically aligned dots in the "TJBot Conversation" frame and choose "View Details". The contents of the frame will change; scroll down in the frame to find the Workspace ID, which is the final piece of information we need to get this recipe working! Copy it from this webpage to the text document, "Save as..." the document to the name "config.js", and close it.
Launch the Application
This part should look very familiar. Open a terminal window on the Raspberry Pi and type in these three commands:
cd Desktop/tjbot/recipes/conversation
npm install
node conversation.js
Again, wait for npm install to complete. After you input the node conversation.js command, you'll see this:
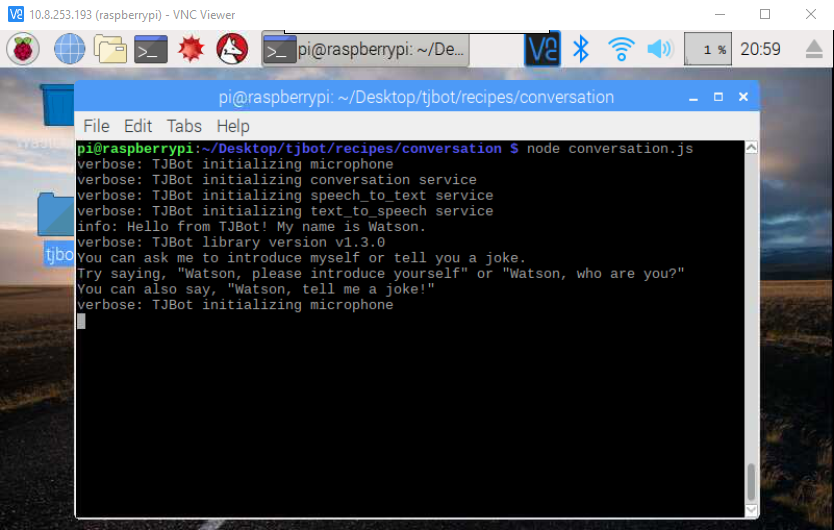
Try to start a conversation with the TJBot by using commands like "Watson, tell me a joke" or "Watson, who are you?" There aren't too many things you can ask for, but experiment with different ways of asking (for instance, "Watson, let's hear a joke" works just as well as "Watson, tell me a joke"). Explore the power of the language processing that Watson can do.
When you're done, hit ctrl-c to quit the script.