Getting Started with TJBot
 SFUptownMaker, jweisz, maryam
Getting Started
Before you do anything else, we recommend setting up your Raspberry Pi, connecting it to the Internet, and updating the OS. Here we'll help you out with that.
Setting up the Pi
Connect up your monitor, keyboard, and mouse as you would with any computer. Insert the microSD card that came with the TJBot kit and then plug in the power supply. There's only one place that the power supply can physically be plugged in: the micro-B USB connector labeled "PWR IN". Again, we recommend our 5.1V Micro USB power supply to power your TJBot.
After powering up and letting the Pi boot, you should have an image on the screen that looks something like this:

Users in the United States may want to change the keyboard layout from UK to US, as the UK layout has some keys in places that you wouldn't expect. To do that, open the Raspberry menu, select "Preferences", then "Mouse and Keyboard Settings".
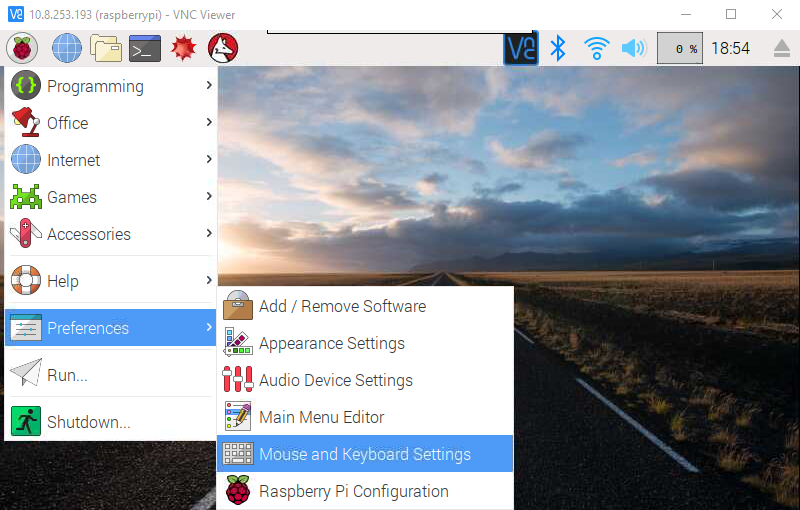
Under the "Keyboard" tab, you'll find a button called "Keyboard Layout...". Find your preferred keyboard layout in the window that pops up when you click that button.
Install TJBot
Installing TJBot is done with one script which can be run with one command. The command is:
curl -sL http://ibm.biz/tjbot-bootstrap | sudo sh -
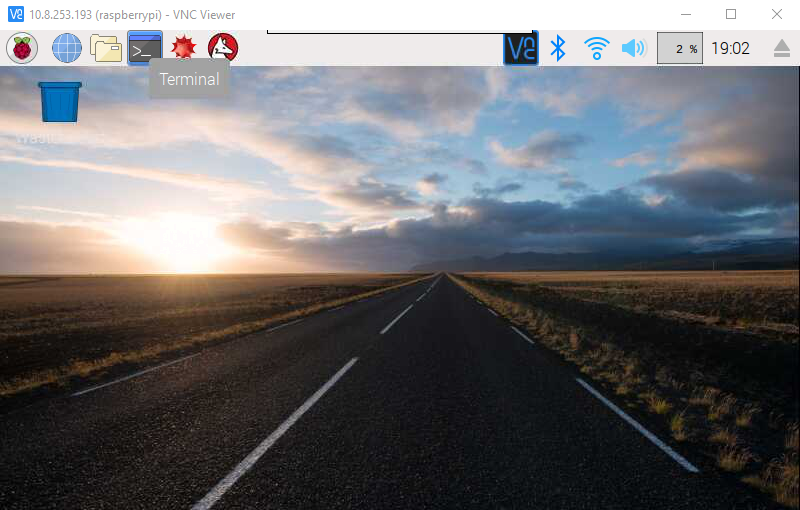
Copy that line and paste it into a terminal window. Open a terminal window by clicking on the button in the bar at the top of the screen highlighted in the image below.
Once you have pasted this line of code into the terminal window, hit the Enter key on the keyboard. That will pull the latest version of the TJBot Bootstrap script from the Internet. You'll get a window that looks something like this:
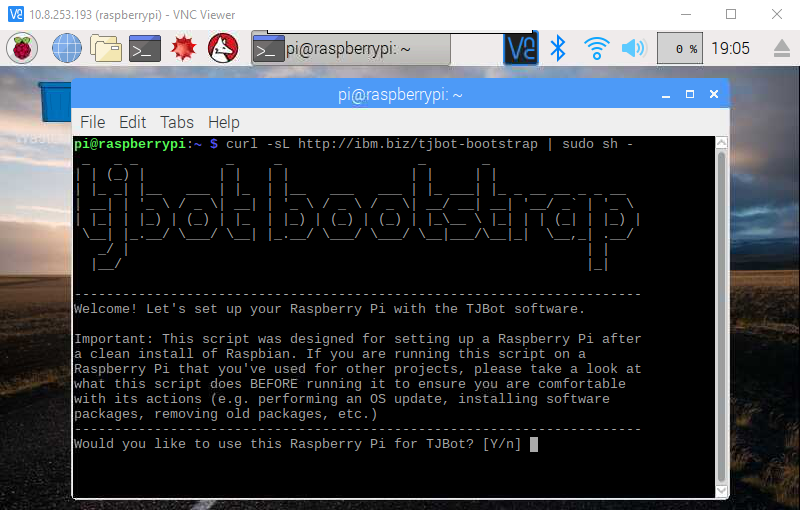
Presumably, you're running on the Raspberry Pi you want TJBot installed on, so type 'y', then hit Enter.
You'll be prompted to enter a name for your TJBot. Feel free to name the TJBot anything you wish, or just hit Enterto leave it unchanged. It really doesn't matter, I promise.
You'll then be asked if you wish to disable ipV6. Again, type 'y' and hit Enter.
The next question is whether to use Google's nameservers to speed up DNS queries. Again, hit 'y' and then Enter.
Then, the script will ask you if you wish to "force locale to US English (en-US)." You may answer yes or no to this question as you will, but if you're a user in the US, it makes sense to answer yes.
Upgrade the OS on the Raspberry Pi
You should now have a prompt that looks like this:

The script is asking a somewhat scary sounding question about upgrading your Raspberry Pi's operating system. It warns that this could take an hour or longer (GULP)! Don't worry, in our experience it takes about ten minutes or less depending on the speed of your Internet connection. In any case, you'll want to type 'y' again, then hit Enter to begin the update process. Keep an eye on the screen as the upgrade process runs, but you don't need to monitor it closely as the entire upgrade process is automatic. Screen after screen of text will scroll past during this process, and you don't need to worry about any of it.
Install Node.js
After the upgrade process is complete, you'll have this prompt, asking you about installing a newer version of Node.js.
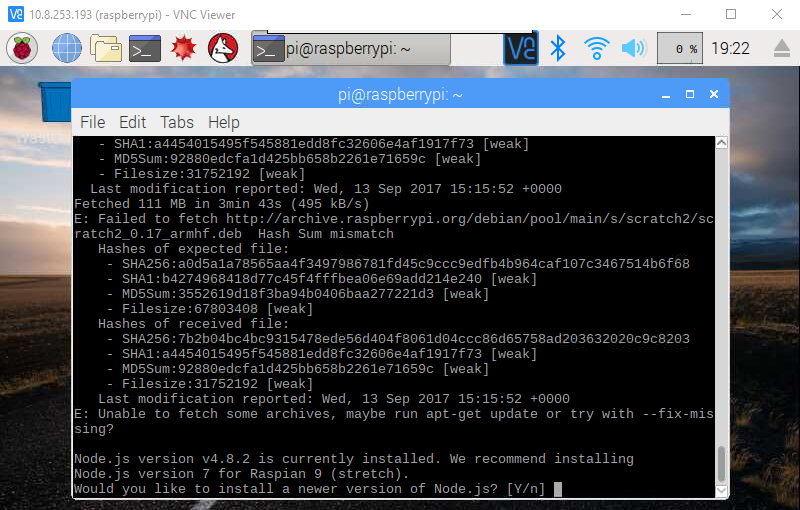
Again, answer yes to this question. Immediately after answering yes, you'll be asked which version of Node.js to install (6 or 7). Type '7', then hit Enter. You'll get another few screens of text as the script downloads and installs Node.js version 7 to your Raspberry Pi.
After Node.js is installed, the script will ask if you have a camera installed. If you didn't purchase a camera, answer no, as a camera doesn't come with the TJBot kit.
The next question is regarding "cloning" the TJBot project, and where that should be cloned to. Cloning in this case really just means downloading. The default location for downloading is to the desktop, which is as good a place as any and better than many. So just hit the Enter key to download the TJBot project to the desktop.
You'll now have a screen that looks as below.
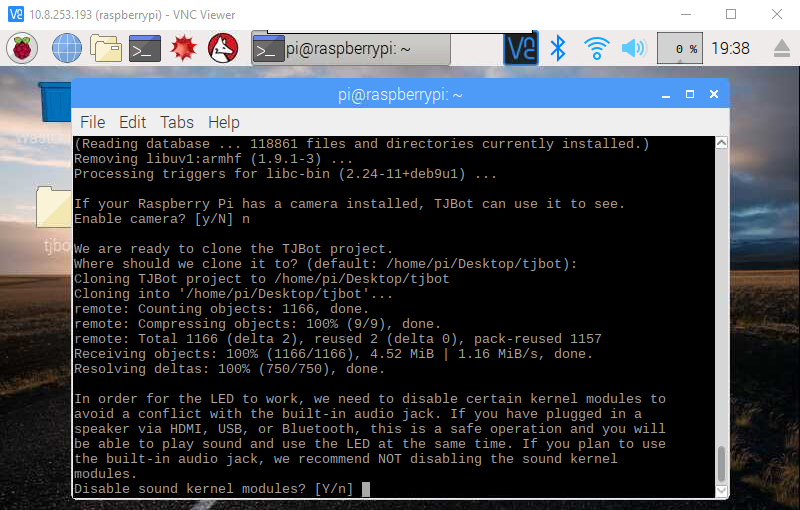
The script is asking "Disable sound kernel modules?" As the TJBot kit from SparkFun uses the audio jack for sound output instead of the HDMI or USB output options, you'll want to hit 'n' here. If you answer 'yes' to this question, audio won't work on later TJBot projects and you'll be sad.
Finish up!
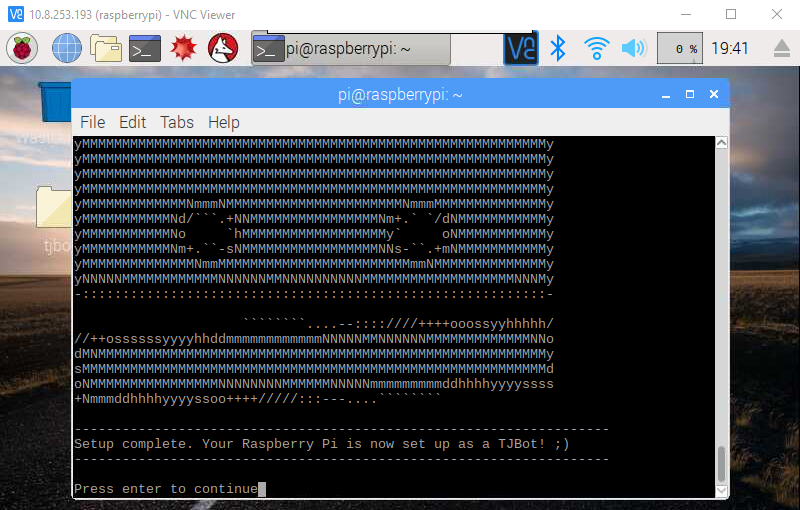
You'll now be treated to an ASCII art rendering of TJBot's face, a message saying that setup is complete, and an invitation to hit Enter to continue. Go ahead and hit Enter.
You'll now get a screenful of text about signing up for a free IBM Bluemix account, how to log in, create instances of services, get credentials, and other things as well! We are just going to ignore it for now, because we're going to walk you through all the steps in that window on the next pages.
Finally, you'll be asked if you want to run hardware tests. I suggest answering 'no' as some of the changes we made during the install process may cause these tests to fail even though nothing is wrong.
The last question is: "Do you want to reboot now?" You can answer 'yes' for an immediate reboot, or 'no' and reboot later. I recommend just going ahead and answering 'yes'.