Getting Started with the Tessel 2
Software Setup
Let's prepare the software side of things so you're ready to do the experiments in this guide. You'll need to have a few things installed, and you'll want to set up a project area for your JavaScript programs. So, don't skip ahead!
Installing Needed Things
You're going to need:
- A text editor
- Node.js
- A terminal application
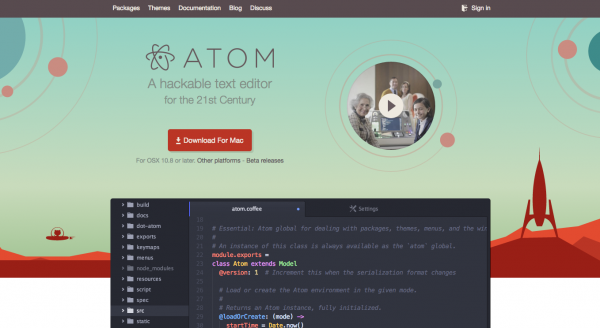
Installing a Text Editor: Atom
You will need a text editor in which to edit and save your JavaScript files. This means a plain text editor, not a Word document. If you've already got one -- like SublimeText, Notepad++, vim, etc. -- then groovy. If not, go ahead and install Atom.

If you have never used a text editor to write JavaScript, HTML, etc., we recommend using Atom. Atom is a free and open source text editor that works on all three major operating systems. It is lightweight and, when you get comfortable, it's hackable!
Download Atom by heading to the Atom website.
Installing Node.js

Node.js is a JavaScript runtime -- that is, it's software that can execute your JavaScript code. Node.js has special features that support some of the best potentials of the JavaScript programming language, like event-driven, non-blocking I/O. npm is Node's package manager. It's a giant repository of encapsulated bits of reusable, useful code -- called modules -- that you can use in your programs. npm will get installed for you when you install Node.js.
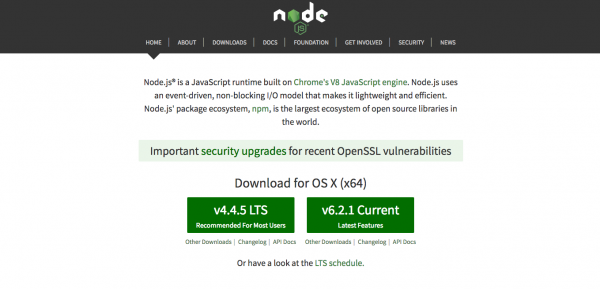
Installing Node.js is a straightforward download-and-double-click process. Head on over to the Node.js website. Heads up: You'll want to select the "LTS" version for download (LTS stands for Long-Term Support). At time of writing, LTS is v4.4.5:
Using a Terminal: Command Line Basics
Working with the Tessel is just like doing web development. But if you're not familiar with web development, you might want to take a minute or two to get comfortable with some key tools of the trade: the command line, which is the "terminal" where you execute commands, and the text editor, where you work on and save your programs. Tessel's site has a great resource to help you get started with terminal.
In the context of this tutorial, things that should be run in the command line look like this:
hello i am a command line command!
You'll see this when you get to the first experiment. But, don't skip ahead; you'll need the tools we install in the next step.
Setting up a Project Working Area
Take a moment to set up a working area (directory) where you can put the programs for your Johnny-Five Inventor's Kit (J5IK). You'll also need to initialize the new project with npm and install needed npm modules for both Johnny-Five and Tessel.
You can accomplish all of this by typing (or copying and pasting) the following commands in a terminal:
mkdir j5ik;
cd j5ik;
npm init -y;
npm install johnny-five tessel-io;
Running these commands will generate some output in your terminal. If everything goes smoothly, you'll see some output about edits to a package.json file, and some additional output as npm installs the needed modules. You may also see a few WARN statements about missing description or repository field. Don't worry; nothing's broken.
An example of the kind of output you'll see (though yours will differ in some particulars):
Wrote to /your/path/j5ik/package.json:
{
  "name": "j5ik",
  "version": "1.0.0",
  "description": "",
  "main": "index.js",
  "scripts": {
    "test": "echo \"Error: no test specified\" && exit 1"
  },
  "keywords": [],
  "author": "",
  "license": "ISC"
}

j5ik@1.0.0 /your/path/j5ik
├── johnny-five
└── tessel-io
npm WARN j5ik@1.0.0 No description
npm WARN j5ik@1.0.0 No repository field.


