Getting Started with LilyPad
LilyPad Basics: Parts of a Circuit
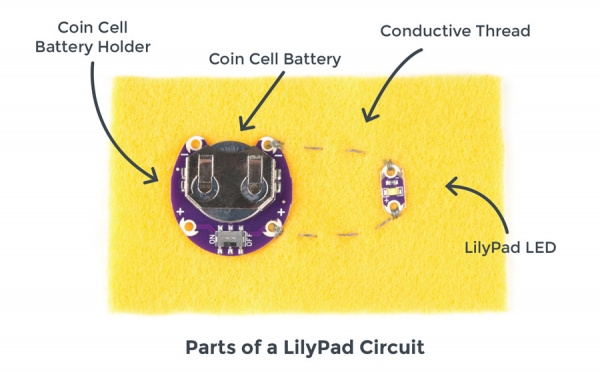
Every LilyPad circuit, no matter how complex, has three basic parts: (1) a power source, (2) conductive paths (conductive thread stitching) between electronic components, and (3) the LilyPad pieces that are connected together to light up, make sound or perform other behaviors (the “function” of your project).
1. Choosing a Power Source
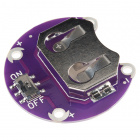
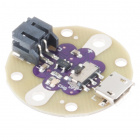
All LilyPad projects need a power source — most use either a 3V CR2032 coin cell battery or a 3.7V lithium polymer rechargeable battery. Which power solution you need will depend on a few factors: the size of your project, the type of LilyPad Arduino you choose, and whether you would rather replace or recharge a battery. The LilyPad line includes a stand-alone sewable coin cell holder or built-in battery connections for 3V coin cell batteries or 3.7V lithium polymer batteries (available on select LilyPad boards).
2. Conductive Thread Connections
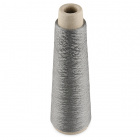
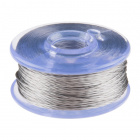
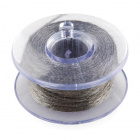
LilyPad boards are made to be sewn together using conductive thread, a special thread made with stainless steel fibers. Used instead of copper wiring to connect LilyPad pieces together, conductive thread provides a soft and flexible connection between components that is incorporated directly into fabric. Each LilyPad piece has a large sew tab to accommodate a variety of needle sizes for attaching conductive thread.
Learn more about sewing with conductive thread in the Lilypad Basics: E-Sewing tutorial.
LilyPad Basics: E-Sewing
3. LilyPad Pieces
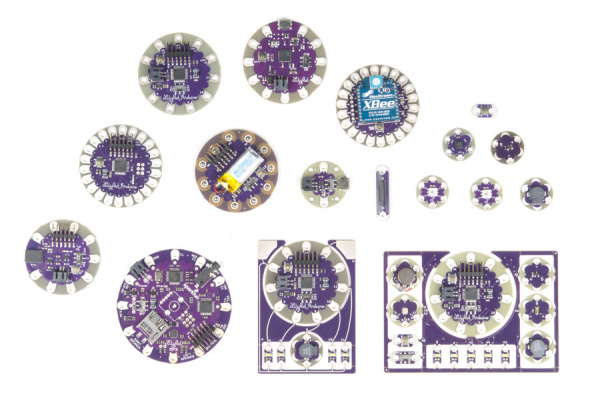
The LilyPad line includes a variety of sewable components for creative projects. Choose from LEDs in a variety of colors, buttons, switches, sensors, buzzers, and controller (Arduino) boards. Check out all of the individual LilyPad pieces here. Which pieces you choose to build into your project will depend on your individual vision and goals. Read on for more about the different types of LilyPad projects you can make.
