Experiment Guide for the SparkFun Tinker Kit
This Tutorial is Retired!
This tutorial covers concepts or technologies that are no longer current. It's still here for you to read and enjoy, but may not be as useful as our newest tutorials.
View the updated tutorial: Activity Guide for SparkFun Tinker Kit
 D___Run___
 Experiment 7: Reading a Temperature Sensor
Introduction
A temperature sensor is exactly what it sounds like – a sensor used to measure ambient temperature. In this experiment you will read the raw 0--1023 value from the temperature sensor, calculate the actual temperature, and then print it out over the serial monitor. Don't know what the serial monitor is? Go through this experiment to find out!
Parts Needed
You will need the following parts:
- 1x Breadboard
- 1x SparkFun RedBoard
- 3x Jumper Wires
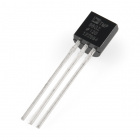
- 1x TMP36 Temperature Sensor
Didn't Get the Tinker Kit?
If you are conducting this experiment and didn't get the Tinker Kit, we suggest using these parts:


Temperature Sensor - TMP36
SEN-10988
Introducing the TMP36 Temperature Sensor
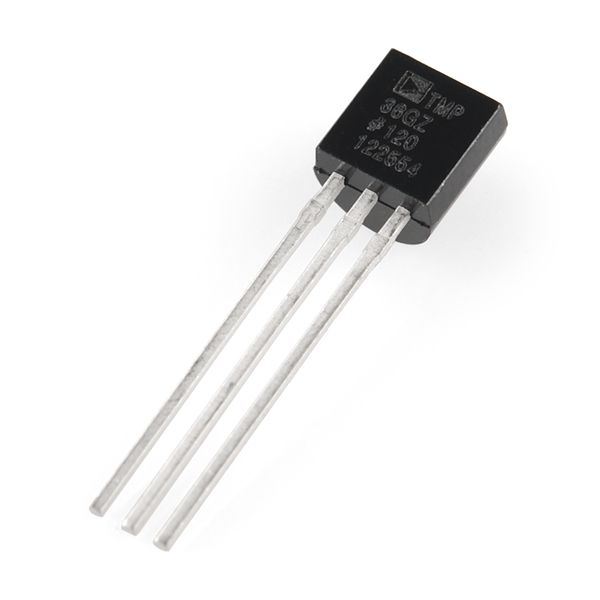
The TMP36 is a low-voltage, precision centigrade temperature sensor. It provides a voltage output that is linearly proportional to the Celsius temperature. It also doesn’t require any external calibration to provide typical accuracies of ±1°C at +25°C and ±2°C over the −40°C to +125°C temperature range. The output voltage can easily convert to temperature using the scale factor of 10 mV/°C.
If you are looking at the flat face with text on it, the center pin is your signal pin; the left-hand pin is supply voltage (5V in this tutorial), and the right-hand pin connects to ground.
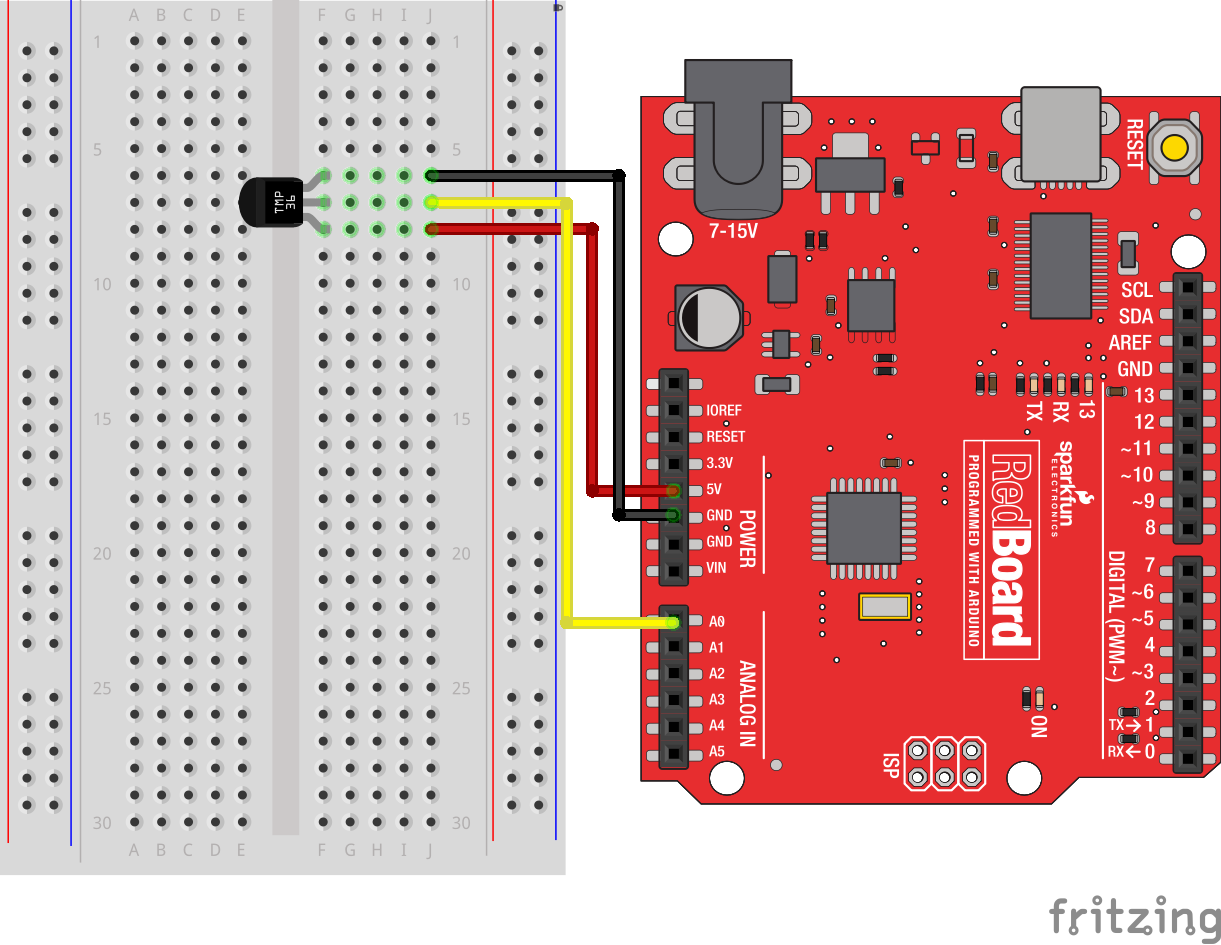
Hardware Hookup
Ready to start hooking everything up? Check out the wiring diagram below to see how everything is connected.
| Polarized Components | Pay special attention to the component’s markings indicating how to place it on the breadboard. Polarized components can only be connected to a circuit in one direction. |
Please note: The temperature sensor can only be connected to a circuit in one direction. See below for the pin outs of the temperature sensor -- TMP36.
Wiring Diagram for the Experiment
Open the Sketch
Open the Arduino IDE software on your computer. Coding in the Arduino language will control your circuit.
You can type out or copy and paste the following code into the Arduino IDE. Hit upload, and see what happens!
language:cpp
/*
SparkFun Tinker Kit
Example sketch 07

TEMPERATURE SENSOR

  Use the "serial monitor" window to read a temperature sensor.

This sketch was written by SparkFun Electronics,
with lots of help from the Arduino community.
This code is completely free for any use.
Visit http://learn.sparkfun.com/products/2 for SIK information.
Visit http://www.arduino.cc to learn more about Arduino.

*/

//analog input pin constant
const int tempPin = 0;

//raw reading variable
int tempVal;

//voltage variable
float volts;

//final temperature variables
float tempC;
float tempF;

void setup()
{
  // start the serial port at 9600 baud
  Serial.begin(9600);
}


void loop()
{
 //read the temp sensor and store it in tempVal
 tempVal = analogRead(tempPin);

 //print out the 10 value from analogRead
 Serial.print("TempVal = ");
 Serial.print(tempVal);

 //print a spacer
 Serial.print(" **** ");

 //converting that reading to voltage by multiplying the reading by 5V (voltage of       //the RedBoard)
 volts = tempVal * 5;
 volts /= 1023.0;

 //print out the raw voltage over the serial port
 Serial.print("volts: ");
 Serial.print(volts, 3);

 //print out divider
 Serial.print(" **** ");

 //calculate temperature celsius from voltage
 //equation found on the sensor spec.
 tempC = (volts - 0.5) * 100 ;

// print the celcius temperature over the serial port
Serial.print(" degrees C: ");
Serial.print(tempC);

//print spacer
 Serial.print(" **** ");

// Convert from celcius to fahrenheit
tempF = (tempC * 9.0 / 5.0) + 32.0;

//print the fahrenheit temperature over the serial port
Serial.print(" degrees F: ");
Serial.println(tempF);

//wait a bit before taking another reading
delay(1000);
}
Code to Note
Serial.begin(9600);
Before using the serial monitor, you must call Serial.begin() to initialize it. 9600 is the "baud rate," or communications speed. When two devices are communicating with each other, both must be set to the same speed.
Serial.print(tempC);
The Serial.print() command is very smart. It can print out almost anything you can throw at it, including variables of all types, quoted text (AKA "strings"), etc. See http://arduino.cc/en/serial/print for more info.
Serial.println(tempF);
Serial.print() will print everything on the same line.
Serial.println() will move to the next line. By using both of these commands together, you can create easy-to-read printouts of text and data.
What You Should See
You should be able to read the temperature your temperature sensor is detecting on the serial monitor in the Arduino IDE. If it isn't working, make sure you have assembled the circuit correctly and verified and uploaded the code to your board, or see the Troubleshooting section.
Example of what you should see in the Arduino IDE’s serial monitor:
TempVal = 223 **** volts: 0.719 **** degrees C: 21.94 **** degrees F: 71.48
TempVal = 224 **** volts: 0.723 **** degrees C: 22.26 **** degrees F: 72.06
TempVal = 224 **** volts: 0.723 **** degrees C: 22.26 **** degrees F: 72.06
TempVal = 224 **** volts: 0.723 **** degrees C: 22.26 **** degrees F: 72.06
TempVal = 224 **** volts: 0.723 **** degrees C: 22.26 **** degrees F: 72.06
TempVal = 224 **** volts: 0.723 **** degrees C: 22.26 **** degrees F: 72.06
TempVal = 223 **** volts: 0.719 **** degrees C: 21.94 **** degrees F: 71.48
TempVal = 223 **** volts: 0.719 **** degrees C: 21.94 **** degrees F: 71.48

Troubleshooting
Nothing Seems to Happen
This program has no outward indication it is working. To see the results you must open the Arduino IDE's serial monitor (instructions on previous page).
Gibberish is Displayed
This happens because the serial monitor is receiving data at a different speed than expected. To fix this, click the pull-down box that reads "*** baud" and change it to "9600 baud".
Temperature Value is Unchanging
Try pinching the sensor with your fingers to heat it up or pressing a bag of ice against it to cool it down.
Temperature Sensor is Really Hot!
You have wired it backward! Unplug your Arduino immediately, let the sensor cool down, and double check your wiring. If you catch it soon enough your sensor may not have been damaged and may still work.