ESP8266 Thing Development Board Hookup Guide
 jimblom
 Introduction
The ESP8266 is a cost-effective, and very capable WiFi-enabled microcontroller. Like any microcontroller, it can be programmed to blink LEDs, trigger relays, monitor sensors, or automate coffee makers, and with an integrated WiFi controller, the ESP8266 is a one-stop shop for almost any Internet-connected project. To top it all off, the ESP8266 is incredibly easy-to-use: firmware can be developed in Arduino and uploaded over a simple, serial interface.
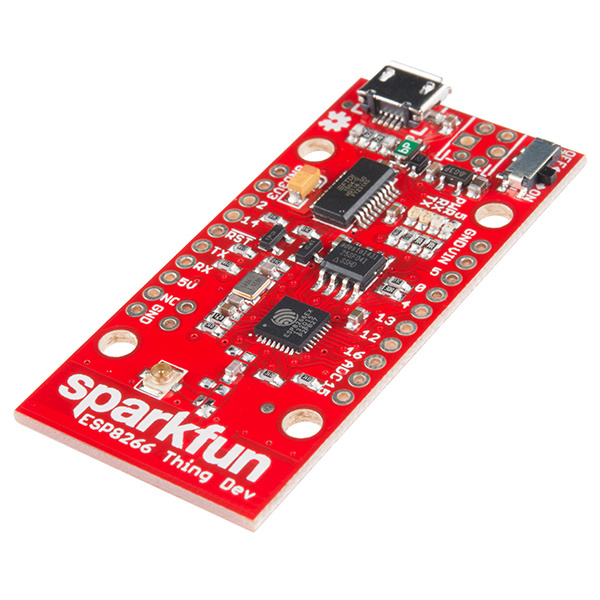
To take advantage of all of those benefits, we've created the ESP8266 Thing Development Board -- an ESP8266 development board, with an integrated FTDI USB-to-Serial chip.
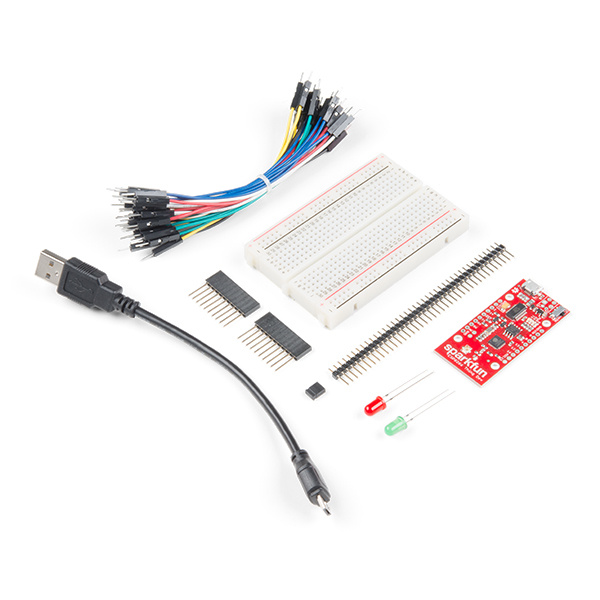
SparkFun ESP8266 Thing Dev Starter Kit
KIT-15259The ESP8266 Thing Development Board breaks out all of the module's pins, and the USB-to-serial converter means you don't need any peripheral components to program the chip. Just plug in a USB cable, download the Arduino board definitions, and start IoT-ing.
Covered in this Tutorial
This tutorial will help you get your ESP8266 Thing Development Board from zero to Internet-controlled blinking. It's split into the following sections:
- Hardware Overview -- A quick rundown of the Thing Development Board's components and pinout.
- Hardware Setup -- Tips and recommendations on what to solder to the Thing Development Board's I/O pins.
- Setting Up Arduino -- What truly makes the ESP8266 so powerful is its potential for Arduino-compatibility.
- Example Sketch: Web Server -- Run an HTTP server on the Thing. Use it to serve web pages, print status messages, and control LEDs!
- Example Sketch: Blink with Blynk -- One of our favorite new toys is the Blynk phone app, which allows you to toggle LEDs and monitor inputs with a simple multi-platform phone app.
- Using the ESP8266 in Arduino -- A few gotchya's to look out for when programming the ESP8266 in Arduino.
Required Materials
If you are ordering the ESP8266 Thing Development individually, you will need a few components to get started. Beyond the ESP8266 Thing Development Board itself, all you should need to get started is a micro-B USB Cable, which will deliver power the board and set up our USB programming interface.
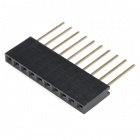
Depending on how you want to use the board, you may also want to add male headers, female headers, or hedge your bets with 10-pin stackable headers.


Suggested Reading
Before continuing on with this tutorial, you may want to familiarize yourself with some of these topics if they're unfamiliar to you: