ESP32 LoRa 1-CH Gateway, LoRaWAN, and the Things Network
Introduction

Experimental Products: SparkX products are rapidly produced to bring you the most cutting edge technology as it becomes available. These products are tested but come with no guarantees. Live technical support is not available for SparkX products.
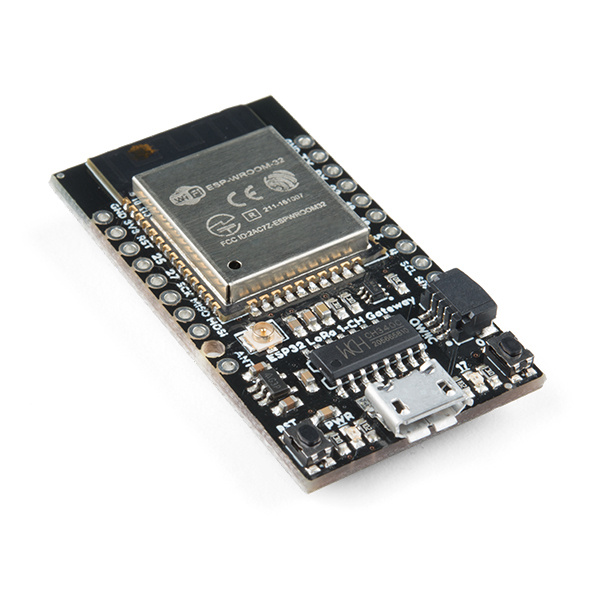
The ESP32 LoRa 1-CH Gateway combines an ESP32 -- a programmable microcontroller featuring both WiFi and Bluetooth radios -- with an RFM95W LoRa transceiver to create a single-channel LoRa gateway. It's a perfect, low-cost tool for monitoring a dozen-or-so LoRa devices, and relaying their messages up to the cloud.
ESP32 LoRa 1-Channel Gateway
SPX-14893Complete with a Qwiic connector and a breadboard-compatible array of ESP32 pin-breakouts, this board can can also serve as a general-purpose ESP32/RFM95W development platform. So, instead of using it as a LoRaWAN gateway, you can turn it into a LoRa device, and use the powerful ESP32 microcontroller to monitor sensors, host a web server, run a display or more.
These boards are a great way to begin dipping your toes into the world of LoRa and LoRaWAN. Not only can they be programmed as versatile single-channel gateway, but they can also be used as a LoRa device, or a general ESP32/RFM95W development board.
The goal of this tutorial is to get you quickly up-and-running with the ESP32 LoRa 1-CH Gateway. It'll explain how to program the board in Arduino, how to our recommended gateway firmware, and even how to turn the board into a LoRa device.
Required Materials
The ESP32 LoRa Single-Channel Gateway is designed to be a nearly-complete LoRa gateway. There are just a few extra components you may need to get it up-and-running. You may not need everything though depending on what you have. Add it to your cart, read through the guide, and adjust the cart as necessary.
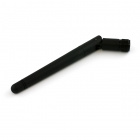
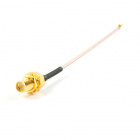
To power and program the board, you'll need a micro-B USB cable and a computer with Arduino installed. To boost your LoRa radio's signal, you'll also need an antenna. You can either use the included U.FL connector -- with a U.FL-to-SMA adapter and 900 MHz SMA antenna -- or solder on a ~3-inch strip of wire.
Tools
You will need a soldering iron, solder, and general soldering accessories.
Weller WLC100 Soldering Station
TOL-14228Suggested Reading
If you aren’t familiar with the following concepts, we recommend checking out these tutorials before continuing.


