Efficient Arduino Programming with Arduino CLI and Visual Studio Code
 jimblom
Introduction
The Arduino IDE (integrated development environment) is great at achieving its intended purpose: It's a simple, single-file application development environment. It has just enough integrated tools to help achieve that purpose. But for larger application development -- whether you're designing Arduino libraries or developing new Arduino cores -- it doesn't compare with a full-featured C/C++ IDE.
The Arduino IDE lacks a number of "professional" code-assistance features, like:
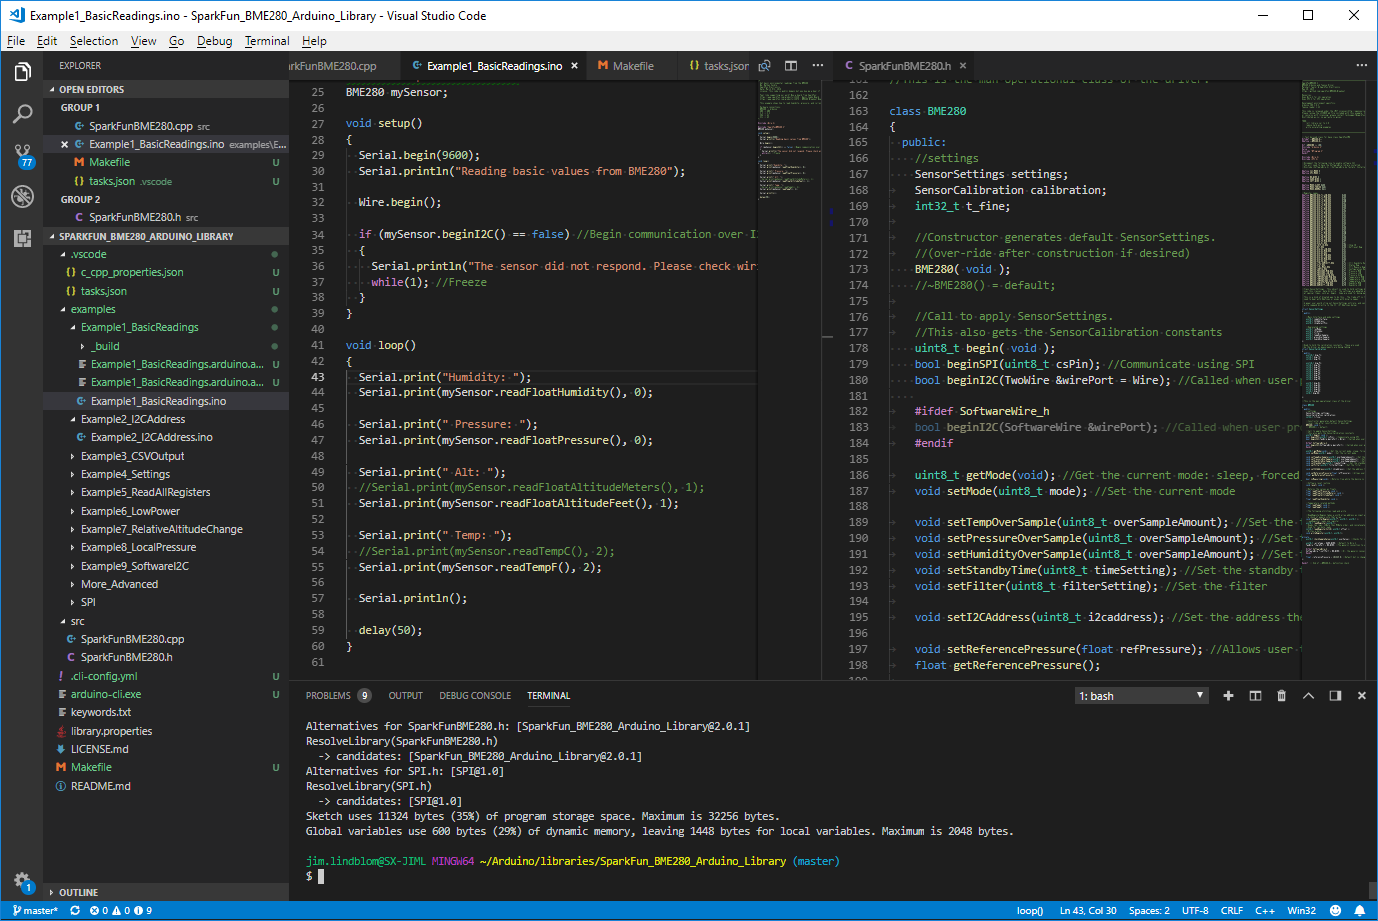
- Code navigation -- Whether it's find-by-reference (instantly navigating to the definition of the function you're using), search-by-symbol (quick navigation to function or symbol definitions within a file), or a quick link to a compilation error, code navigation is critical to managing large code bases.
- Auto-Complete -- This feature can, of course, help complete long constant names, but it can also provide insight into the parameters that a function may expect.
- Version control integration -- Whether you're using git or SVN, many modern IDE's provide source-control integration that can show, line-by-line, the changes you've made since your last commit.
- Refactoring -- Need to overhaul a function's naming scheme? Or convert a common block of code into a function that can be more widely-used throughout your application? Sounds like a refactoring job! A modern IDE can help with that.
- Integrated Terminal -- Whether you use bash or the Windows CMD, an integrated terminal can save you loads of time. This tool allows you to run "make", "grep", or any of your favorite terminal commands without ever swapping windows.
Once you take the time to learn these tools they make programming in C/C++ (or any language, really) so much more efficient. They help produce better code faster.
Also critical to this tutorial is Arduino's recently (pre-)released Arduino CLI. The Arduino CLI provides a command-line interface for such tasks as:
- Building Arduino sketches
- Uploading Arduino sketches
- Downloading libraries
- Downloading new board definition files.
Arduino CLI is the "glue" we'll use to pair the VS Code IDE with common Arduino compilation and upload tools. Arduino CLI provides us a command line interface that can be passed to tools like make or a shell via the IDE.
Covered in This Tutorial
This tutorial will demonstrate how to use a VS Code to build for and program an Arduino -- all without ever opening the comfortable-yet-restricting Arduino IDE. We'll try to step through, as much as possible, how the VS Code/Arduino CLI pair can be used to develop an Arduino library, but a lot of what we'll cover can be adapted to new Arduino core development or even simple Arduino sketch-writing.
Prerequisites
This is a relatively advanced tutorial. If you're not familiar with using a terminal or invoking command-line tools like make, we'd recommend learning a bit about those first. There are tons of great resources that can help familiarize you with these tools. A few in particular we'd recommend are:
- userland -- An eminently-approachable book on the command-line written by an old SparkFun alumnus.
- O'Reilly's Managing Projects with GNU Make, Third Edition -- A free, exhaustive book on using Make.
Or, honestly, just grab a Raspberry Pi and dive head-first into the Headless Raspberry Pi Setup
You'll also need Arduino installed on your machine. Visit arduino.cc to download the latest version locally to your machine.
We'd also recommend you set up your Arduino sketchbook location and install all libraries and board definitions you'd like to use using the Arduino IDE. (These are features that still seem to mostly be in their infancy as Arduino CLI continues its development.)