E-Textile Mask
This Tutorial is Retired!
For an updated E-Textile Mask tutorial, try checking out the "Illuminated Mask" tutorial.
View the updated tutorial: Illuminated Mask
 Gella
Gella 
Step 5: Customize Your Character
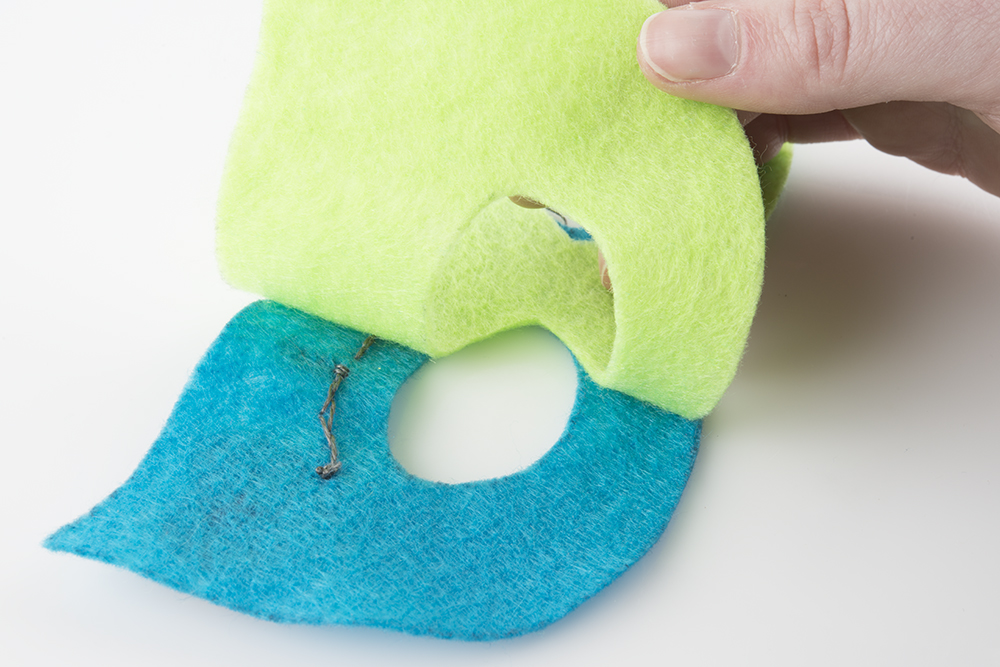
After you've checked your circuit it's time to get creative with adding some details to your mask. First, glue the second layer of felt on the back of the mask to add some extra stability and to insulate the back of the circuit.
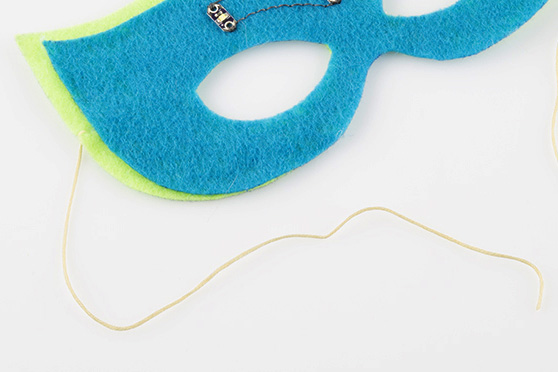
Cut small holes on either side of the mask with scissors or a hole punch and tie a string or piece of elastic to hold the mask on.
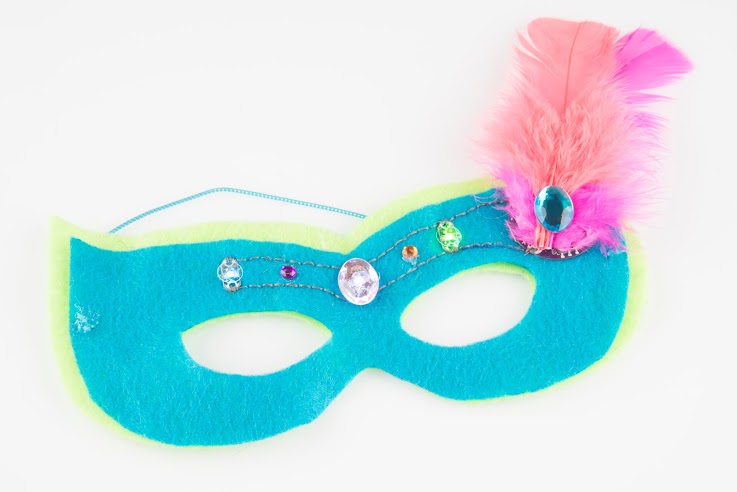
If you have craft supplies such as glitter, paint or other decorative accents you can add them to enhance or hide your LEDs and stitching. If you want to cover the battery holder on the front of the mask, using feathers or big buttons can be a nice flourish that adds pizzazz and hides the board. Make sure you leave a bit of room so you can replace the battery when necessary. Congratulations, you just created a blingin' e-textile accessory!