E-Textile Mask
This Tutorial is Retired!
For an updated E-Textile Mask tutorial, try checking out the "Illuminated Mask" tutorial.
View the updated tutorial: Illuminated Mask
 Gella
Gella 
Step 2: Place Components
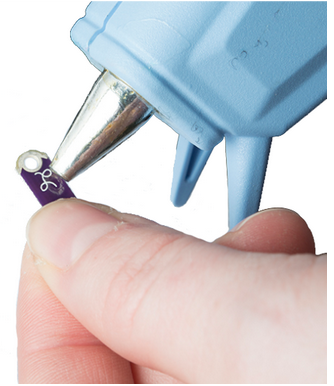
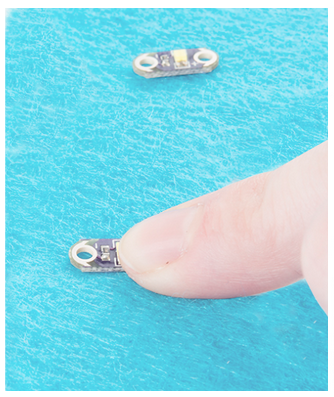
Use a dot of hot glue on the back of the battery holder and glue to the top right corner of your mask, making sure the opening for the battery is facing up (see template). Arrange three LilyPad LEDs in a line across the top of the mask with all of the positive ends facing down and all of the negative ends facing up so that they line up with the positive and negative holes on the battery holder. Space them out over the eyebrow region of your mask to make an even pattern. Use a tiny dot of hot glue in the middle of the boards to help hold them onto your felt for sewing. Be careful not to cover the holes at the end of the boards or you won't be able to get a needle through the dried glue.
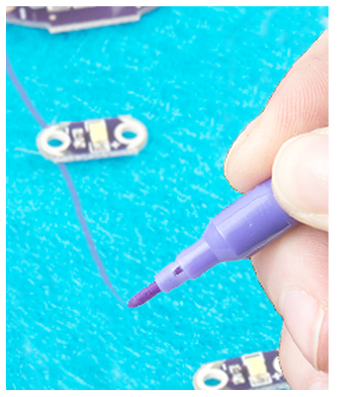
To help plan where the stitches will go you can use a marker to draw lines between the LEDs.