E-Textile Mask
This Tutorial is Retired!
For an updated E-Textile Mask tutorial, try checking out the "Illuminated Mask" tutorial.
View the updated tutorial: Illuminated Mask
Introduction
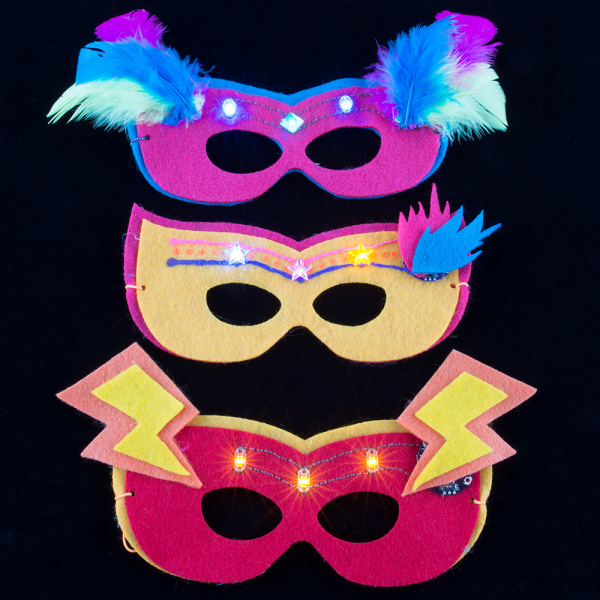
E-Textiles are a great way to add flair to your clothing and costumes but crafting on a garment can be a challenge for your first project. Making an accessory is a great way to explore sewing circuits on a smaller scale. This tutorial shows a mask with three LEDs but feel free to try other designs and patterns using more or less lights for a customized crafty creation!
Suggested Reading
If you've never worked with e-textiles before, you may want to have a look at these other tutorials.
Materials and Tools
Let's go over all of the things you'll need to sew your project together:
You will also need:
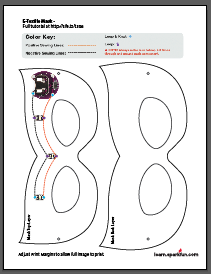
- Mask template - download and print the mask template. Template PDF
- Felt - a 9x12 sheet of craft felt will make one mask. Try mixing colors for a more festive mask.
- Scissors
- Hot glue gun
- Elastic cord or ribbon
- Optional - extra craft supplies to decorate (feathers, sequins, buttons, etc).
Step 1: Cut Out Template
Download and print the provided template. Hold the template up to your face to make any adjustments to the eye or nose shapes so that it fits the way you like. Then trace the template pieces onto felt.
Right-click the image below and choose “Save Link As” to download the template to your computer.
There are two layers - one for sewing on the electronics and a larger mask shape that will be glued on at the end to give it some extra support. Set aside the bigger mask shape for now. We'll be sewing all of the electronics onto the top (smaller) mask shape.
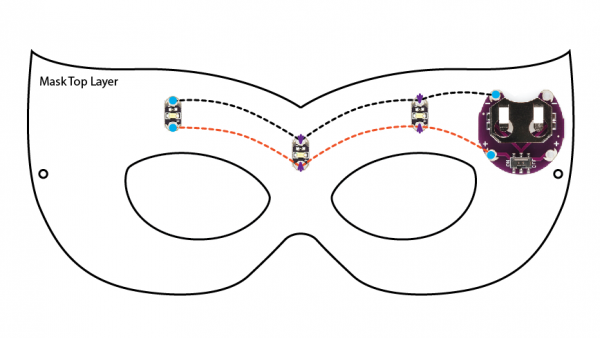
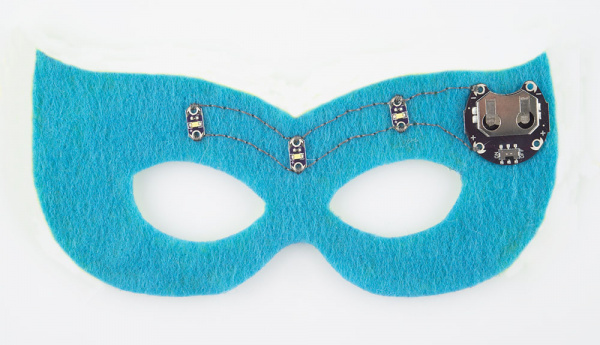
To light up the mask we will be connecting the LEDs to the battery holder with conductive thread using a parallel circuit layout. This isn't just a choice based on the look of the boards, it is actually an electrical plan as well! In a parallel circuit all of the components are aligned so that they get the same amount of voltage running through them. Each LED gets the same amount of power and shines just as brightly as the others. Use your printed template as a guideline for placement of the components.
Learn more about parallel circuits here: LDK Experiment 2: Multiple LED Circuits
Step 2: Place Components
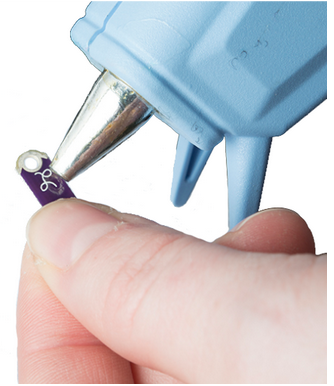
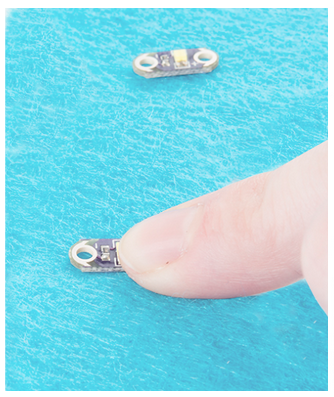
Use a dot of hot glue on the back of the battery holder and glue to the top right corner of your mask, making sure the opening for the battery is facing up (see template). Arrange three LilyPad LEDs in a line across the top of the mask with all of the positive ends facing down and all of the negative ends facing up so that they line up with the positive and negative holes on the battery holder. Space them out over the eyebrow region of your mask to make an even pattern. Use a tiny dot of hot glue in the middle of the boards to help hold them onto your felt for sewing. Be careful not to cover the holes at the end of the boards or you won't be able to get a needle through the dried glue.
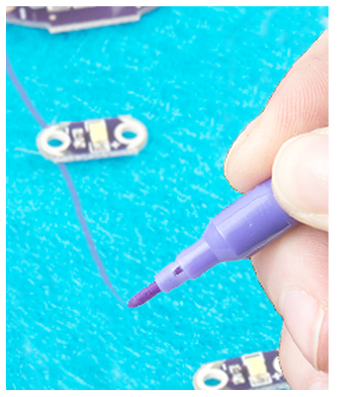
To help plan where the stitches will go you can use a marker to draw lines between the LEDs.
Step 3: Ready, Set, Sew!
If you need help sewing with conductive thread this tutorial covers the basics.
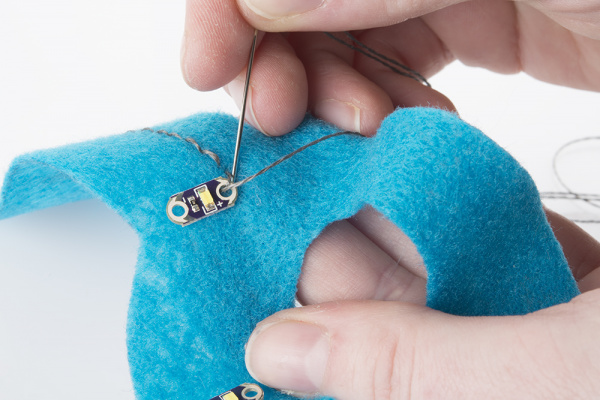
Using a long piece of conductive thread (~2 ft) begin sewing the positive ends of the LED to your battery holder in a line. You can use one piece of thread and sew along to the first LED, sew 3-4 stitches through the hole to secure and instead of knotting and cutting, continue on to the next LED and repeat until you've reached the end of the row. Then tie off and cut.
Repeat for the negative sides with a separate piece of thread. Make sure each LED has 3-4 stitches around the hole to secure tightly before moving on.
Try a 'wiggle test' – if you can easily wiggle the LED back and forth after stitching it, the stitches are too loose and your connection isn’t secure.
Step 4: Test Your Circuit
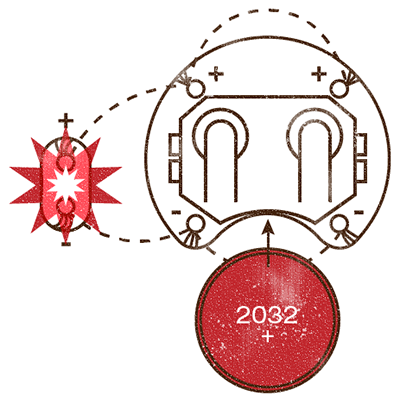
Insert the coin cell battery into the battery holder with the positive (labeled) side facing up. Turn on the switch and see if your LED row shines brightly! If any of the LEDs aren't illuminating, check your stitches to make sure they are tight. If not you can go in and sew with a bit of conductive thread over the connection point, holding the piece down tighter and making sure that your thread is touching both the board and the original sewn line.
This image from another tutorial shows how to place a battery in a LilyPad Battery Holder.
Troubleshooting
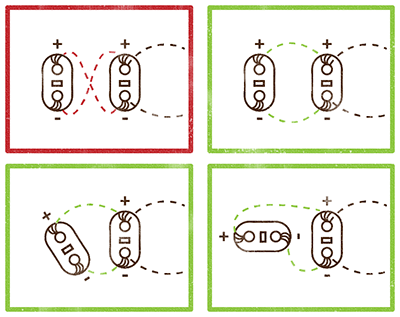
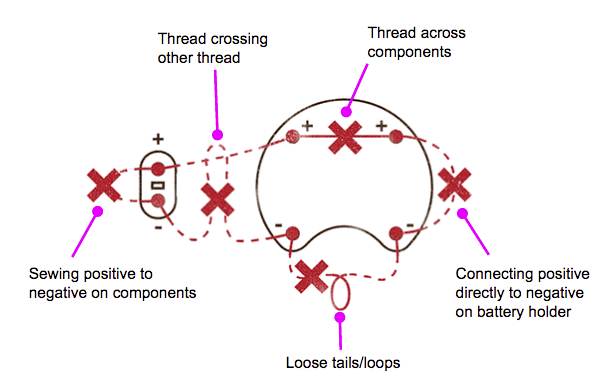
With any electronics project there are times you will have to troubleshoot if your circuit isn't working. If your circuit isn't lighting up, try a new battery or check that your project is switched on. Check your sewing for any loose threads or ends that may be touching other parts of your circuit and causing a short circuit. See the picture for examples of conductive thread short circuits – practice tidy stitching to keep your thread from causing problems.
Read more about short circuits here - What Is a Circuit: Short and Open Circuits
Step 5: Customize Your Character
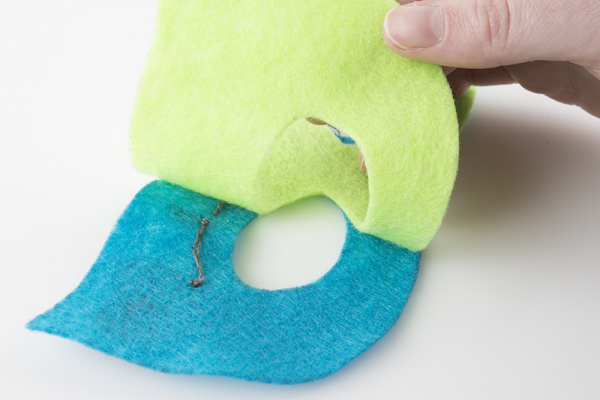
After you've checked your circuit it's time to get creative with adding some details to your mask. First, glue the second layer of felt on the back of the mask to add some extra stability and to insulate the back of the circuit.
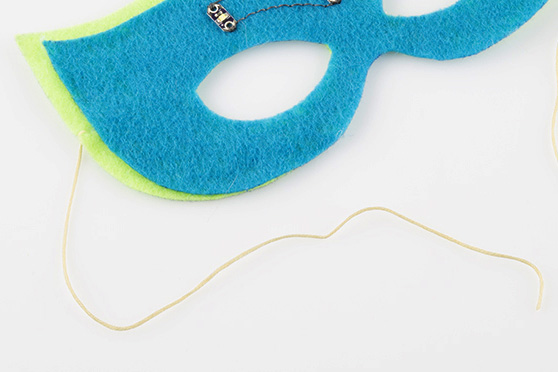
Cut small holes on either side of the mask with scissors or a hole punch and tie a string or piece of elastic to hold the mask on.
If you have craft supplies such as glitter, paint or other decorative accents you can add them to enhance or hide your LEDs and stitching. If you want to cover the battery holder on the front of the mask, using feathers or big buttons can be a nice flourish that adds pizzazz and hides the board. Make sure you leave a bit of room so you can replace the battery when necessary. Congratulations, you just created a blingin' e-textile accessory!

Resources and Going Further
Things to try:
- Brainstorm ways you could add LEDs in a parallel circuit without being in a straight line. Can you extend your traces so that you have LEDs around the eyes while still keeping the parallel circuit design?
- Try this project with more than three LEDs. How bright can you get while still having room to sew the traces?

