E-Textile Basics
This Tutorial is Retired!
This tutorial covers concepts or technologies that are no longer current. It's still here for you to read and enjoy, but may not be as useful as our newest tutorials.
View the updated tutorial: LilyPad Basics: E-Sewing
 Mando
Mando 
The Basics
This tutorial is designed to help the absolute beginner get going with E-textiles. E-textiles is an exciting, new field of electronics that combines embedded electronics with fabric and textiles. These wearable electronics are gaining lots of attention and are becoming more accessible to the non-technical crowd by the day. This tutoorial assumes you have absolutley no previous experience with e-textiles.
Suggested Reading
Before you begin working with eTextiles there are a few concepts you may want to get familiar with:
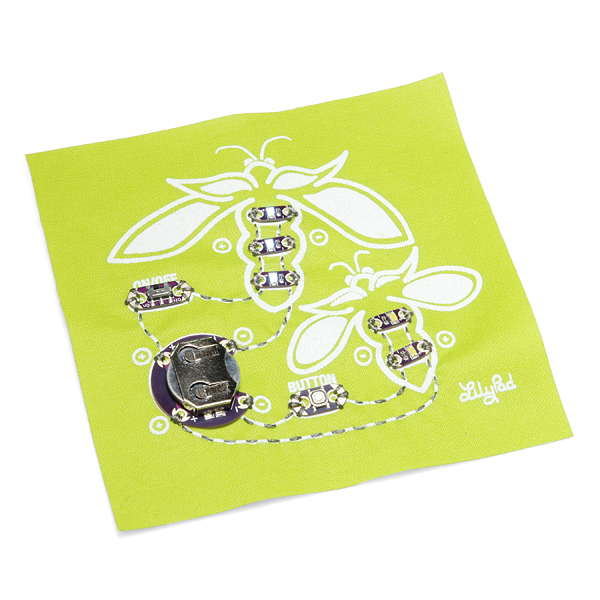
What is LilyPad?
LilyPad is a wearable e-textile technology developed by Leah Buechley and cooperatively designed by Leah and SparkFun. The LilyPad brand includes serveral microcontrollers derived from the Arduino project. Each LilyPad product was creatively designed to have large connecting pads to allow them to be sewn into clothing. Various input, output, power, and sensor boards are available. They’re even washable!
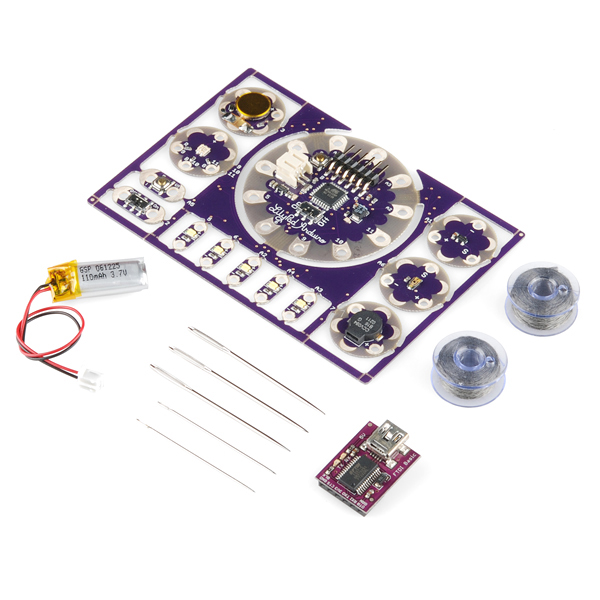
LilyPad boards make it easy to add life to your wearables with an assortment of sensors, LEDs, buzzers, and many other input and output devices. Incorporating a microcontroller give you total control over the look and behavior of your project!
For a more comprehensive list of LilyPad Arduino boards, please check out our comparison guide.
Sewing Tips
Tips For Successful Sewing
- Make sure to pull your thread all of the way through your fabric to eliminate loose sewing traces.
- Be sure to cinch each stitch tight to keep a solid connection.
- Loop your thread around each pin 2-3 times to make a secure connection.
- Keep your stitches close together, and make sure the gaps aren’t too big.
- Cut your knots down to keep your traces from touching each other. The cleaner you keep your traces the higher the chances are of getting your project to work on the first try.
- There’s a tendency to hide stitches, and hidden stitches are hard to troubleshoot. If you’re going to hide a stitch within the fabric make sure to check the trace before covering it up with other fabric.
LilyPad Basics
There are a few things that are helpful to keep in mind when working with LilyPad components and e-textiles in general:
- Do not sew any components in with the battery installed. There is no risk of getting hurt, but you might drain the battery.
- There are many different types of thread. Compare texture, thickness, and resistance to make sure you choose the correct one for your project.
- Any time you make a connection between a component and the thread, make a few loops through the connection hole. The section of metal on the outside of the connection hole is where current will flow between the thread and the component. Often, if there is a short or break in your circuit it is because the conductive thread does not always touch this pad on the component.
- Stainless steel threads can handle the heat of a soldering iron just fine, but that doesn't mean the fabric of your project can; be careful!
- Threads of any metal that have a nylon or cotton base cannot be soldered. The non-metal materials will go up in smoke!
- If you have two threads that need to cross, there must be an insulator between them, otherwise the circuit will not work. Try a piece of fabric, a layer of glue or paint, or a tube of heatshrink.
- There are other conductive e-textile materials such as buttons, fabric, yarn, paint and velcro. There are many different ways to use the materials as switches, sensors and more. Have fun and experiment!
Troubleshooting
When you are sewing together your project you may run into a few snags along the way. There are a few ways to troubleshoot common sewing mistakes.
- Running out of thread: Loop around the existing thread about three to four stitches back. Follow that sewing trace so that the two lines are parallel and touching.
- Bypassing the switch: Use a piece of wire or integrated circuit hooks to jump individual components directly to the battery or the microcontroller. This will tell you if the stitch or the component is the problem.
- Loose sewing traces: Pull everything tight with tweezers or your sewing needle to tighten up the sewing traces. You may also sew over the top of an existing trace.
- LEDs not working? Double check your polarity.
Resources and Going Further
Now that you know the basics of E-textiles, it's time to get out there an makes some projects. Need some inspiration? Check out these projects and hookup guides: