LDK Experiment 4: Make Your Own Button
Introduction
Welcome to the fourth experiment in the LilyPad Design Kit, where you will investigate the inner workings of a button by constructing your own! Creating your own components is inexpensive, often easy, and allows you to customize them to your needs.
A few tutorials you might like to look over or refer back to:
Previous LDK Tutorials
- LDK Experiment 1: Lighting Up a Basic Circuit
- LDK Experiment 2: Multiple LED Circuits
- LDK Experiment 3: Buttons and Switches
Other Relevant Tutorials
Gather Materials
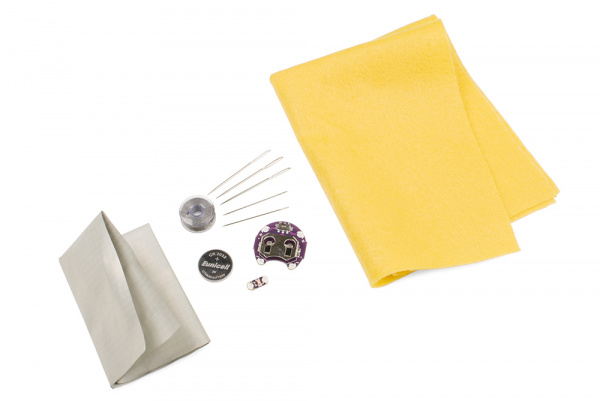
Here are the parts you’ll need for this project. If you’re using the LilyPad Design Kit, you’ve already got them all!
You will need to pick up some felt from a fabric store if you are not following along with the LDK.
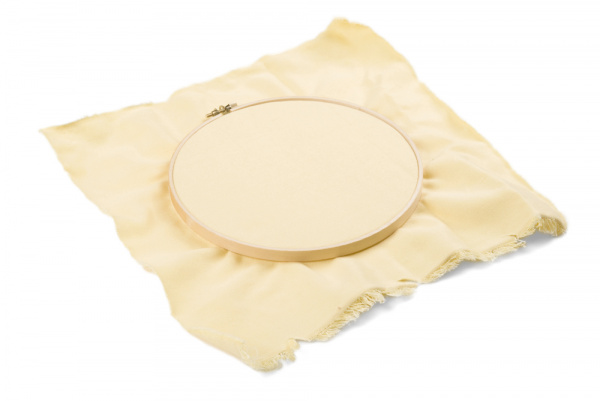
You’ll also want to have scissors, fabric, standard non-conductive thread, an embroidery hoop, glue, and possibly a needle threader.
It’s fine to get your fabric ready on the embroidery hoop, but we’re not going to start with sewing this time!
Cutting the pieces
Let’s discuss our plan for a moment. What we want from this button is a reaction to being pressed. In order to get that, we’re going to build it such that there is an electrical connection between the two sides when it is pressed, but not when it is released. One of the easier ways to do this is to create two conductive layers and separate them with a permeable layer. When firmly pressed, the conductive layers will contact through the permeable layer, creating a connection. This sandwich will be conductive on the top and bottom, however, and prone to short circuits and interference. In order to protect it from these problems, we’ll sew the whole thing into a non-conductive covering made of felt.
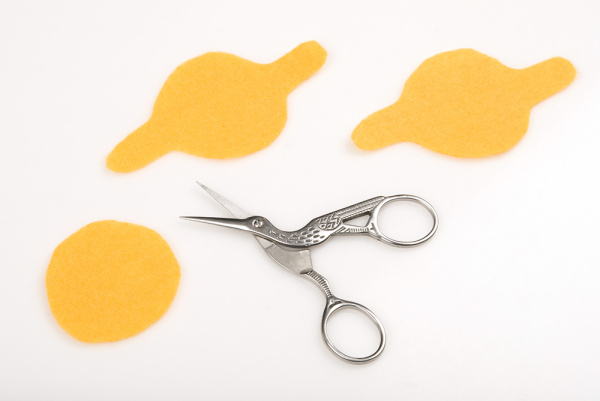
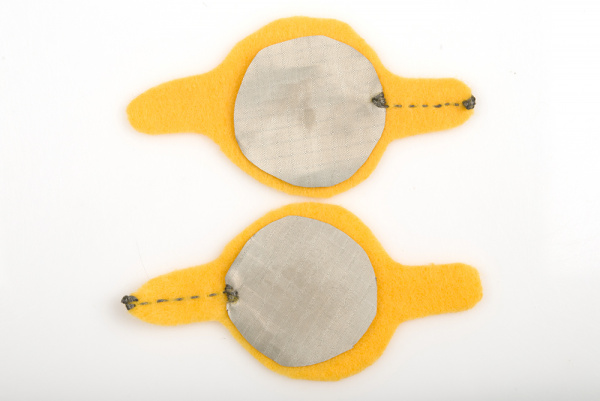
Starting with the felt, we’re going to cut our pieces. You need two circles with tabs poking out from the sides -- these will be the protective exterior covering of the button. You’ll also need a circle, just a little bit smaller than the central circle of each covering piece.
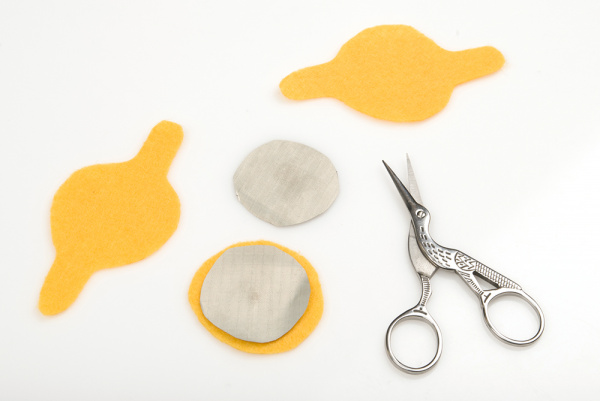
The conductive fabric, as the name implies, will serve as our conductive layer. The fabric is made out of silver-coated nylon ripstop material. Like other silver products, it will tarnish with handling and turn darker in color, so don't worry about that when you see it. It's perfectly normal. Also, these pieces will be on the inside, so it won't be visible in the finished product. From the conductive fabric, you need to cut two small circles. They should be of the same size, and both slightly smaller than the circle you cut out of the felt. You need to be able to set your felt circle on top of each conductive fabric without any conductive fabric peeking out from underneath. Trim if you need to.
Constructing the button
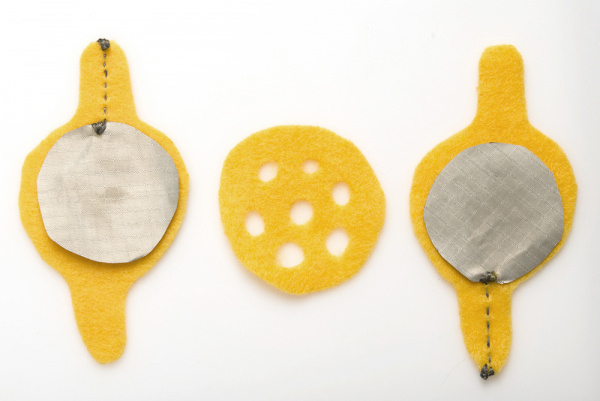
With a small dot of glue, affix one conductive circle to the center of the circle of each exterior piece. You should be able to sandwich these so that the felt shapes match up and the two conductive circles touch. With your conductive thread, sew a couple of stitches into the edge of one of the conductive circles, close to one of the tabs. You’re trying to establish a conductive connection between the thread and the fabric, so make these stitches neat and tight. Sew from the edge of the fabric out to the tip of the tab, and sew several stitches into the felt. You’re creating a small conductive pad here, so put in as many stitches as you need to feel comfortable that you’ll have an easy time connecting to it with a different trace later. Repeat these steps with the other felt case half and conductive circle, extending out to the opposite tab. Now, if you sandwich the covering halves together, conductive fabric inside and touching, you should have a trace extending from the top half to one tab, and from the bottom half to the other tab.
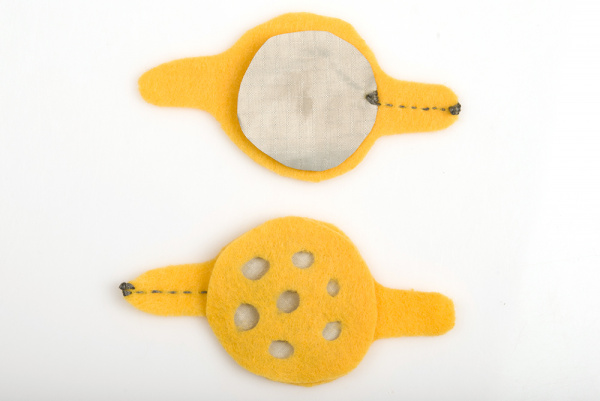
The last piece left is the felt circle. This is going to serve as the permeable barrier between the conductive fabric circles, but it isn’t permeable yet. In order to make it work for our purposes, we need to cut a few small holes in the circle. These should all be within the perimeter of the circle; you don’t want any to overlap the edge.
The felt circle needs to sit firmly in the center, protecting the two conductive circles from each other. In order to ensure this, spread a small dot of glue around the edge of it, and carefully set it down on top of one of the conductive circles. You should see the conductive fabric through the holes in the felt, but none should be visible around the edges.
Finally, place the top layer of felt and conductive fabric over the whole thing, conductive fabric side down and in contact with the felt you cut holes in. You should have, from top to bottom:
- Felt cover
- Conductive circle
- Felt circle with holes
- Conductive circle
- Felt cover
There should also be a line of stitching from the bottom conductive circle to one tab of the cover, and from the top conductive circle to the other tab. To finish the button up, sew all the way around the edge with a whip stitch, using regular, non-conductive thread. It's very important not to use conductive thread for this part! This is a great time to check the function of your button before you get the whole thing sewn in.
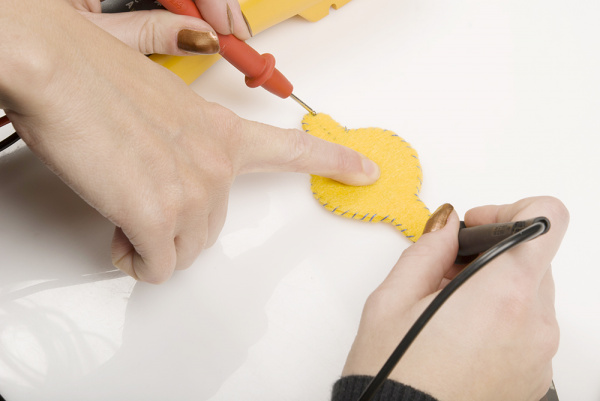
You can check this with a multimeter; use the continuity setting and press one probe to each of the conductive thread pads you made at the ends of the tabs. You should not have continuity. Now, while still pressing the probes down, have someone push the button. If there isn’t anybody around to press the button, try using a foot, or perhaps your chin. When the button is pressed, you should hear a tone from your multimeter. No press, no tone; press, tone. Do this for a while, because it’s really satisfying.
Creating the circuit
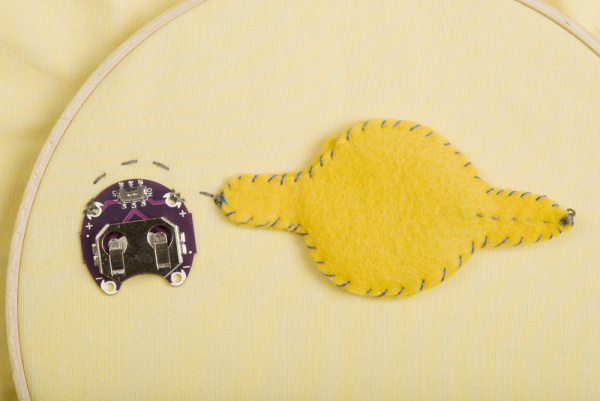
Time to put your button to work in a functioning circuit! This will be a parallel button circuit, extremely similar to the one you created in LDK Experiment 3. We’ll start with the positive trace. Place your battery pack where you would like it on the fabric, remembering to leave room for the button you’ve made. You may have noticed that this battery pack is different from the one you used in the first 3 experiments. This one has a built-in switch, which will allow you to turn your circuit on and off. This way you won’t have to remove the battery, and you also won’t have to sew in an independent switch to each circuit. The built-in switch is only helpful when you would like to turn off everything being powered by the battery pack, but in those cases, it’s great to have.
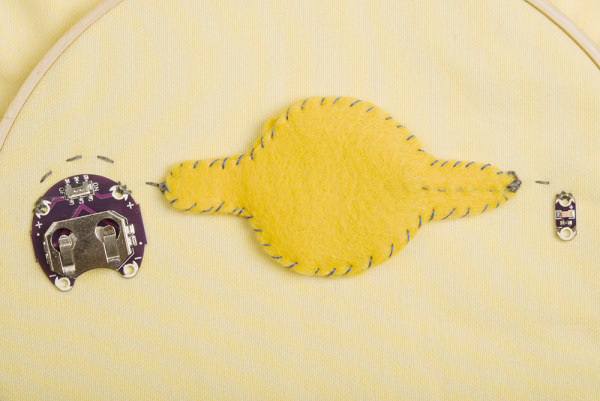
Sew down your two positive pins, and stitch a trace to where you’d like the first side of your button to be. It doesn’t matter which side of the button you start with; since it isn’t polarized either side will work. Where you would ordinarily sew through a pin on a LilyPad board, you want to instead sew several stitches through the conductive thread pad you made at the end of the button tab. Make sure that your trace is in good, solid contact with the conductive thread that the pad is made of and also that this side of the button is firmly attached to the fabric. As with the LilyPad button, we don’t want to connect the two sides, so knot and cut your thread here.
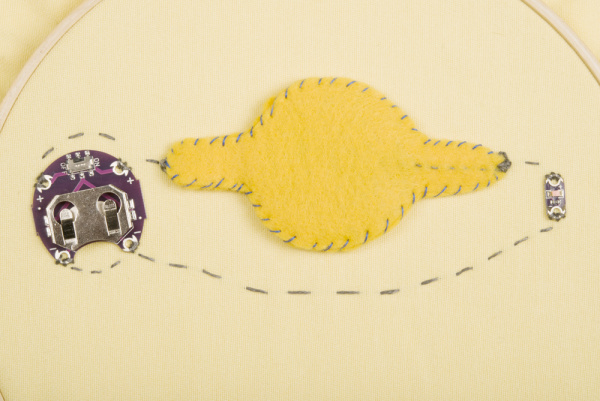
Starting with a new trace, sew down the second side of the button, again being careful to both attach the button firmly to the fabric and establish connectivity through the connective pad you made in the tab earlier. Sew from here to the positive pin of your LED, and sew that down as well. Knot and cut your thread again. If you’d like, you can check your continuity again by pressing the probes into the positive pin of the battery and the positive pin of the LED. If your button is connected properly, you should still get a tone when you press the button.
Starting a new trace, sew down the negative battery pins and continue to sew in a trace to the negative pin of the LED.
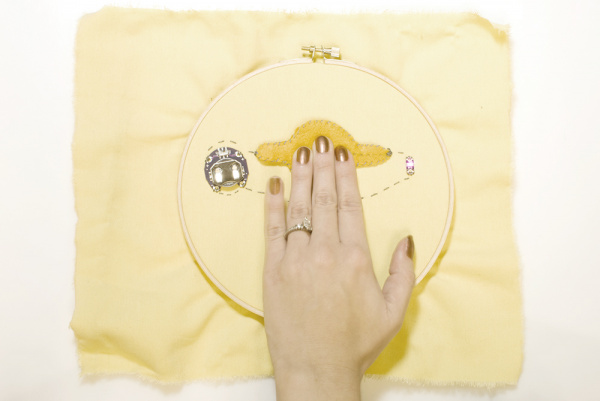
Slide in your battery, positive side up, turn on the switch, and press the button. Bing! The LED should light up when the button is pressed. To save battery power, turn the switch off whenever you’re not using the circuit.
Congratulations on your homemade button! Now that you know how it’s made, you can experiment with different shapes, fabrics, and functions, which makes it easy to customize your button for the project you’re using it in.
Resources and Going Further
Want more? Check out LDK Experiment 5 for more e-textile fun.
Here are a few tutorials that will help you expand even further into the world of conductive buttons and switches!
- My Drunk Kitchen Talking Harto Apron
- LED Feelings Pizza
- Conductive fabric flower button
- Wireless Glove Controller
- Hannah Perner-Wilson’s Fabric Button : This button is stylistically similar to the one we’ve made, but uses some different and very interesting materials.
Or check out this blog post.
