DIY Light Sculpture
Putting Your Electronics Together
Now that we have printed the enclosure, let's prepare the electronics for our circuit.
Solder Wire Leads
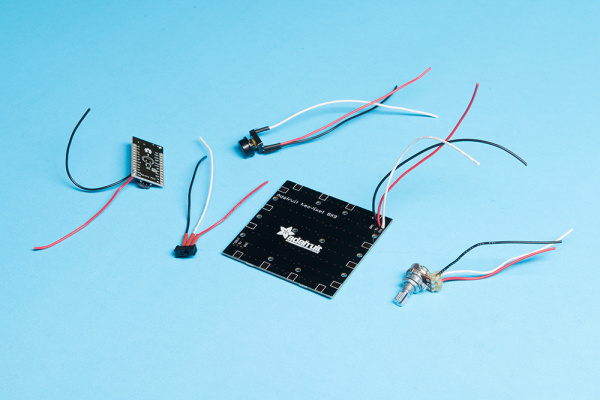
Solder wire leads of about 2" to your components using solid core hook up wire. To make things easier for yourself later, use red wire for '+', black from GND, and white for GPIO input/output. Use heat shrink to secure and isolate your connections on the button and switch.
Place Electronics
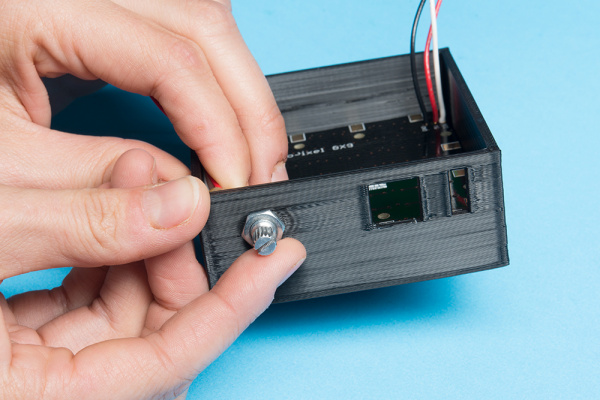
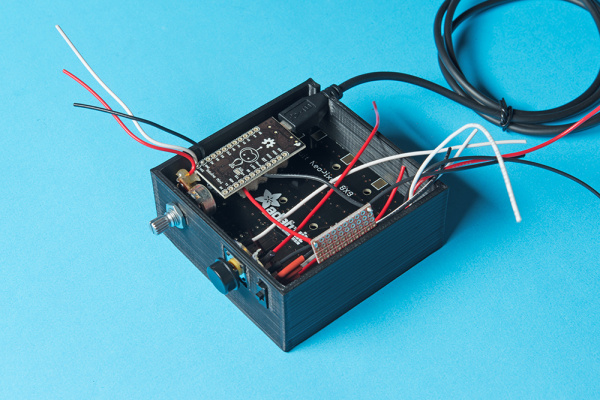
Place the electronics in their respective spaces in the enclosure. For the NeoPixel matrix, make sure your DIN pin is in the opposite corner of the potentiometer. This is to ensure your LED patterns align with the slots. You can secure the potentiometer in place with the nut that comes with it.
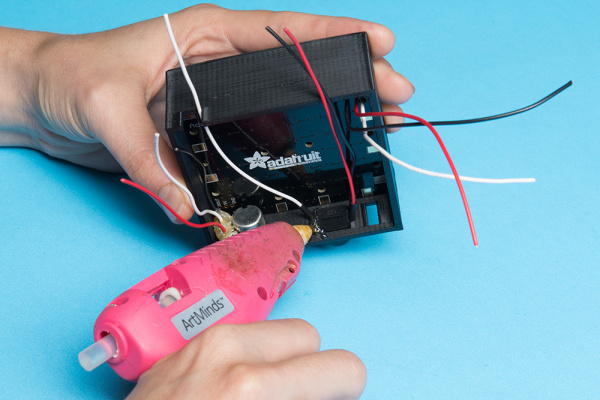
For the button and switch, use a small dab of hot glue on the backside to hold them in place.
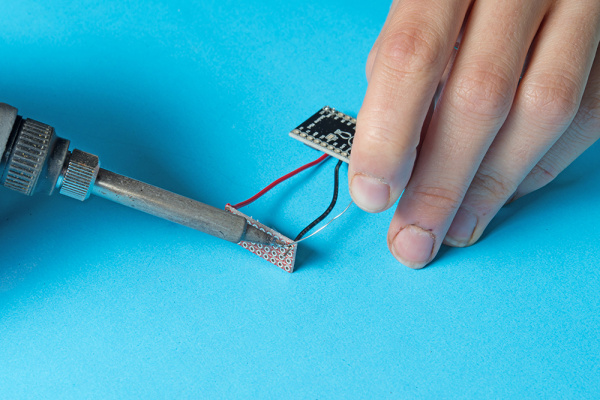
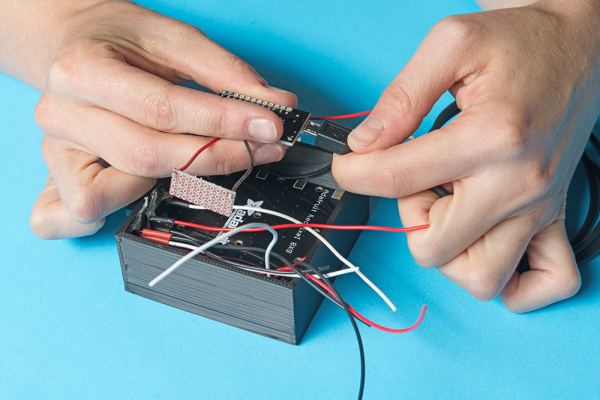
Solder a '+' and '-' lead to the VCC and GND of your Qduino respectively. There is only one '+' and one '-' pin on the Qduino so we will need to extend these two pins in order for your components to connect. To do this, grab a small piece of protoboard and solder the opposite end of the '+' lead to one corner and the opposite end of the '-' lead to the opposite corner.
Plug the USB cable into the Qduino and place it face down behind the potentiometer with the USB cable threaded through the tab in the back of the enclosure.
Before you begin soldering your circuit together, all parts in the enclosure should look like this:
Solder Circuits
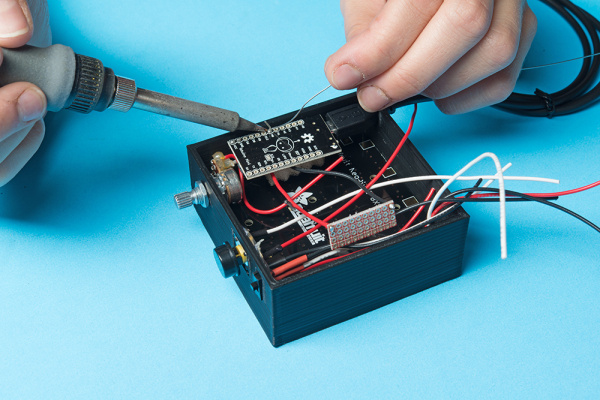
Solder your circuit together according to the fritzing diagram provided above. Use the '+' and '-' extensions on the protoboard for all of your '+' and '-' leads. Don't forget to solder a resistor between the GND extension and the the GND leads on your switch and button. It is also best practice to use a capacitor between the '+' and '-' leads on your NeoPixel matrix and the '+' and '-' extensions to protect the first LED from a rush of current.
Verify
Test your circuit. Turn it on and make sure it is working according to the program.
