DIY Heated Earmuffs
 Feldi
Feldi 
Building the Structure
The first part of this project is building the earmuffs structure which we will build our circuit around.
STEP 1:
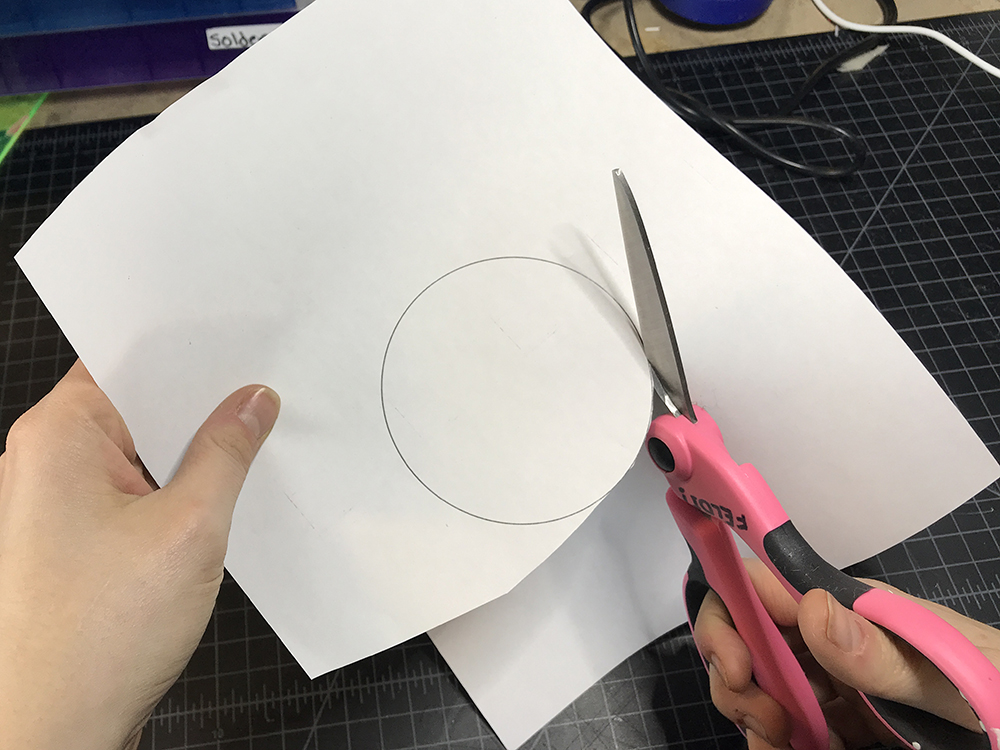
Download and print out the circles template.
Then cut along the outline of each circle. Set aside the larger circle for later.
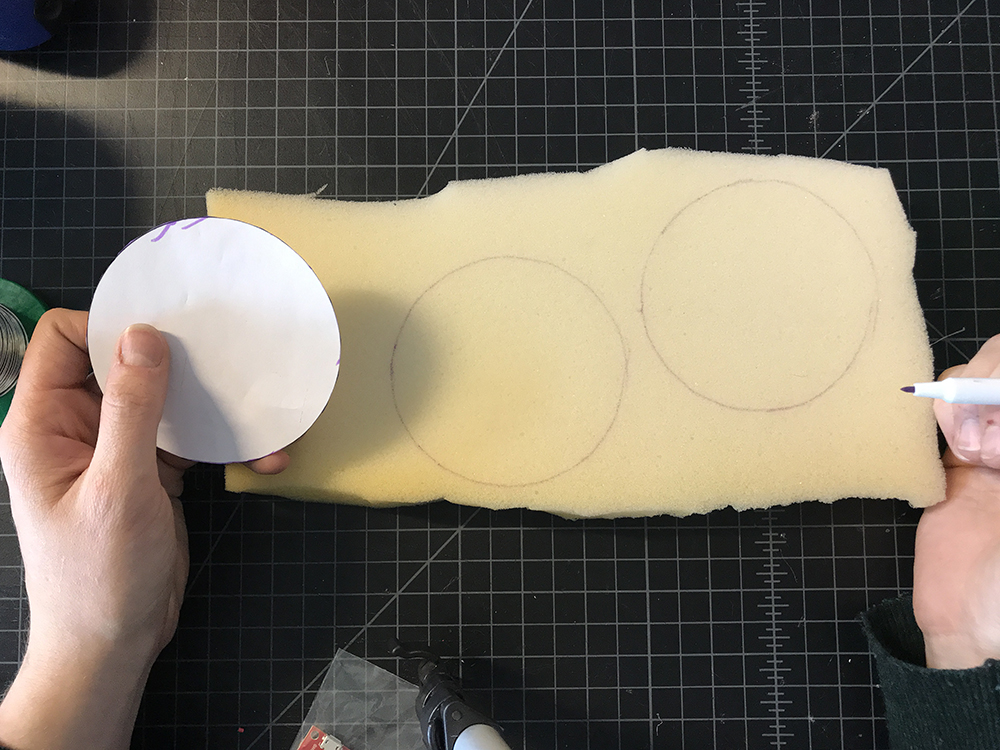
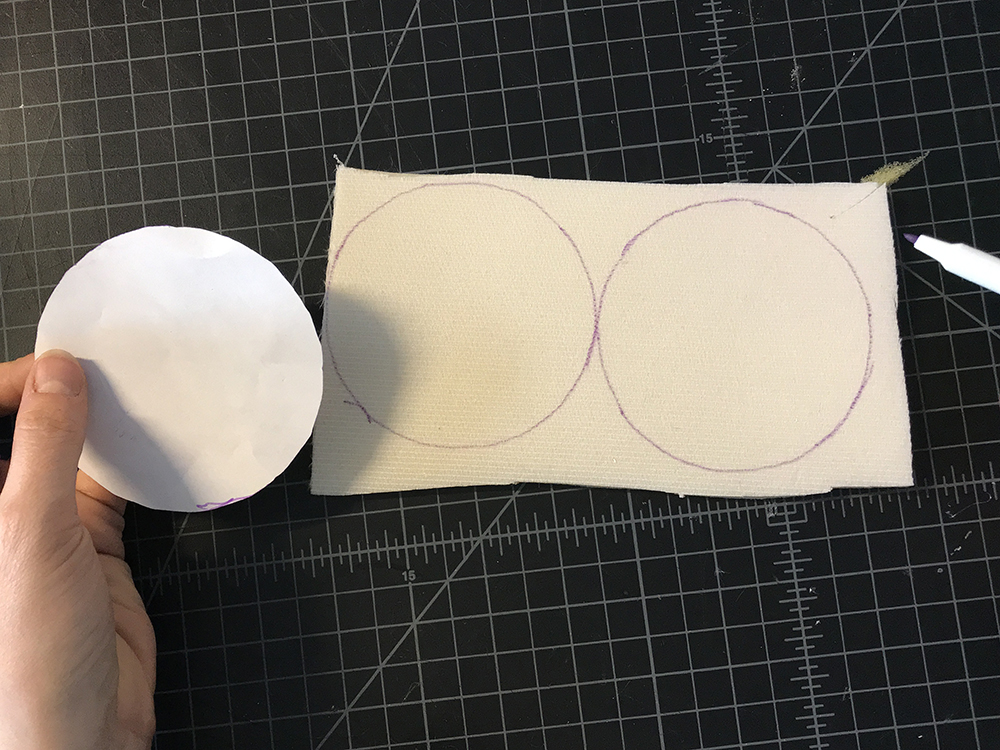
STEP 2:
Place the smaller circle on your matte board or cardboard and trace it.
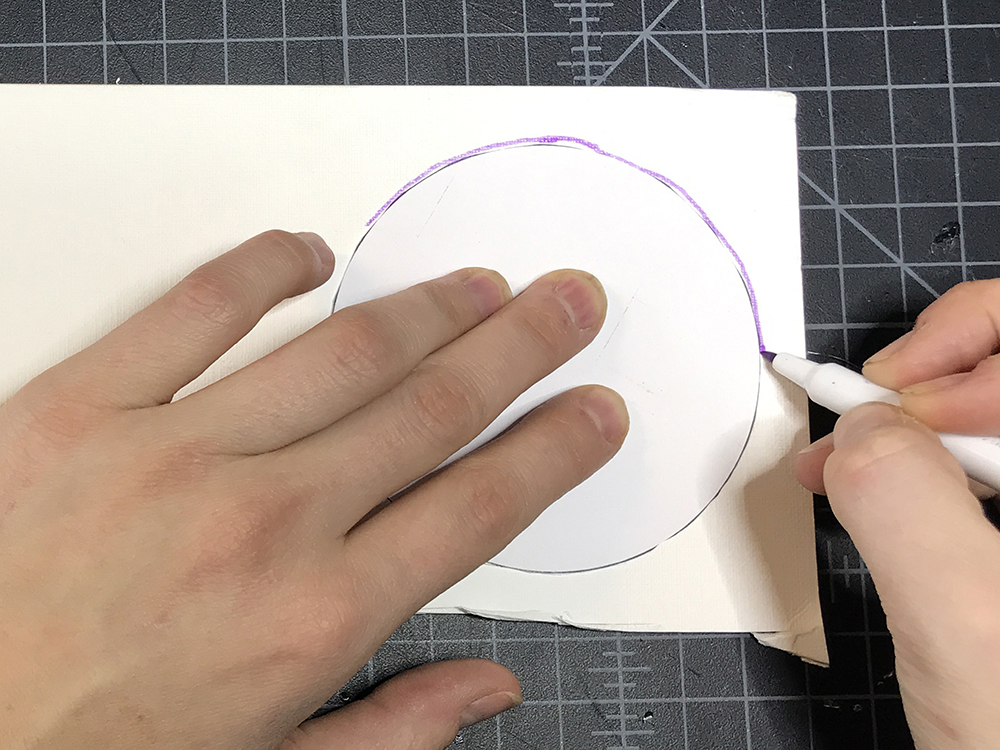
Repeat once more so that you have drawn two even circles on the matte board or card board.
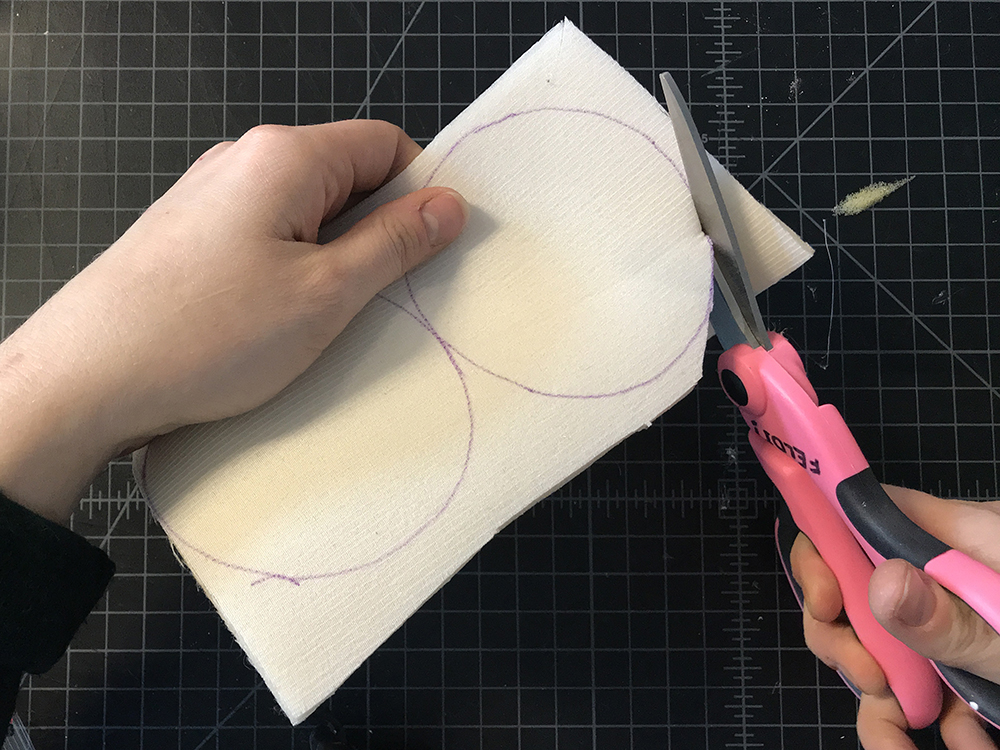
STEP 3:
Cut out both circles.

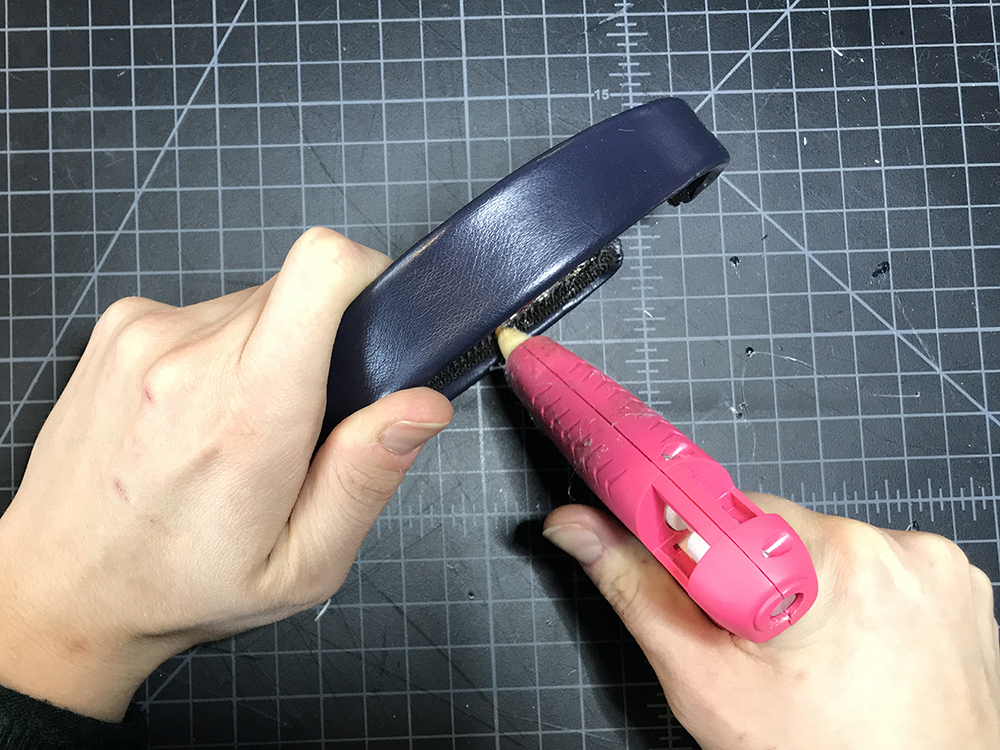
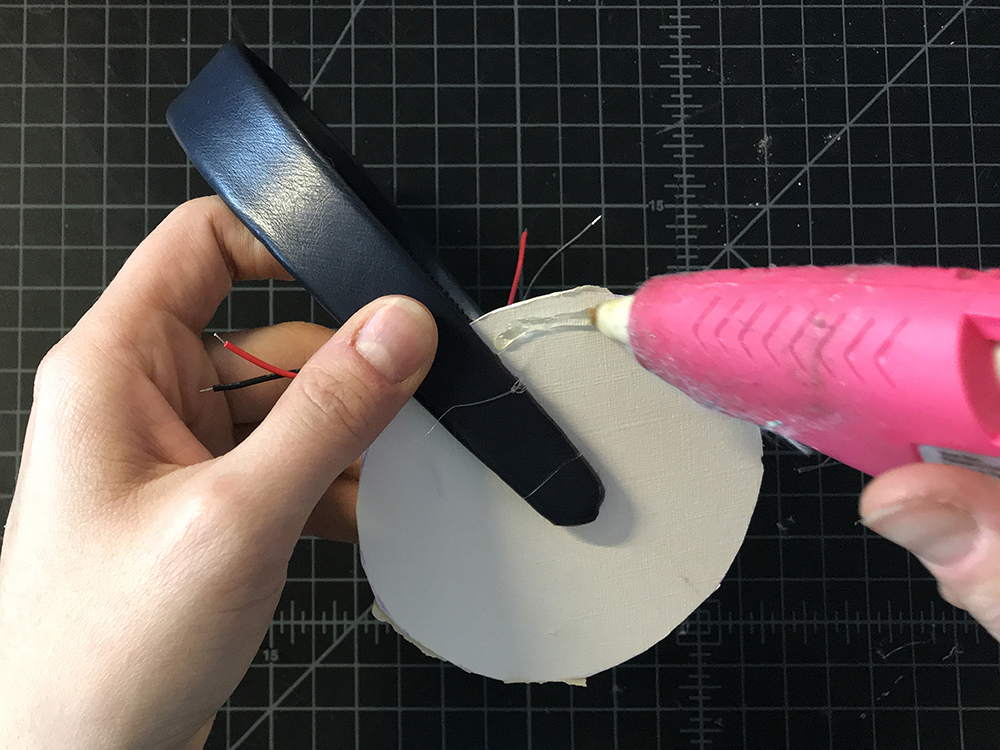
STEP 4:
Add some hot glue to the lower inch and a half of one side of the headband.
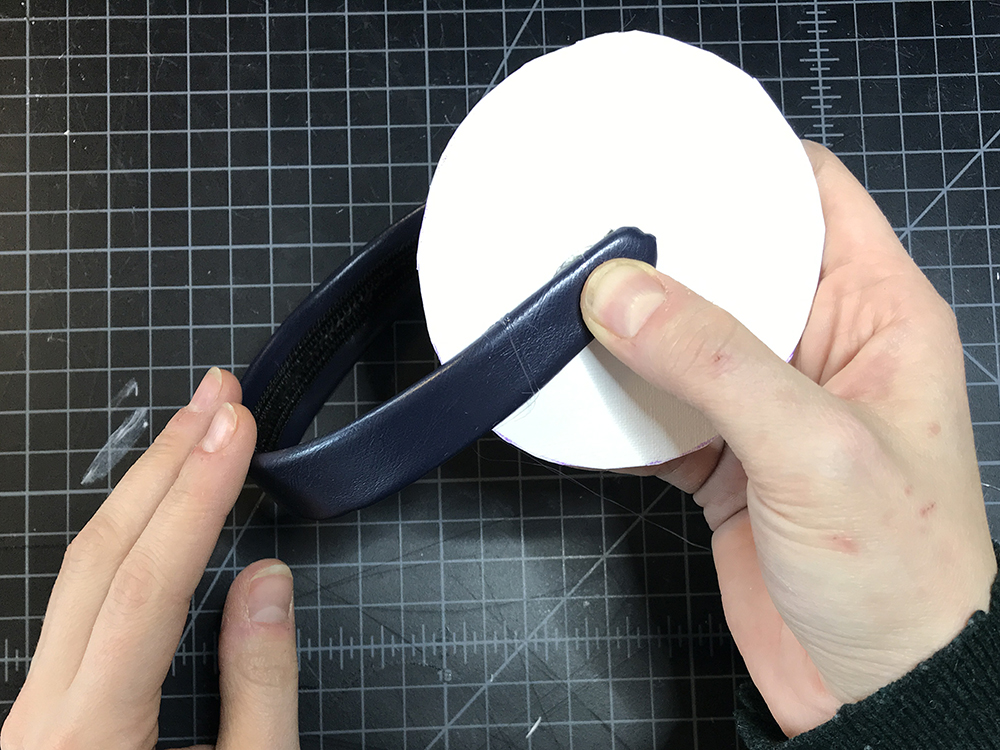
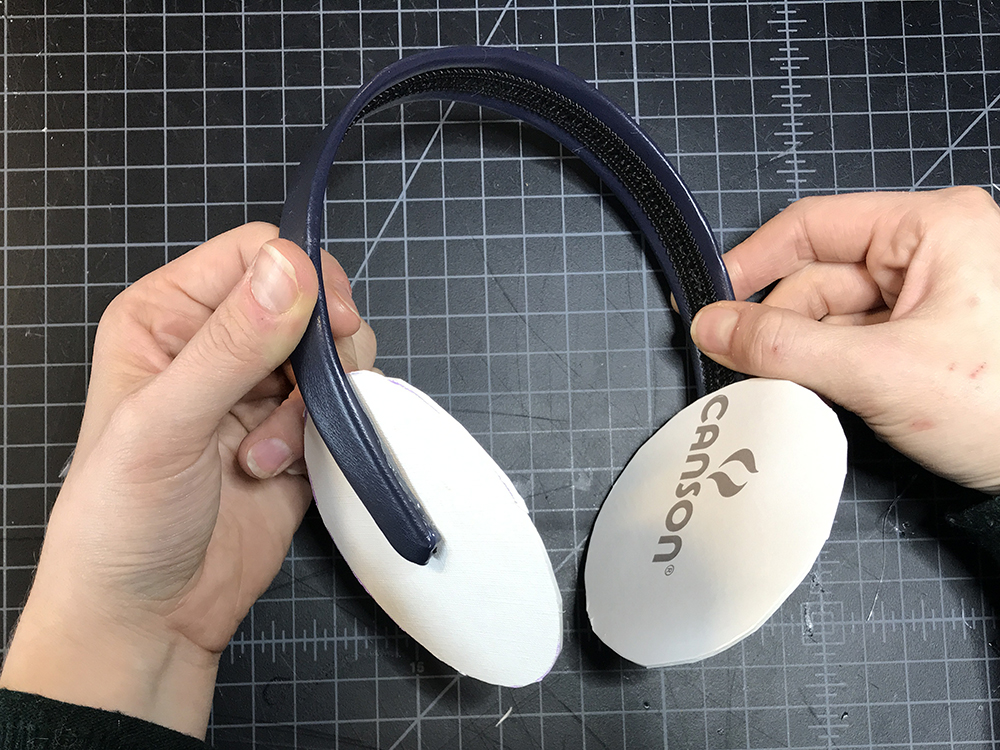
STEP 5:
Place one of the matte board of cardboard circles to the area with hot glue. The bottom point of the headband should be at the approximate center of the circle.
Repeat on the second side.
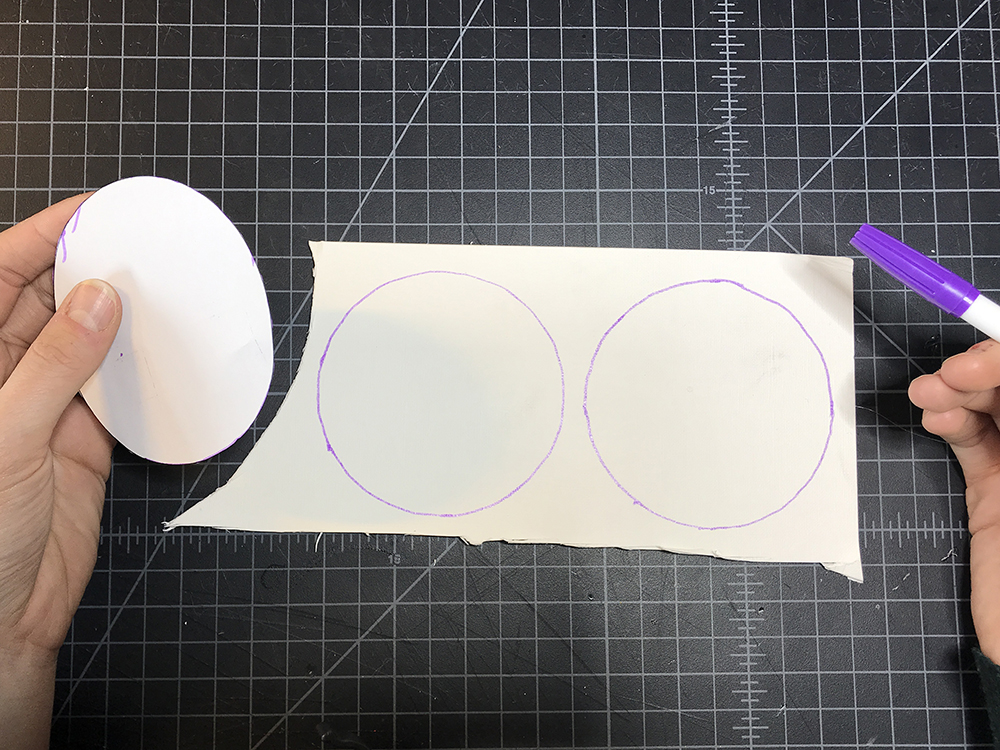
STEP 6:
Grab the small circle template again and trace it on your foam.
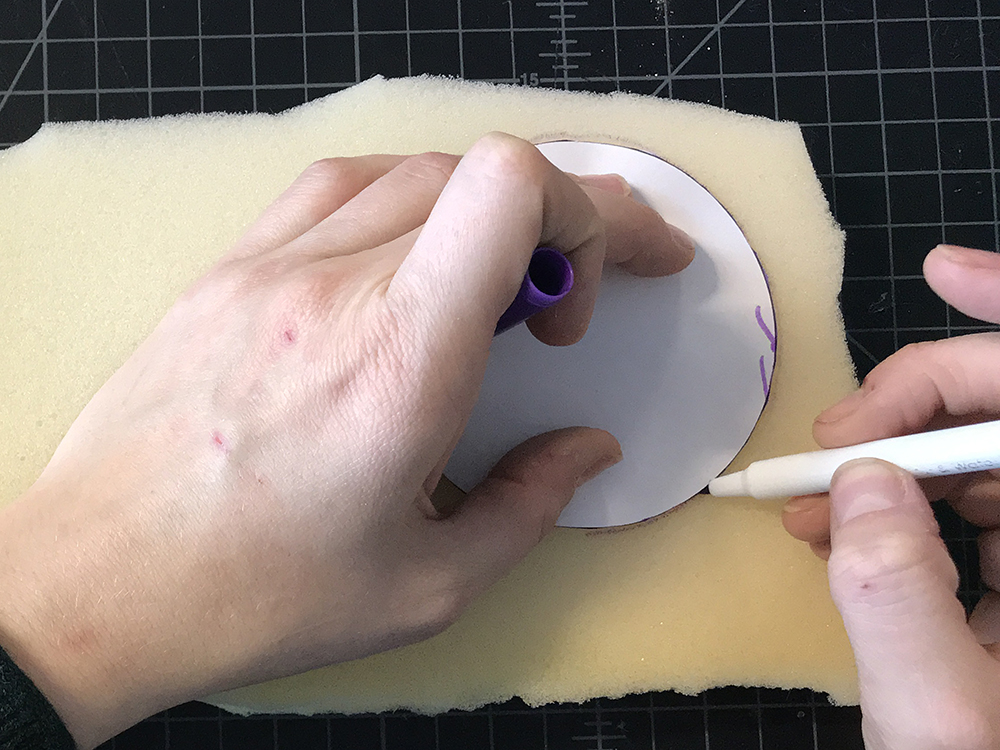
Repeat once more so you have two circles.
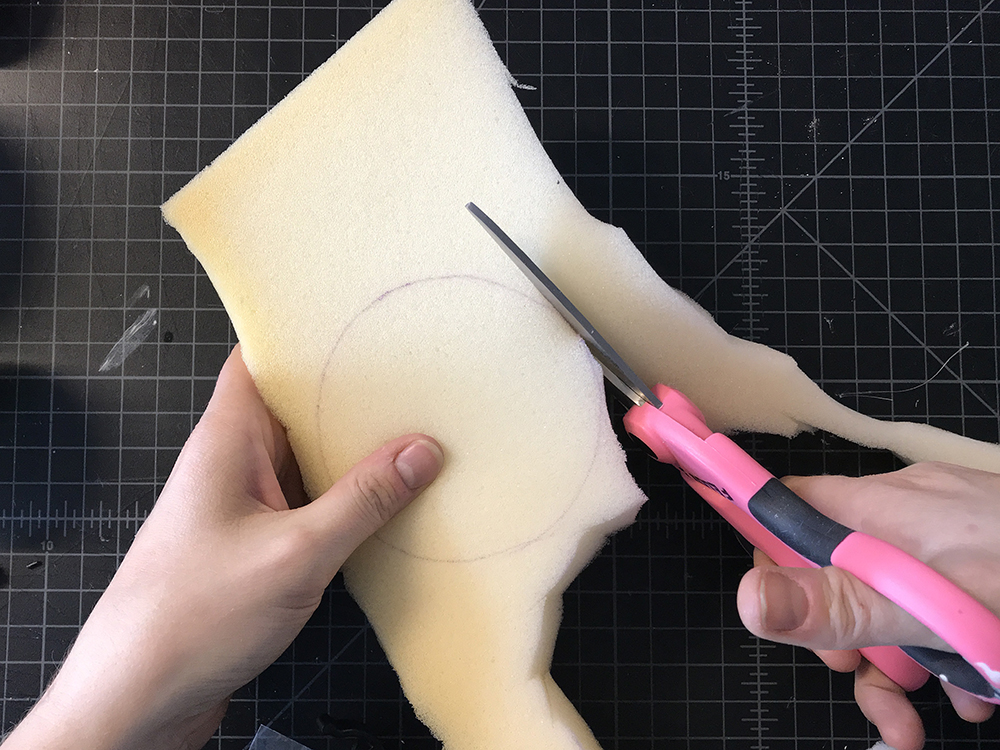
STEP 7:
Cut out both circles from the foam.
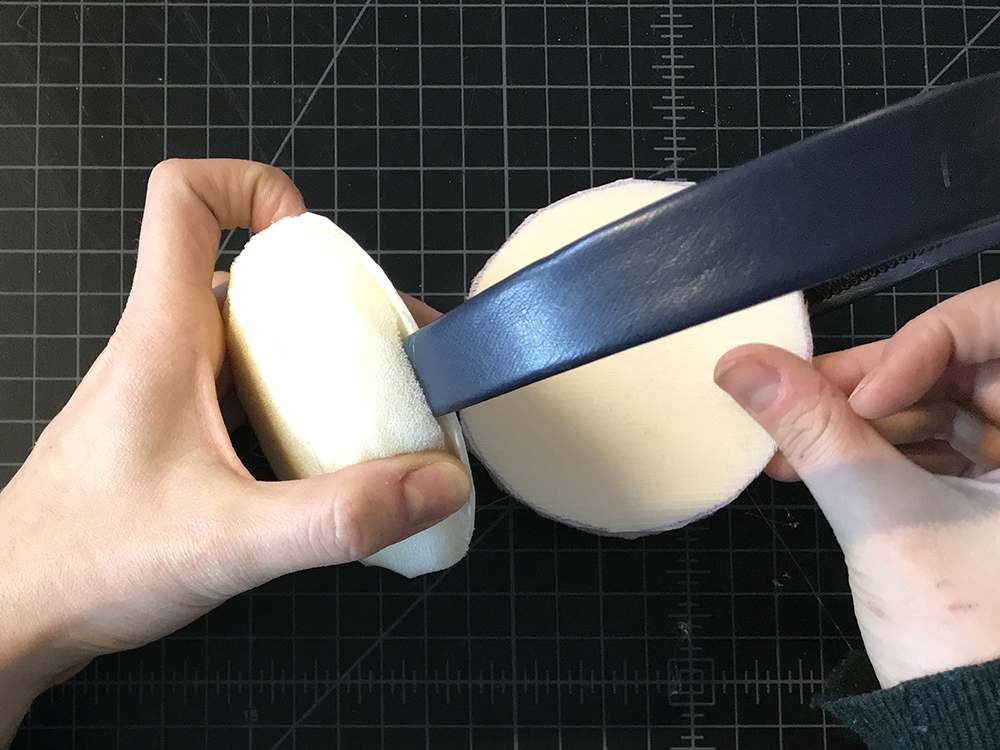
STEP 8:
Use your scissors to sculpt one side of each foam circle into a dome.
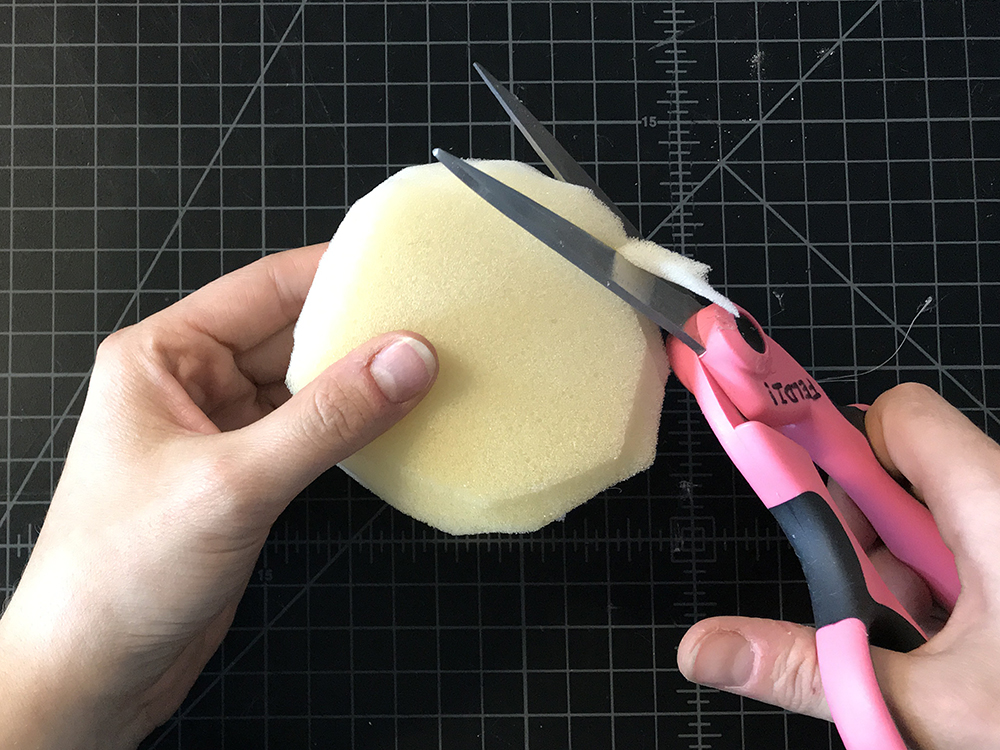
When you are done, your foam circles side view should look like this:

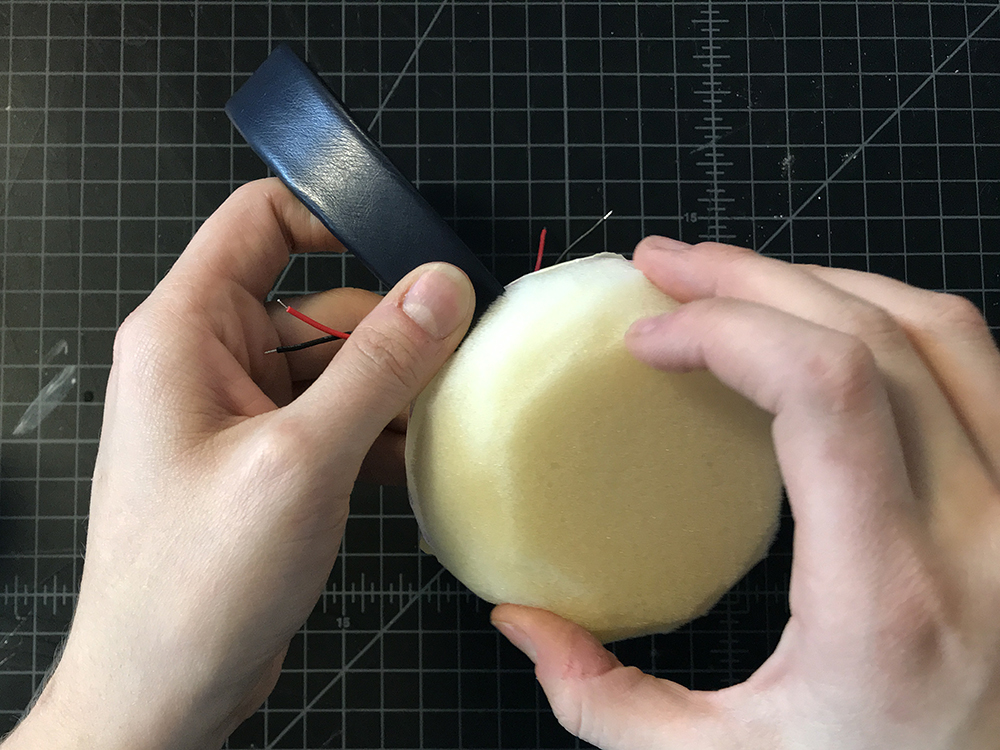
STEP 9:
Add hot glue around the perimeter of one of the circles on the headband and then place the foam dome on top. Repeat on the second side.
STEP 10:
Grab the small circle template again and trace it on to interfacing twice.

STEP 11:
Cut out both circle from the interfacing.
STEP 12:
Add hot glue to the perimeter of the inner side of your board circle, and then place the interfacing on top. Repeat this on the second side.