Designing PCBs: Advanced SMD
Polygon Pours
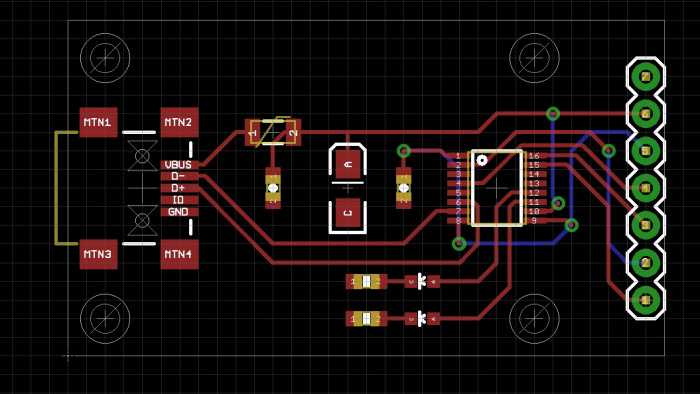
Hey! This looks pretty good. Now we need to get GND routed. Let’s do this with a polygon pour.
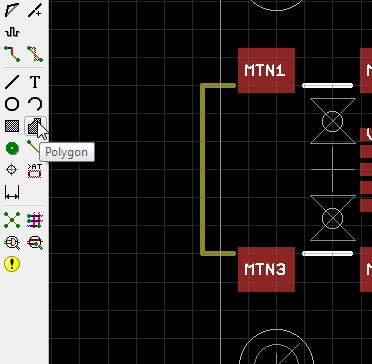
Click Polygon.
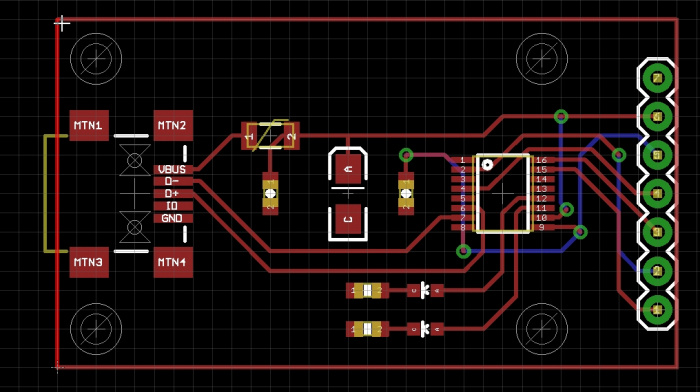
Draw a box that follows the dimensional outline, left clicking on each corner.
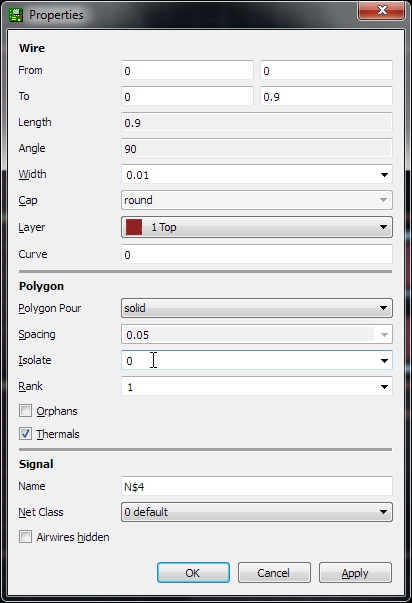
When you close the box it will be come dashed. Now click on ‘i’ and then on the dashed line. This will bring up information about the polygon.
We need to change the isolate from 0 to 0.012”, click ok.
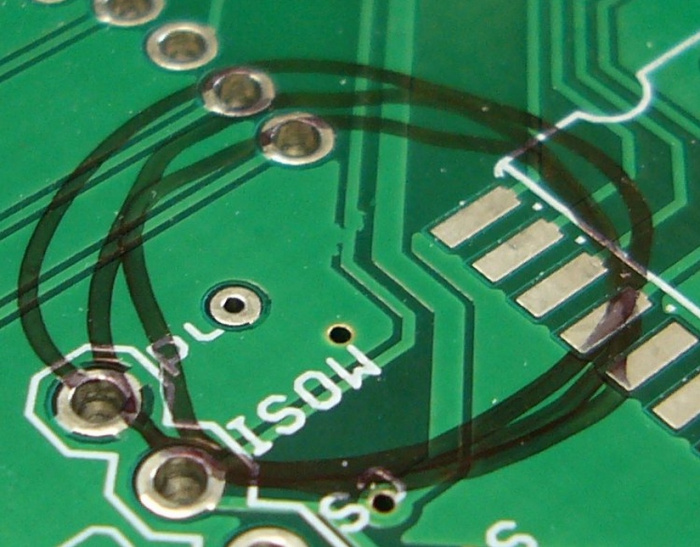
Why change the isolation layer from Eagle's default? We have had multiple PCB fab houses, that produce very high quality PCBs, create polygon pours that accidentally 'run over' onto a trace or pad. This error is rare, but we want to give the PCB fab house an easier job, not a harder one. Increasing the isolation pulls the polygon away from traces and pads just a smidgen, giving the PCB fab house a little more tolerance for error, and increasing the chance that your PCB will come in without errors.
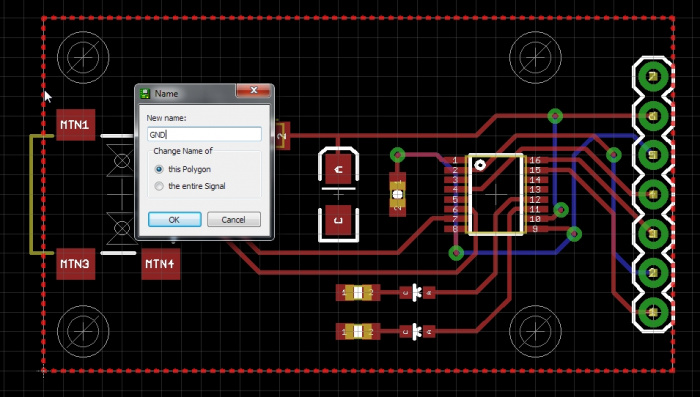
Now to connect the polygon pour to the ground net, press F4 to go into ‘Name’ mode. Then click on the edge of the polygon. Change the net name to GND.
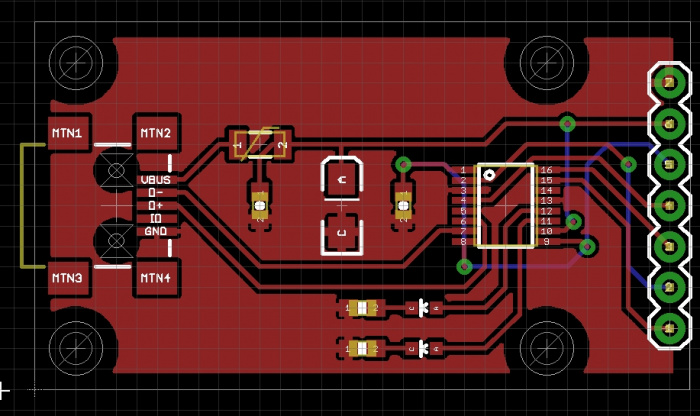
Press F8 to refresh the rats nest. This also causes polygon pours to recalculate. Neat!
Now repeat for the bottom polygon pour. Click polygon, then click the middle scroll wheel and move to the bottom layer. Box the board. Change isolate to 0.012”. Press F4. Name net to GND. Hit F8 to polygon refresh.
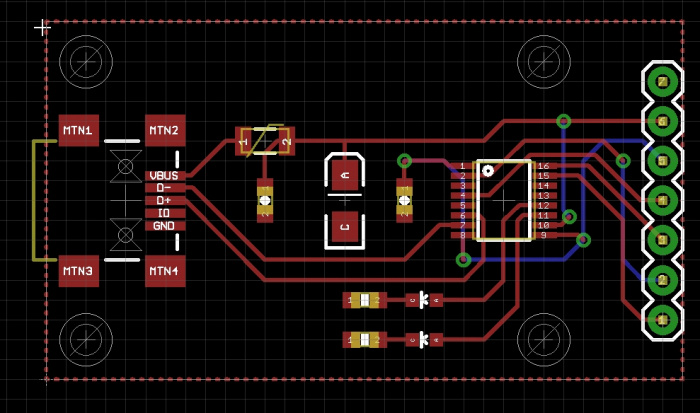
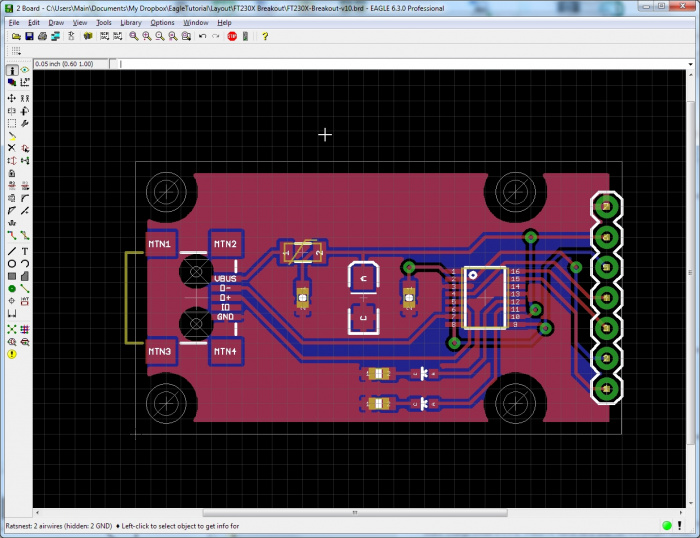
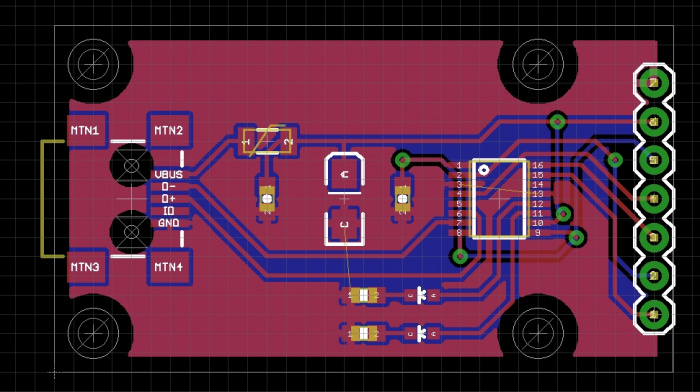
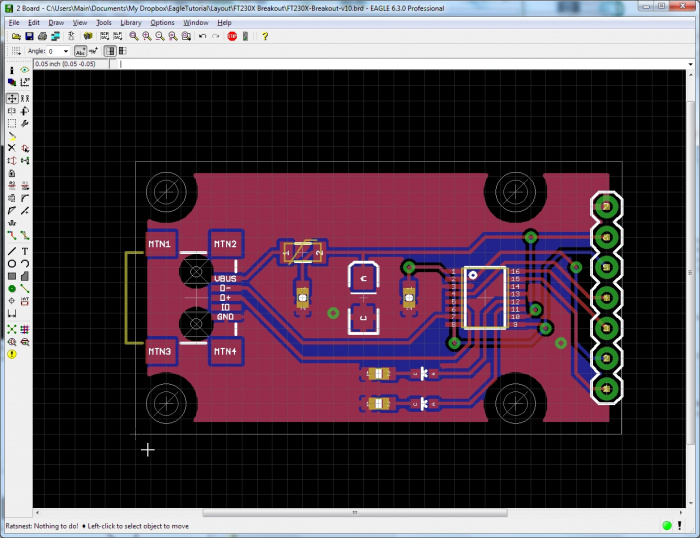
Yay! We have both bottom and top polygons connected to GND. Note the comment in the lower left corner of the window. “Ratsnest: 2 airwires (hidden: 2 GND)”. Uh oh. Looks like we still have a few things to connect. Let’s turn GND airwires back on. Click on the ‘i’, then click on the edge of the polygon. Uncheck ‘Airwires hidden’ and click ok.
Yep. That’s a problem. Let’s create a GND via to connect the various GND islands to the lower layer polygon.
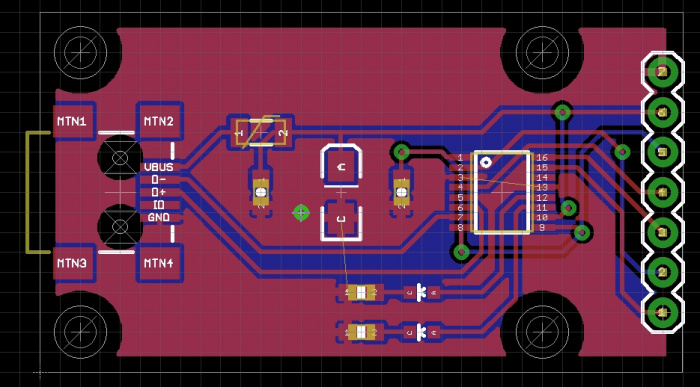
Click on the 'Via' button on the menu and drop the via in a GND island that needs to be connected. This via is not yet connected to GND - it’s unnamed. So press F4, then click again on the via. Name it ‘GND’. Now hit F8 for ratsnest refresh. Neat! One wire gone.
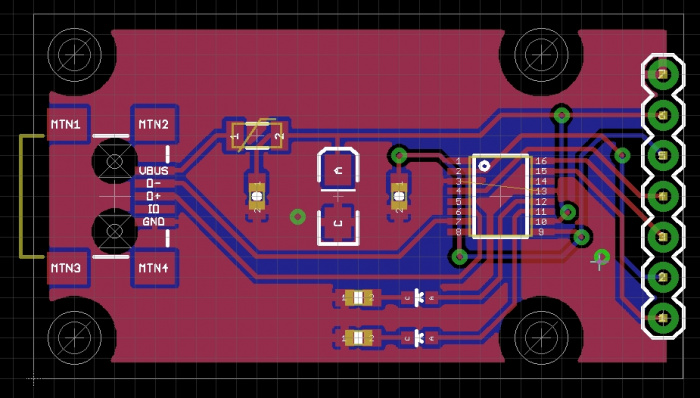
Now that we have a good GND via, we can copy it. Click on the copy button, then click on the GND via we just created. You’ll have a via that is moving with your cursor. Move it towards the GND island on the right end of the board. Drop the via. Hit escape to leave copy mode. Hit F8 to refresh the ratsnest.
Yay! Ratsnest nothing to do! We’ve successfully routed all the airwires. Next we need to label everything on the board.
