Artemis Global Tracker Hookup Guide
 QCPete,
  El Duderino
 Hardware Assembly
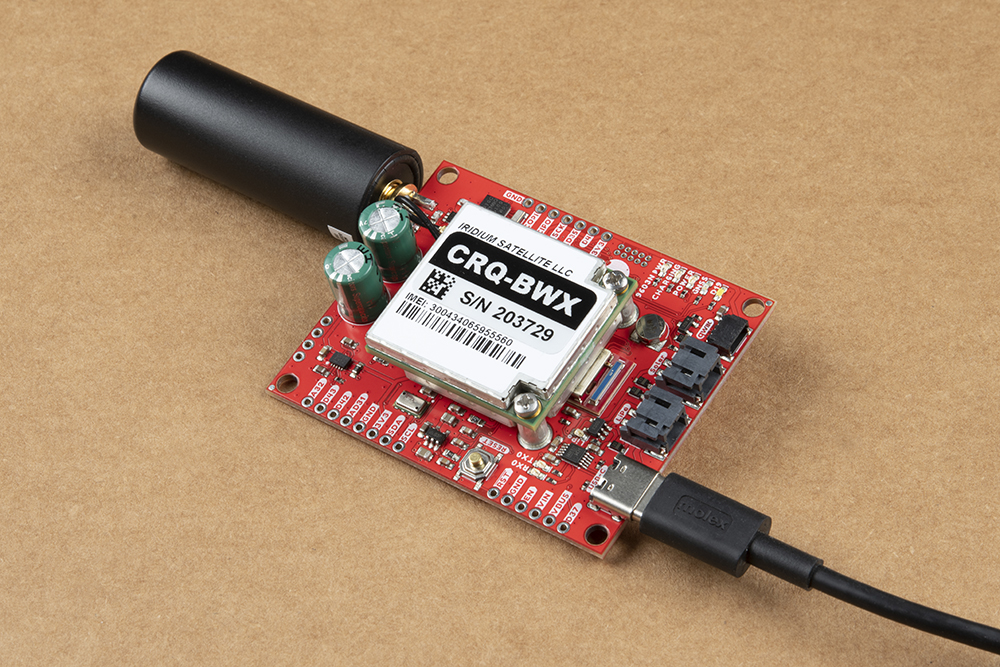
The Artemis Global Tracker comes basically ready-to-use out of the box for most applications. The only assembly required for basic use is to connect an antenna to the SMA connector and attach your power supply (USB, solar panel and/or battery). Users powering the AGT with a solar panel or other low-current supply most likely need to solder additional supercapacitors to the provided PTH connections.
Basic Assembly (USB/LiPo Battery)
Simple assembly of the AGT only requires a power source and antenna connection. On initial setup you'll want to connect it to a computer via USB to program the board. With your preferred code running on the AGT, connect the antenna to the SMA connector and then power it with either a USB power supply, LiPo battery or solar panel/battery pack connected to the properly labeled connection (USB or JST connector). Reminder, the LiPo charging circuit only operates with voltage from USB.
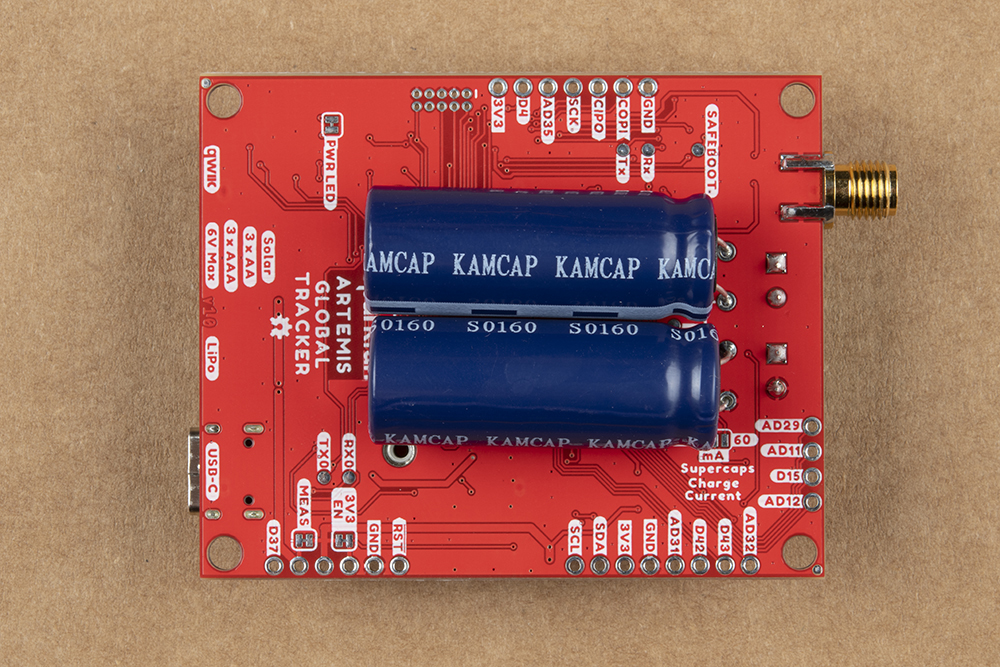
Additional Supercapacitor Assembly
Solar powered or other low-current applications may require users to adjust the Charge Current jumper to set the charge rate from 150mA to 60mA. The reduced current provides enough for the 9603N's 39mA average current draw during receive, but larger supercapacitors are needed to supply the average current pulled during a complete receive/transmit cycle.
Before soldering to the board, remove the 9603N from the AGT by unscrewing the mounting screws, carefully unplug the u.Fl cable and then remove the 9603N from the board making sure to pull directly upwards. After removing the 9603N, turn the board over and solder a pair of additional 10F capacitors like these to the labeled pads on the back of the board taking care to match the polarity: