MicroMod Teensy Processor Hookup Guide
Introduction
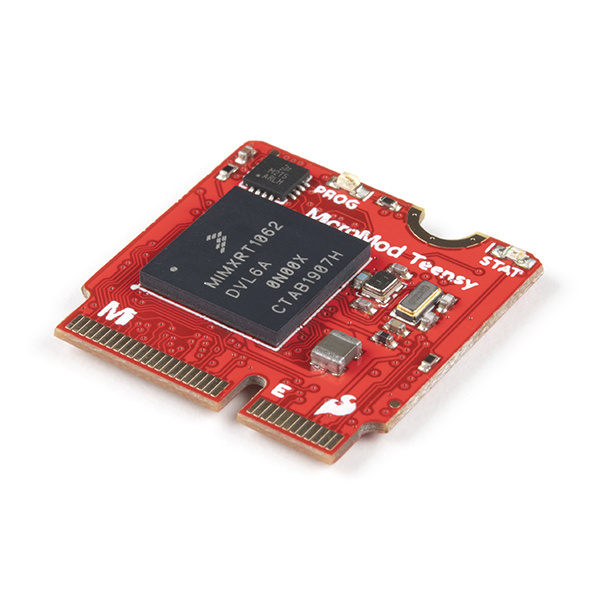
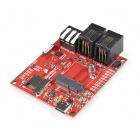
The SparkFun MicroMod Teensy Processor leverages the awesome computing power of the NXP iMXRT1062 chip and pairs it with the M.2 MicroMod connector to allow you to plug it into your choice of compatible MicroMod Carrier Board. The computing power of the ARM Cortex-M7 processer operates at clock speeds up to 600MHz with 16MB of Flash memory and 1024K RAM.
On top of excellent processing power and speed, the Teensy Processor offers a plethora of interface options including seven serial UART ports as well as four I2C buses and two SPI ports. Along with these standard interfaces, the Teensy Processor Board also features USB Host and Device capability up to 480Mbit/s, a CAN-Bus and a digital audio interface.
Teensy is a registered trademark of PJRC. The MicroMod Teensy is a collaboration between PJRC and SparkFun.
Required Materials
Along with your MicroMod Teensy Processor, you'll need a Carrier Board to plug your Processor into. SparkFun offers a variety of MicroMod Carrier Boards to fit your project's needs:
SparkFun MicroMod Weather Carrier Board
SEN-16794You'll also need a USB-C cable to connect the Carrier to your computer and if you want to add some Qwiic breakouts to your MicroMod project you'll want at least one Qwiic cable. Below are some options for both of those cables:
Depending on which Carrier Board you choose, you may need a few extra peripherals to take full advantage of them. Refer to the Carrier Boards' respective Hookup Guides for specific recommendations.
Suggested Reading
The SparkFun MicroMod ecosystem offers a unique way to allow users to customize their project to their needs. Do you want to send your weather data via a wireless signal (e.g. Bluetooth or WiFi)? There's a MicroMod Processor for that. Looking to instead maximize efficiency and processing power? You guessed it, there's a MicroMod Processor for that. If you are not familiar with the MicroMod ecosystem, take a look here:
If you aren't familiar with the MicroMod ecosystem, we recommend reading here for an overview:
 |
| MicroMod Ecosystem |
We also recommend reading through the following tutorials if you are not familiar with the concepts covered in them:
