MicroMod Teensy Processor Hookup Guide
 El Duderino
Hardware Assembly
Now that we are familiar with the components on the Teensy Processor, it's time to assemble it with your chosen MicroMod Carrier Board and connect it to your computer.
Inserting the Processor Board
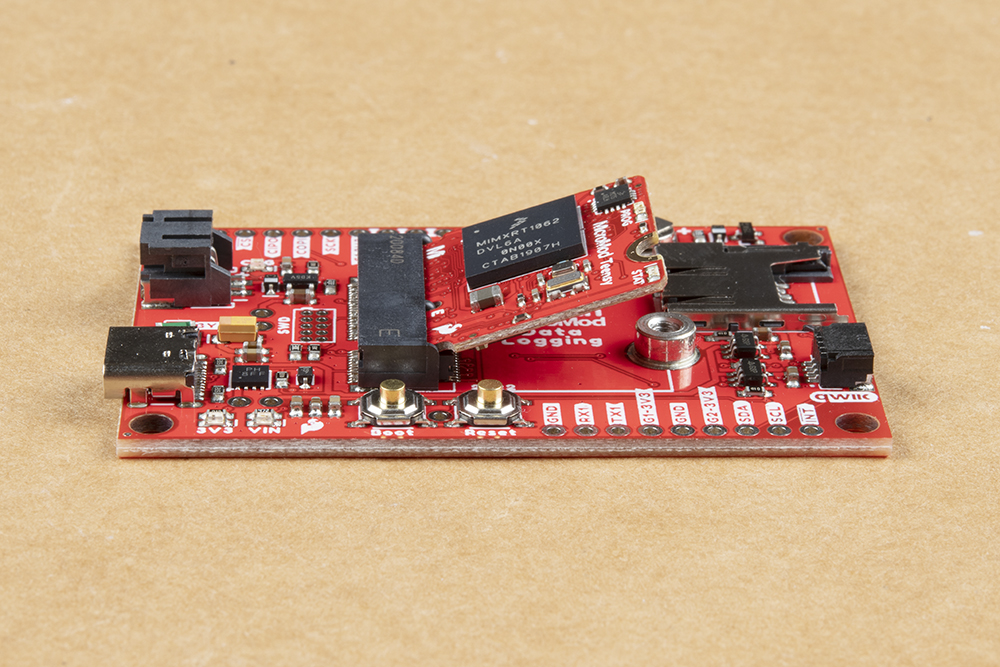
With the M.2 MicroMod connector, connecting your Processor is a breeze. Simply match up the key on your Processor's beveled edge connector to the key on the M.2 connector. At a 45° angle, insert the processor board to the M.2 connector. The Processor Board will stick up at an angle as shown here:
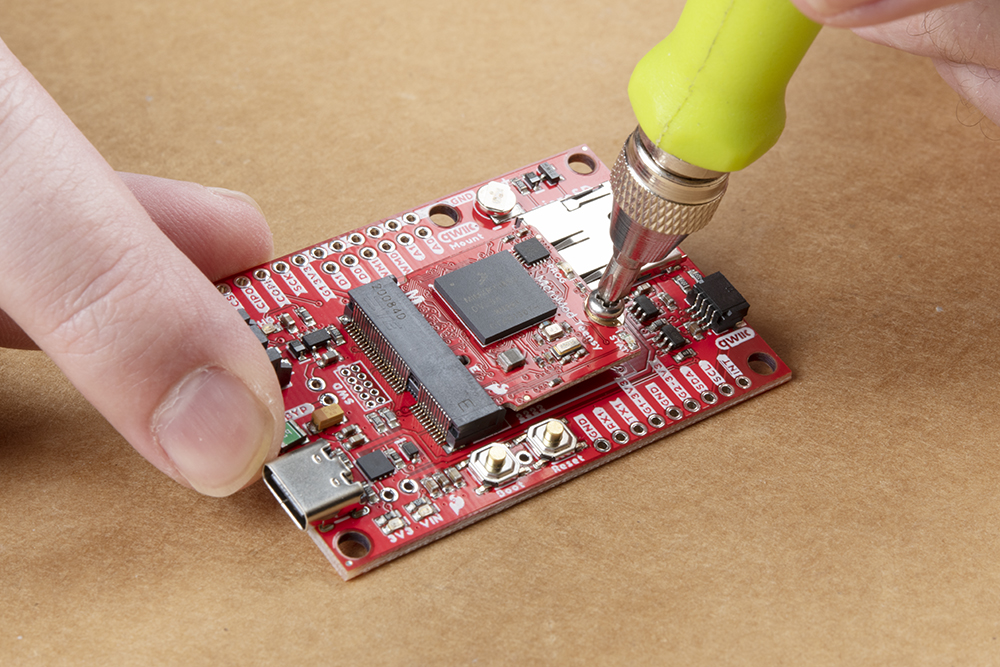
Once the board is in the socket, gently press the Processor down, grab the set screw and tighten it with a Phillip's head screwdriver:
Once the Processor is secure, your assembled MicroMod system should look similar to the image below.

Connecting Everything Up
Depending on which Carrier Board you are using with your Teensy Processor, plug in any other devices (Qwiic breakouts, UART devices, SD cards, I/O devices, etc.) prior to plugging in your Carrier Board to USB. Refer to your Carrier Board's Hookup Guide for specific instructions for Hardware Assembly.
With your Teensy Processor Board inserted and secured and your other devices connected properly it's time to connect your MicroMod Carrier Board to your computer using the USB-C connector. On first power-up, the STAT LED on your Teensy Processor should be blinking on and off every second.