Using Home Assistant to Expand Your Home Automations
Example 2: Adding Commercial Switches
In our first example we added devices to Home Assistant using devices that we programmed ourselves. Adding devices that are commercially available is even easier. In this example we're going to be adding WiFi plug switches that can easily be bought online. To see what devices are currently supported from Home Assistant, check out the components page. From there you can find popular manufacturers such as Amazon Alexa, Nest, SmartThings, Wink, WeMo, and much much more. If you don't immediately see your device, you can try searching for your device under the left side bar based on its function.
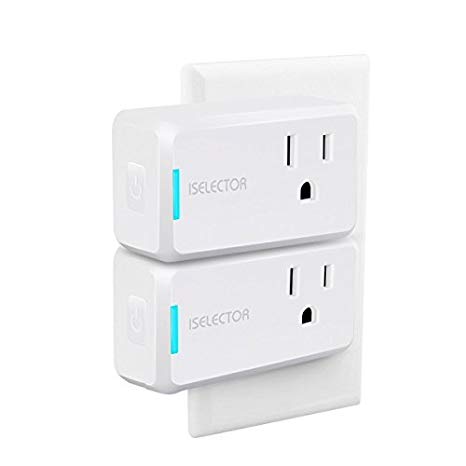
In this example we'll be adding smart plugs under the brand iSelector. There wasn't anything special about them, just an inexpensive wifi plug switch which works with the Amazon Alexa and Google Assistant. They do require that you download the app to connect the plugs to your wireless network. If you're searching for your own smart devices and aren't sure if they'll work with Home Assistant, a Google search with the device + Home Assistant should at the very least give you some Home Assistant forum questions with answers to help you decide.
With the iSelector plugs, they use an app called Smart Life, which requires you to sign up for a free account. We'll need the name of the app and our login credentials when we add the plugs to Home Assistant.
Adding the Plugs to Home Assistant
Once you have a compatible device and have added it to your network, it's time to integrate it with Home Assistant. iSelector devices work under the Tuya light component, so to add the device we'll the following to our configuration file after our MQTT light:
tuya:
    username: "USERNAME"    # Replace with your username
    password: "PASSWORD"    # Replace with your password
    country_code: "1"       # The country code you used to register. USA is 1
    platform: "smart_life"  # The name of the app used to create the account
After adding those lines, our configuration.yaml file should look like this:
Once again, save the configuration file, check the configuration, and restart the server. When the server comes back online, you can navigate back over to the overview or unused entities page and you should see your devices added under switches. Clicking on the slider will turn the switch on and off.


