Triple Axis Accelerometer Breakout - KX13x (Qwiic) Hookup Guide
 El Duderino,
  Englandsaurus,
  Elias The Sparkiest
Hardware Assembly
Now that we're familiar with the KX13x and the other hardware present on the KX13x Breakouts we can start assembling our circuit. Depending on your preferred use of the accelerometer, you'll want to connect either using I2C using the Qwiic connector (or the PTH header) or via SPI using the PTH header on the board.
Qwiic/I2C Assembly
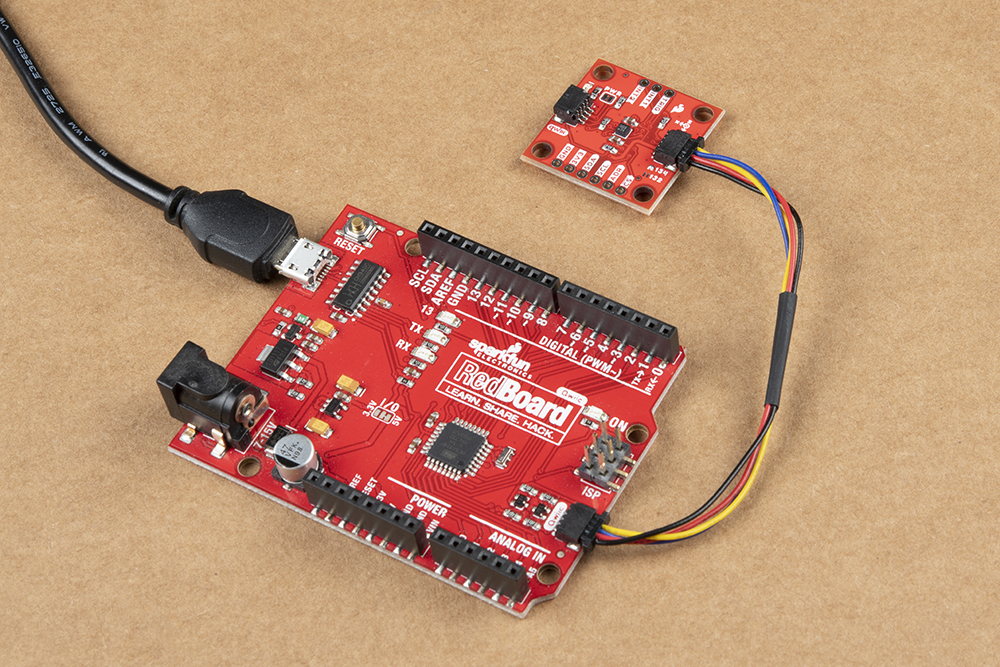
The fastest and easiest way to get started using the breakout is using either of the Qwiic connectors, a Qwiic cable and a Qwiic-enabled development board like the SparkFun RedBoard Qwiic. If you are using a Raspberry Pi instead for our Python Package, you'll need a Pi, Qwiic cable and an adapter like the Qwiic Shim or another of our Qwiic-enabled pHATs.
If you would prefer a more secure and permanent connection, you can solder headers or wire to the PTH header on the board. This method is recommended for permanent installations as well as high-g and vibration sensing applications.
SPI Assembly
If you'd prefer to take advantage of the max output data rate of the KX13x, you'll want to use the SPI interface instead of the I2C interface. Assembling the KX13x Breakout in SPI mode requires some through-hole soldering. If you are not familiar with through-hole soldering, take a read through this tutorial:
How to Solder: Through-Hole Soldering
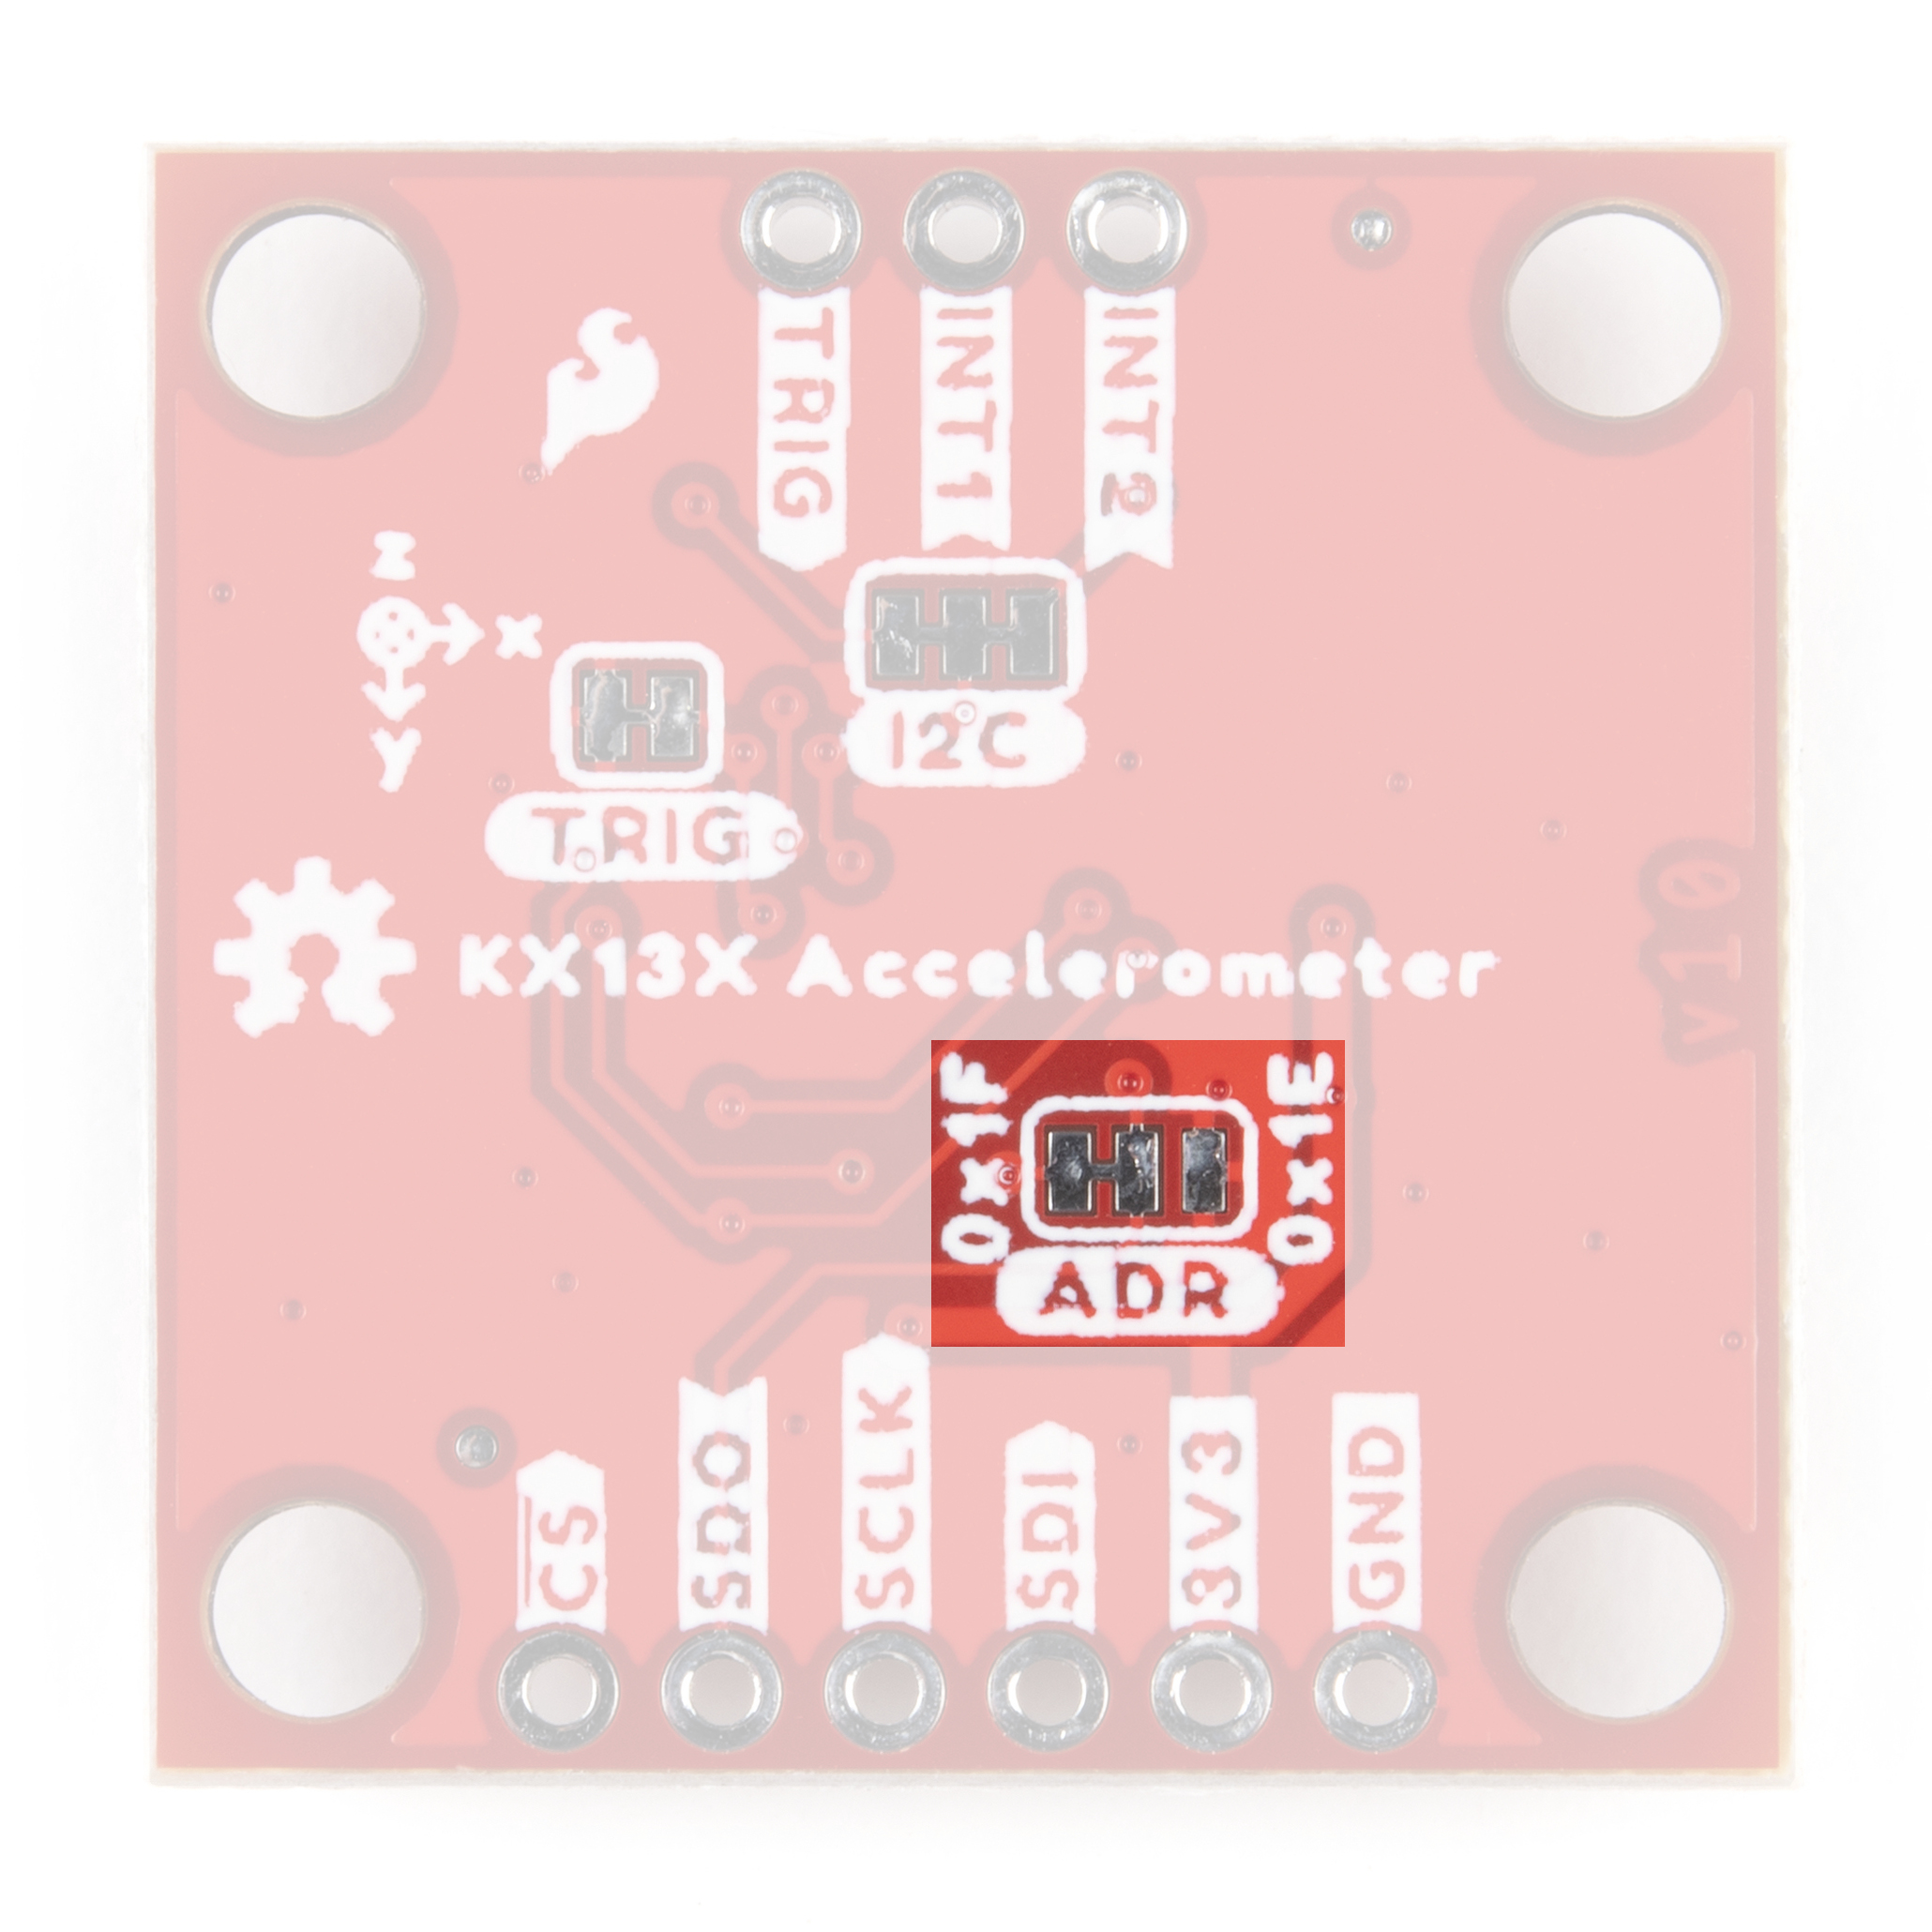
Along with tools for soldering, you'll need either some hookup wire or headers and jumper wires. Also, the Address (ADR) Jumper must be opened by severing the trace between the "Center" and "Left" pads to switch to SPI mode. After opening this jumper, connect the SDO pin to your controller's SDI/CIPO pin.
With the KX13x Breakout set to SPI mode, solder headers or wire to the PTH header on the board and make the SPI connections with your controller. Remember the KX13x operates at 3.3V logic so make sure to connect to a board running at the same logic level or use a level shifter to adjust it to a safe voltage.