Thumb Joystick Hookup Guide
 MikeGrusin,
  bboyho
Processing Examples: Shield
If you have not already, download and unzip the examples from the GitHub repo to dive into the Processing examples with the joystick shield.
- JoystickProcessingBasicExample.pde- Basic processing integration with an Arduino and inputs.
- JoystickProcessingArtist.pde - Painting on a window.
If you have the joystick breakout, you can still follow along as long as everything is wired like the shield and you use the pins definitions in the code for reference. If not, you will have limited functionality.
Basic Example
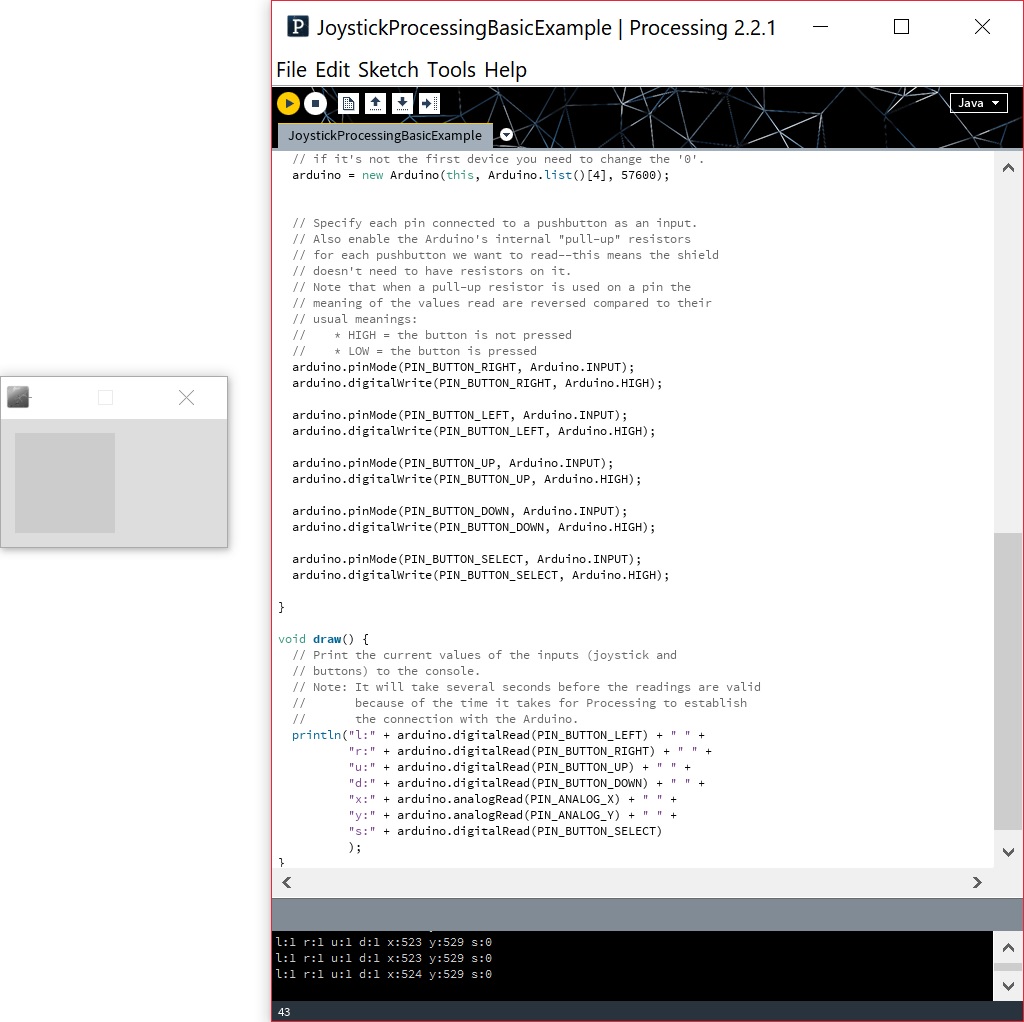
We'll assume that your Arduino has the StandardFirmata.ino sketch loaded into the ATmega328P. After downloading the examples, open the JoystickProcessingBasicExample.pde sketch in Processing IDE v2.2.1. You may need to open the file up from the File > Open menu so that the Arduino IDE accidentally open the file. With your joystick shield stacked and the Arduino connected to your computer, hit the run button to execute the processing sketch.

If you did not adjust the array for the COM port, you'll probably receive an error indicating that the code is unable to run.

Remember that note earlier when installing the library? Well, you need to adjust the COM port correctly in order to connect to your Arduino. If you remember the COM port when uploading in the Arduino IDE, it should be listed in the console at the bottom of the Processing IDE. In this case, the COM ports listed were:
language:bash
COM4 COM5 COM6 COM7 COM8 COM9 COM10 COM11 COM12
Counting each COM port from 0 (in terms of programming not in mathematical terms) from left to right. In this case, the Arduino enumerated as COM8 when uploading so it should be in the 4th element in the array.
Head back to the code in Processing and adjust the 0 in the array where it says:
language:c
// We assume that the Arduino is the first device in the list,
// if it's not the first device you need to change the '0'.
arduino = new Arduino(this, Arduino.list()[0], 57600);
To the element in the array. In this case, it should be a 4.
// We assume that the Arduino is the first device in the list,
// if it's not the first device you need to change the '0'.
arduino = new Arduino(this, Arduino.list()[4], 57600);
Now that you are ready, hit the run button again. After the Arduino initializes, a blank display window appear. In the code, we did not really draw anything so it should be blank. You'll also notice at the bottom that the output is similar to the output displayed in the Arduino IDE's serial monitor. Moving the joystick and buttons will adjust the values just as we expect.
Artist Example
Again, we'll assume that your Arduino has the StandardFirmata.ino sketch loaded into the ATmega328P. After downloading the examples, open the JoystickProcessingArtistExample.pde sketch in Processing IDE v2.2.1. You may need to open the file up from the File > Open menu so that the Arduino IDE accidentally open the file. Adjust the COM port in the array from 0 to the COM port that the Arduino enumerate on. With your joystick shield stacked and the Arduino connected to your computer, hit the run button to execute the processing sketch.
A display window will pop up and start drawing from the center of the window. Hitting the up button and down buttons will adjust the hue. Hitting the left and right buttons will adjust the brightness. Move the joystick around to begin painting. For thick, bold lines, press down on the joystick. When you are done unleashing your inner artist, click on the left and right buttons simultaneously to save. A *.png file will take screen shot of you artwork and save it in the same folder as the processing sketch!
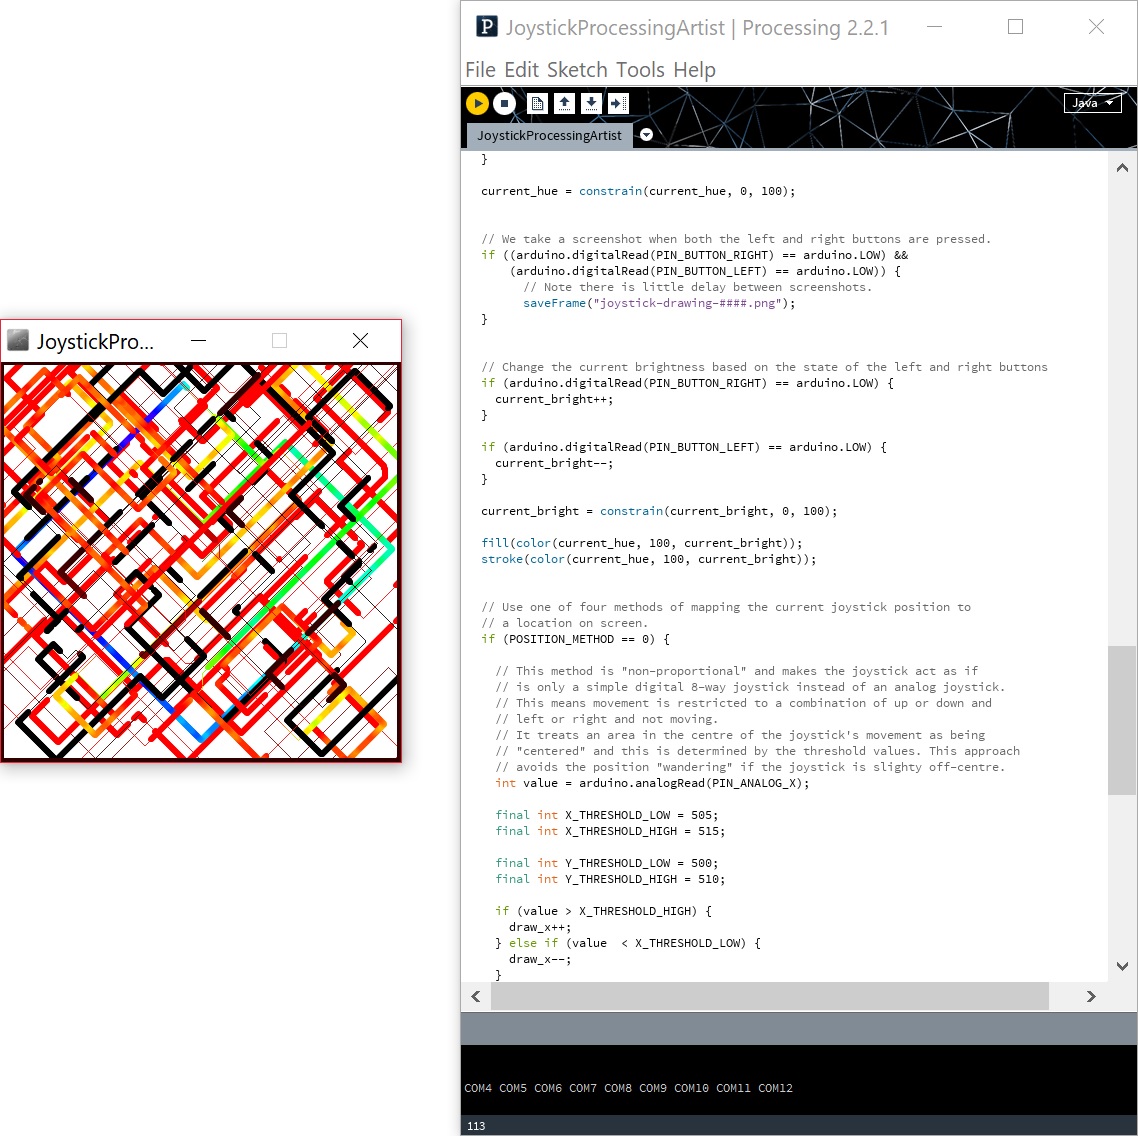
You might have noticed that the paint brush had a mind of it's own like the image shown above. This is due to the default threshold values set in the code for the "POSITION_METHOD" being 0. Depending on manufacturing tolerances, these values can vary. As explained earlier in the breakout and shield examples, you'll need to observe the readings when the joystick is in the center. Using those values, you'll need to tweak the values in the code before running the code again to prevent the paint brush from drifting. Try exploring methods by adjusting POSITION_METHOD at the top of the code to 1, 2, or 3.
language:c
// There are a number of methods you can choose to use to determine the relationship
// between the position of the joystick and the position of the drawing point on
// the screen. Change POSITION_METHOD to be equal to 0, 1, 2 or 3 to try out the
// different variations.
// See the comments in the code below to find out how each method works.
final int POSITION_METHOD = 0;