Thumb Joystick Hookup Guide
Contributors:
followr,  MikeGrusin,
  bboyho
Hardware Overview: Breakout
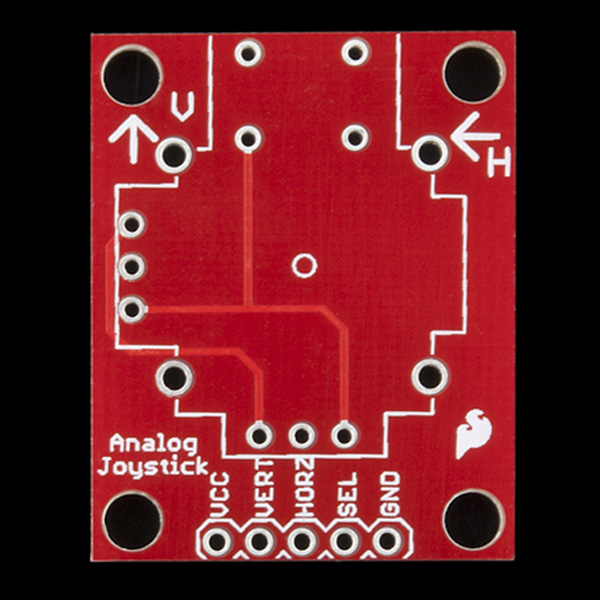
The breakout board has 5 pins broken out to easily connect to the thumb joystick. When mounting and programming with the joystick, make sure to keep track of the orientation of the board to determine what position the joystick is in.
- VCC - Connect this to your positive supply (usually 5V or 3.3V depending on your logic levels).
- VERT - This is the vertical output voltage (will be about half of VCC when the joystick is centered).
- HORIZ - This is the horizontal output voltage (will be about half of VCC when the joystick is centered).
- SEL - This is the output from the pushbutton, normally open, will connect to GND when the button is pushed.
- GND - Connect this to your ground line (GND).
Note: The momentary pushbutton (SEL) is connected to GND when pressed, and open (disconnected) when unpressed. Use a pull-up resistor on your digital input so that when it's unpressed, your input will read 1 (HIGH), and when pressed, the input will read 0 (LOW). Many microcontrollers have internal pull-up resistors you can use for this purpose. See the example code below for how to do this on an Arduino.
