TEMT6000 Ambient Light Sensor Hookup Guide
Contributors:
 Michael Bartlett
Programming
Now we're finished with the hookup, it's time to upload some.
Note: This example assumes you are using the latest version of the Arduino IDE on your desktop. If this is your first time using Arduino, please review our tutorial on installing the Arduino IDE.
If you have not previously installed an Arduino library, please check out our installation guide.Using the mini-b USB cable, hook the RedBoard up to a computer with the Arduino IDE installed. Select the appropriate COM port, select Sparkfun RedBoard as your target device, and then upload the following code:
language:c
#define LEDPIN 11         //LED brightness (PWM) writing
#define LIGHTSENSORPIN A0 //Ambient light sensor reading

void setup() {
  pinMode(LIGHTSENSORPIN,  INPUT);
  pinMode(LEDPIN, OUTPUT);
  Serial.begin(9600);
}

void loop() {
  float reading = analogRead(LIGHTSENSORPIN); //Read light level
  float square_ratio = reading / 1023.0;      //Get percent of maximum value (1023)
  square_ratio = pow(square_ratio, 2.0);      //Square to make response more obvious

  analogWrite(LEDPIN, 255.0 * square_ratio);  //Adjust LED brightness relatively
  Serial.println(reading);                    //Display reading in serial monitor
}
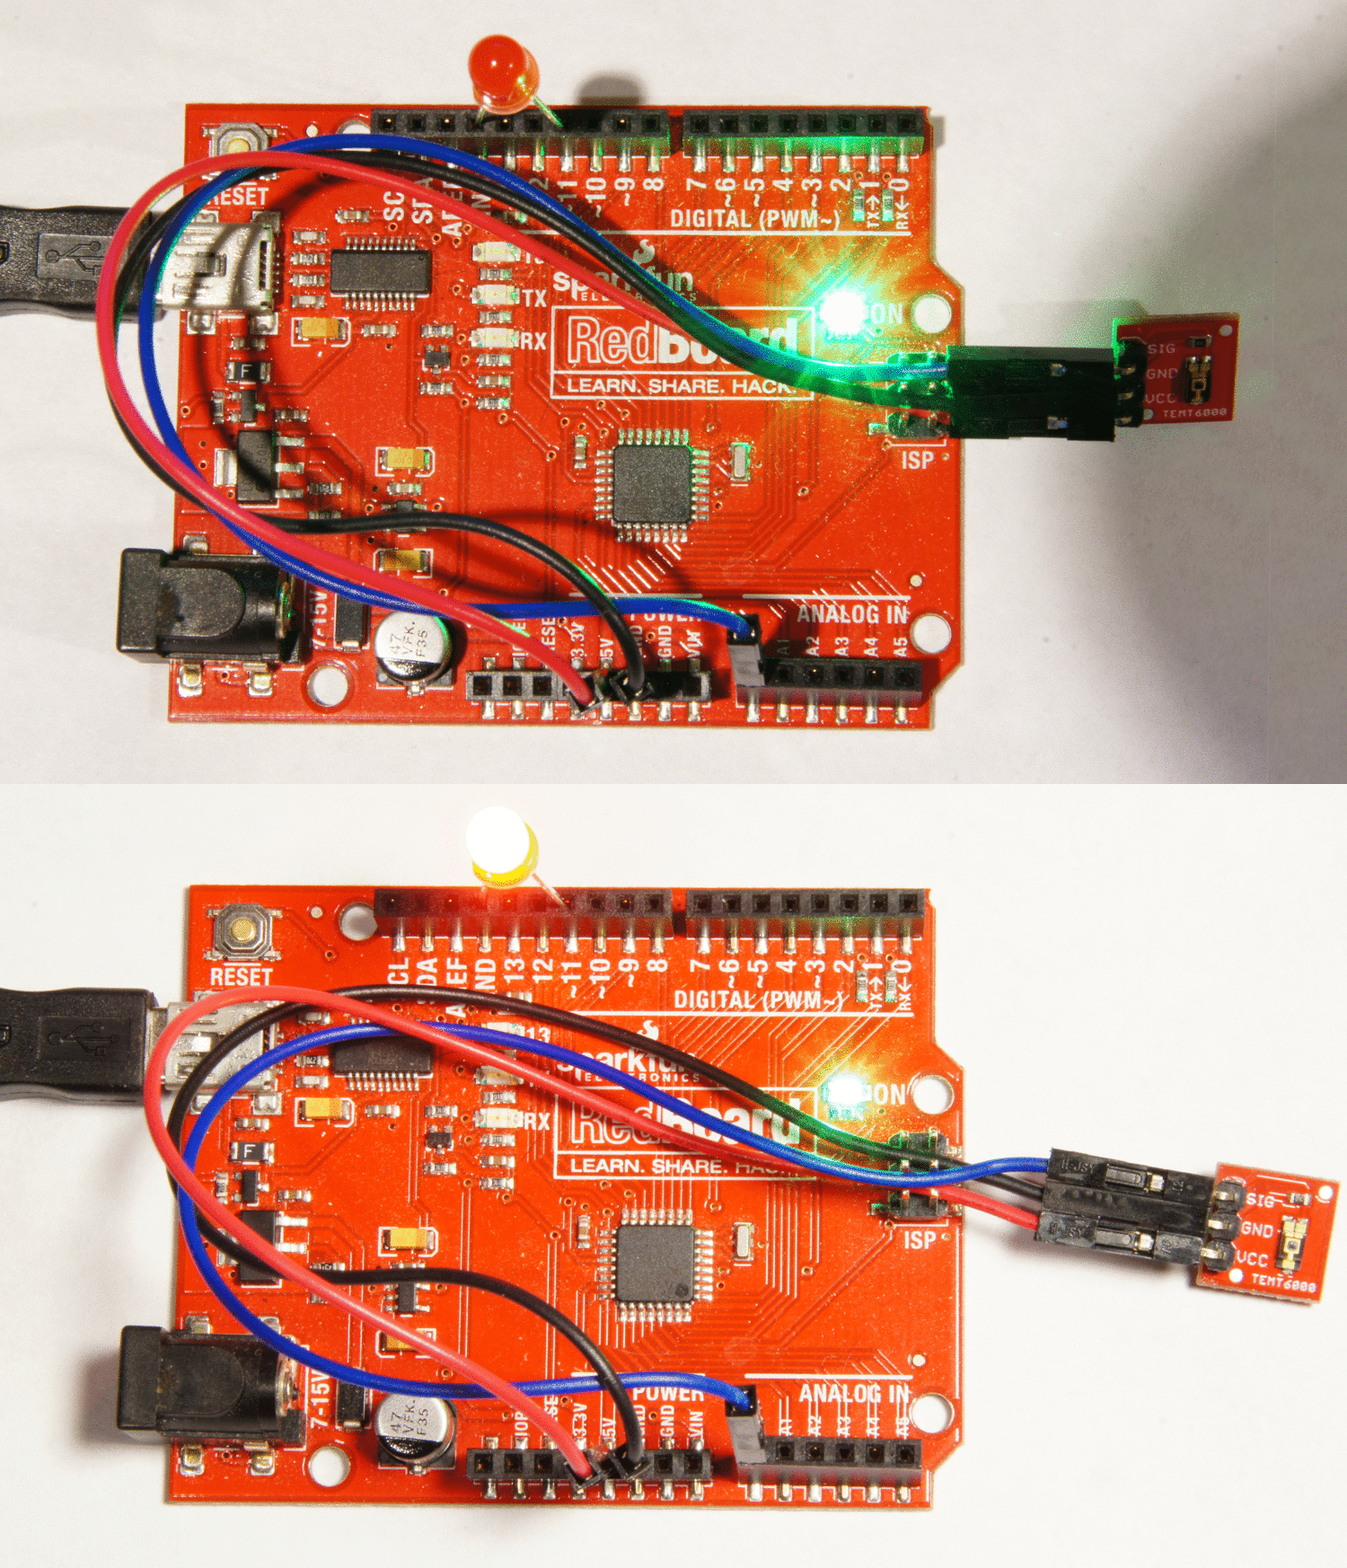
Once everything's uploaded, your LED should respond to the relative brightness that's exposed to the TEMT6000. Here's how the end result should look:
Try oscillating the TEMT6000 towards the RedBoard's green "ON" LED to see the change.
