SparkFun Top pHAT Hookup Guide
Hardware Assembly
Assembly for the Top pHAT is fairly straight forward. It plugs directly into the GPIO pins of a Raspberry Pi. Most importantly, users need pay attention to the orientation of the pHAT and double check that the pin are lined up properly. below are a few examples for users to follow.
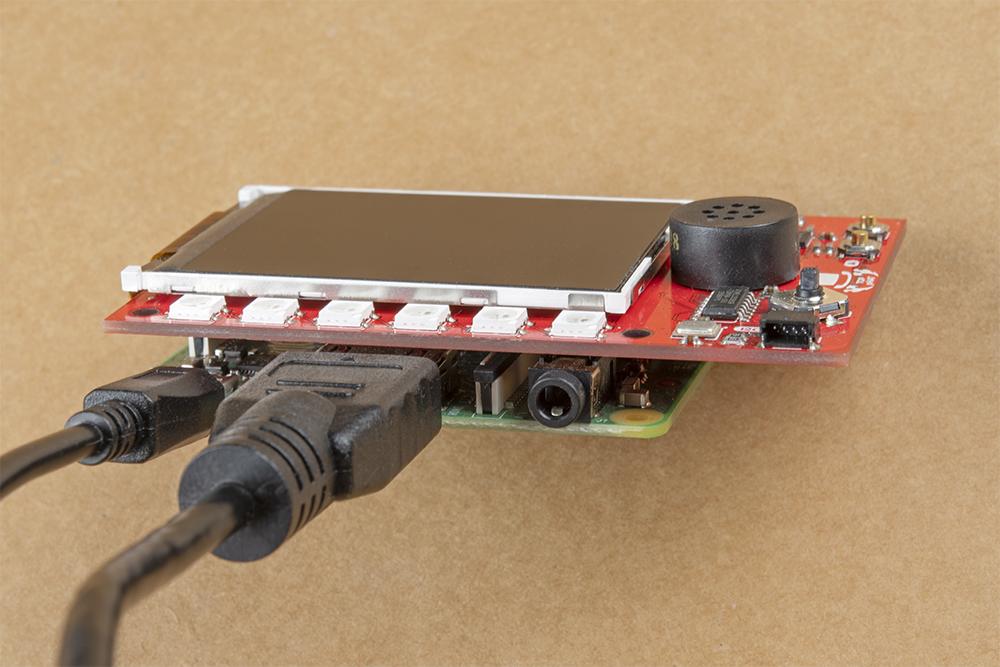
Top pHAT on Pi 3 Model A+.
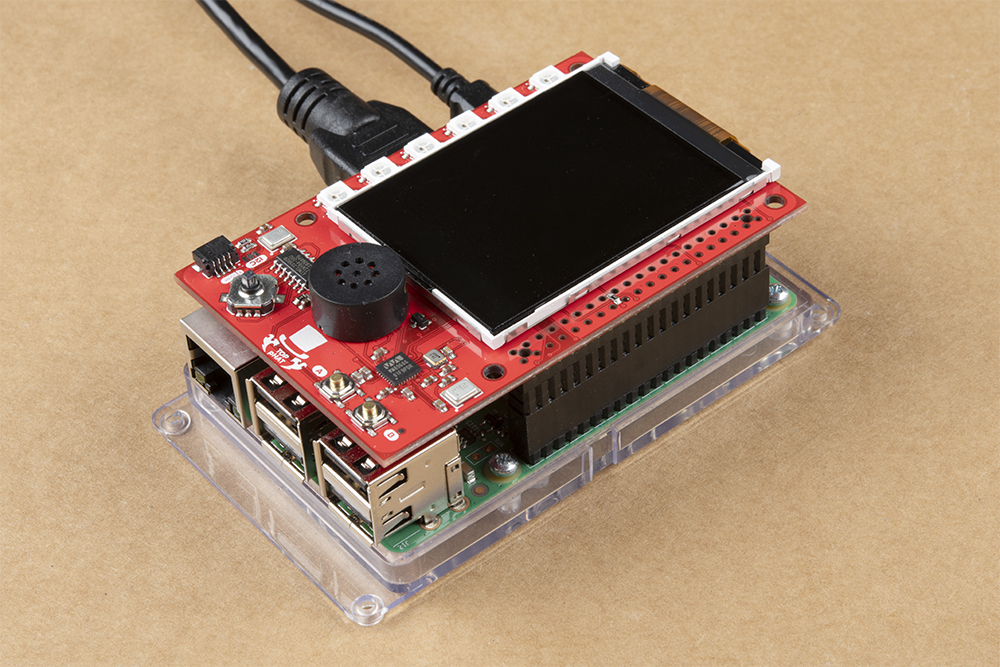
Top pHAT on Pi 3 Model B.
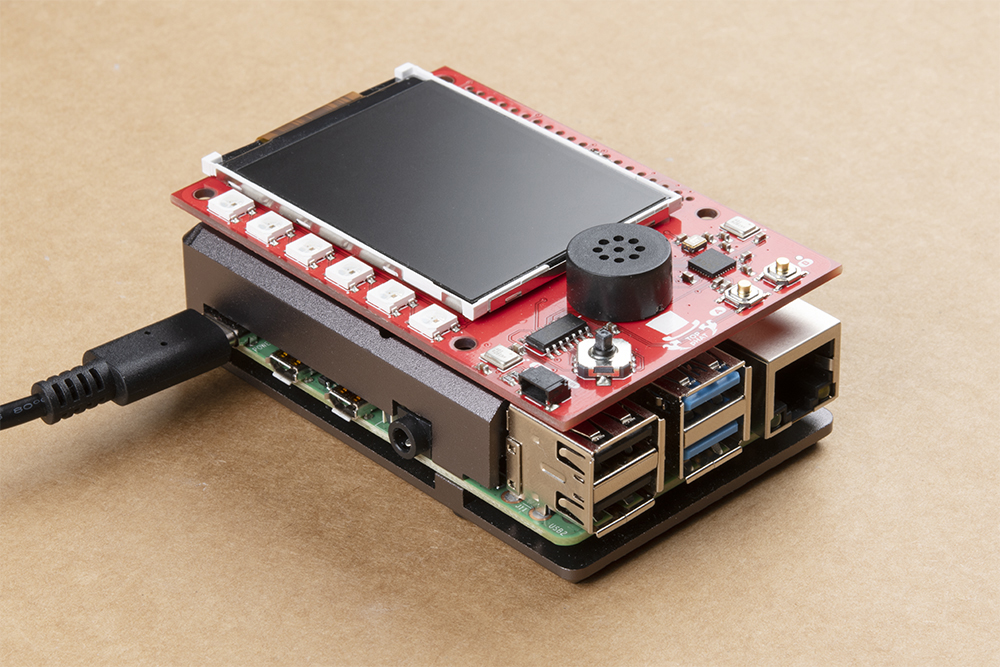
Top pHAT on Pi 4 Model B.
If the clearance between the pHAT and the Raspberry Pi components (including things like a case or heat sink) becomes an issue, a header can be used to increase the spacing.
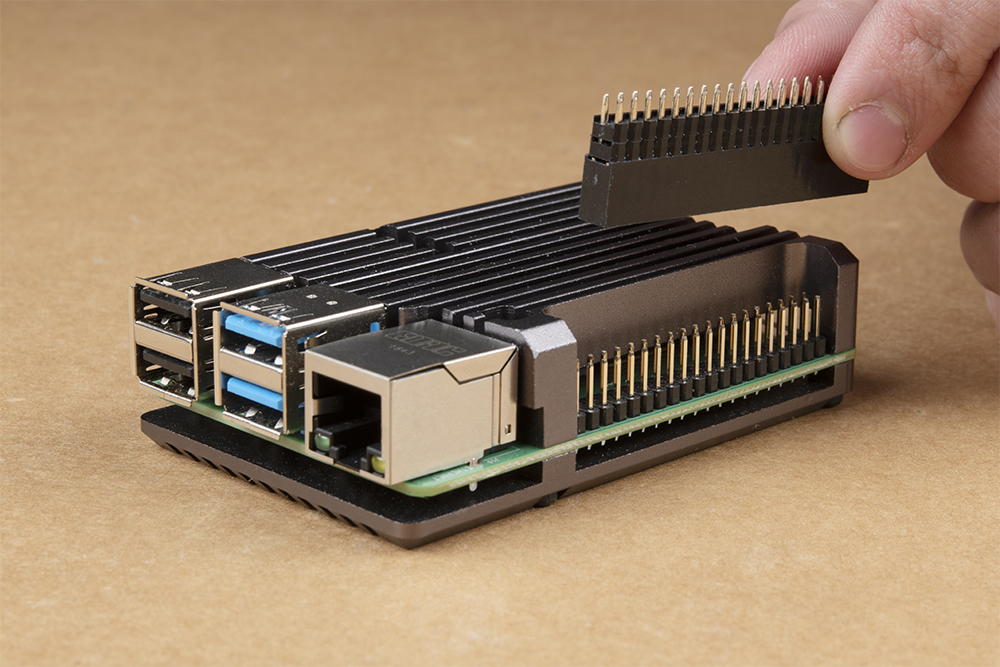
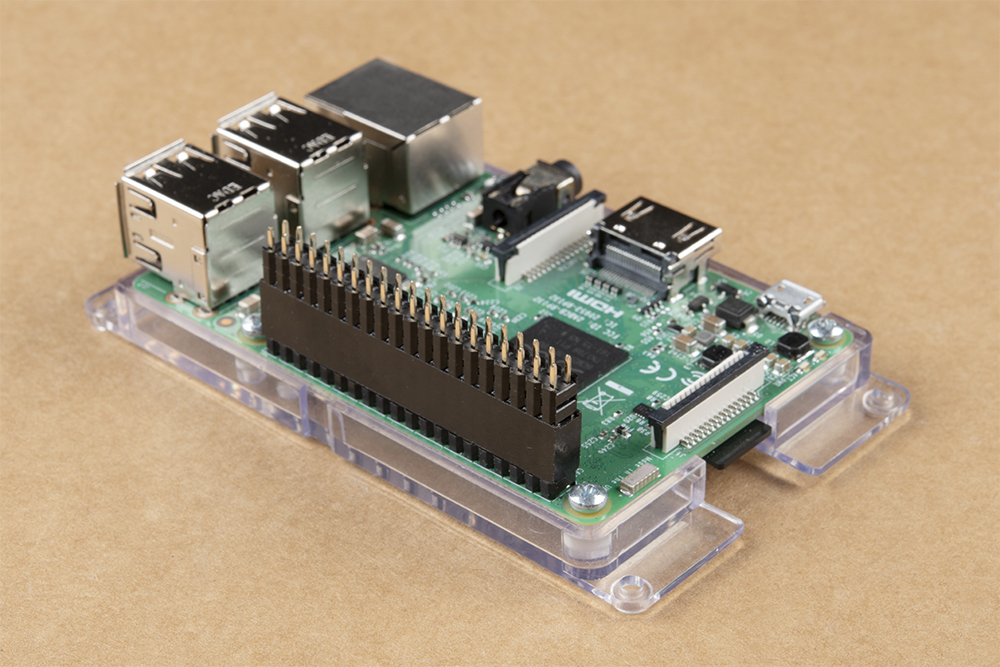
Header on Pi 3 Model B. (Click to enlarge)
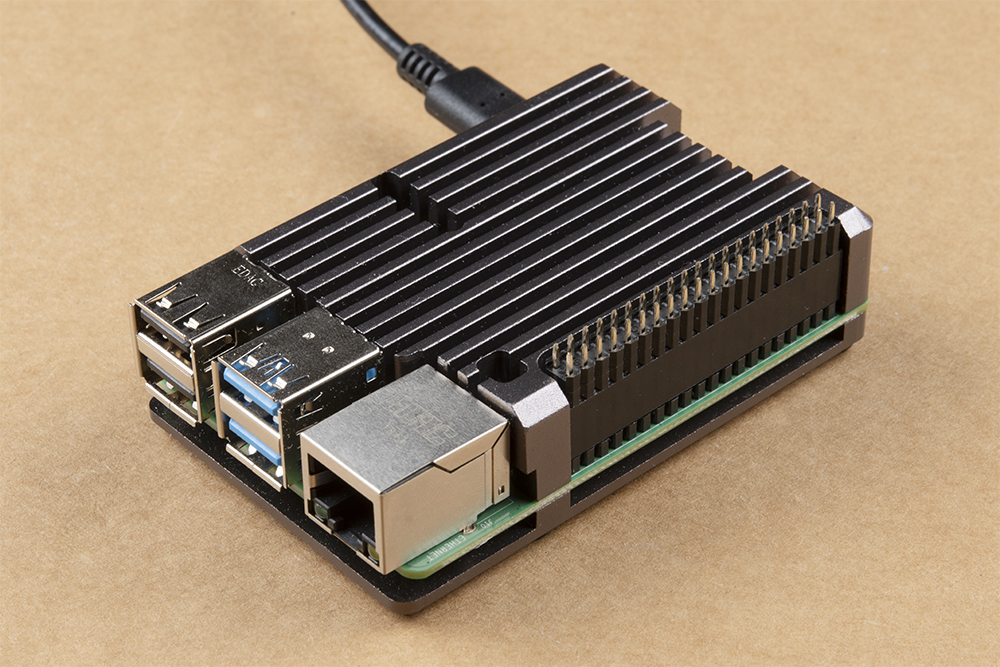
Header on Pi 4 Model B. (Click to enlarge)
To configure the Raspberry Pi for use with the Top pHAT, the PIXEL desktop is recommended. It will be the most convenient for users, but users can still use other methods like SSH to remotely access the Raspberry Pi. To utilize the desktop, users will need to add peripherals like a monitor and keyboard.
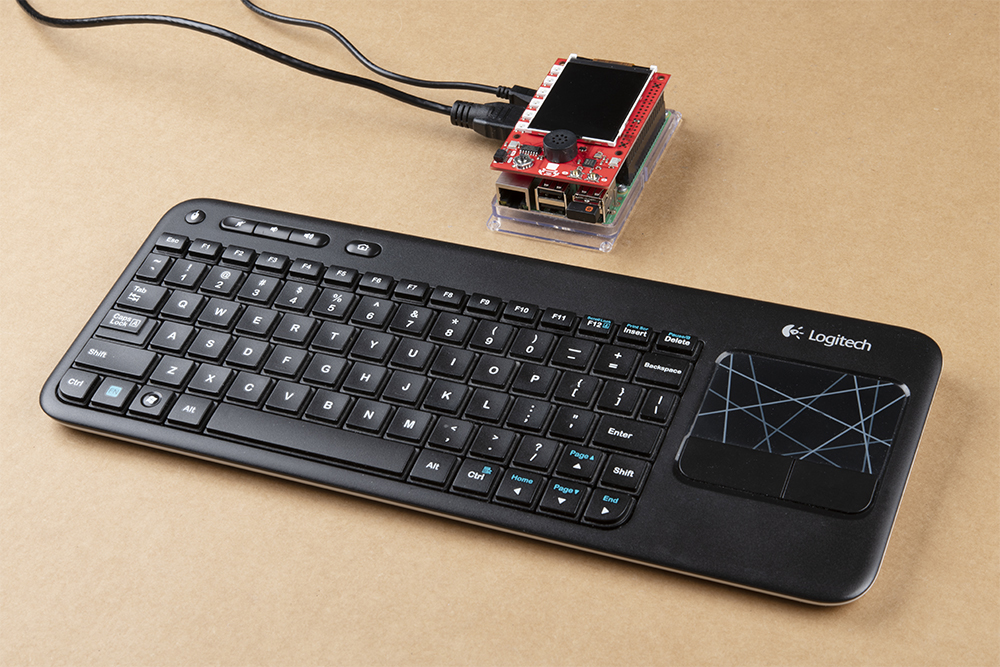
Pi 3 Model B setup to access the PIXEL desktop.
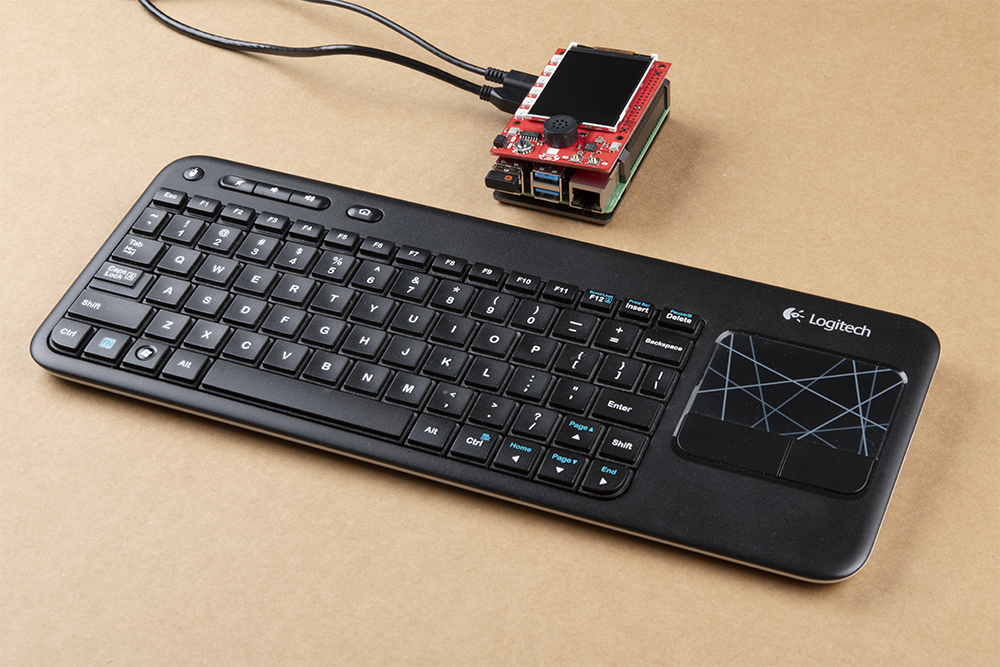
Pi 4 Model B setup to access the PIXEL desktop.