SparkFun Thing Plus Matter - MGM240P Hookup Guide
Software Setup
The MGM240P uses Silicon Labs' Simplicity Studio IDE as a development tool for programming, debugging, customizing, etc. In this section we'll cover the basics of installing the IDE and adding the Thing Plus Matter.
Install and Open Simplicity Studio
Simplicity Studio is available for Windows, Mac OSX and Ubuntu operating systems. You can find the installer download for your operating system by clicking the button below:
Silicon Labs requires you to create a (free) account to download Simplicity Studio so make one if you do not have one already. Once the installer finishes downloading, open it and follow the installation instructions.
Simplicity Studio Launcher
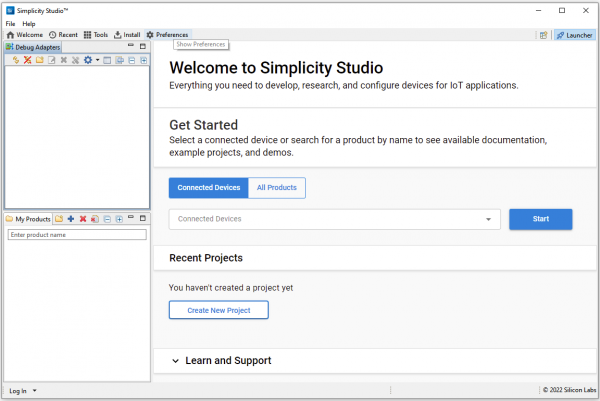
When you first open Simplicity Studio you'll be greeted by the Launcher window. The default Launcher window lets users install board files for both connected devices and by searching for a supported product. It also lists any recent projects you've worked on as well as links to user guides and support documentation.
On the left side there are two windows for any debug adapters (top) and all installed products (bottom). In the very top right of the screen you'll see the tabs to switch between the launcher, the Simplicity IDE and the Debug window. We'll be using the IDE tab in the next section once we finish installing the Thing Plus Matter into Simplicity Studio.
Adding the Thing Plus Matter - MGM240P
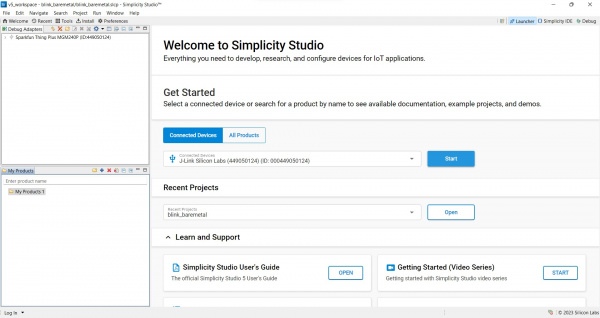
Simplicity Studio makes adding devices extremely easy by just connecting the device to your computer over USB and then selecting "Connected Devices". It automatically checks the device ID to matching supported products and should display either as a J-Link Silicon Labs debugger (prior to install) or "SparkFun Thing Plus MGM240P" as the connected device.
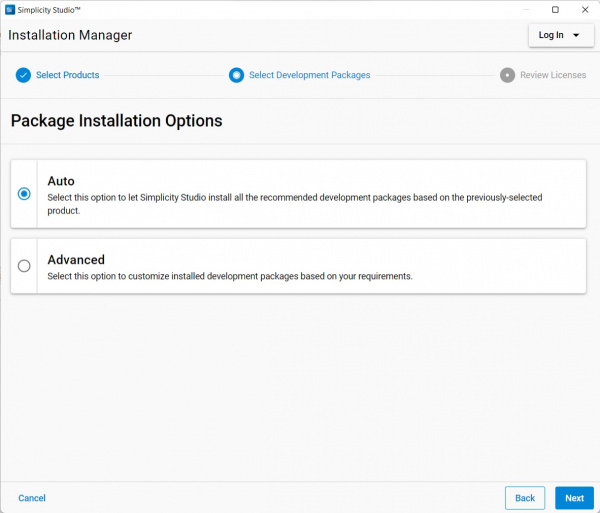
With the connected Thing Plus selected, click "Start". This opens the Installation Manager window where you can select either "Auto" or "Advanced" installation. Most users should select "Auto" and then click "Next". You'll be prompted to agree to licensing agreements. Once you have agreed, click "Finish" and it will install all necessary software, drivers and other packages to use the Thing Plus Matter in Simplicity Studio.
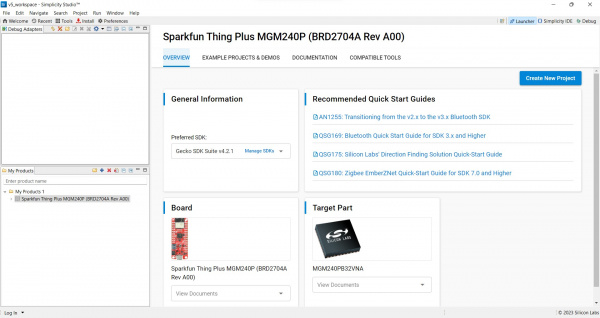
The install process can take a few minutes and once it completes you'll need to restart the program. After restarting, your Launcher window should update and look similar to the screenshot below:
This window contains several tabs that cover the general overview of the board, examples, documentation and compatible tools. Feel free to explore as much as you'd like but for now we'll move on to a basic "Blink" example to make sure everything was set up correctly and the Thing Plus Matter is working.
Silicon Labs Documentation
For comprehensive information on using Simplicity Studio, Silicon Labs has an in-depth user guide for the IDE available here:
If you're itching to integrate your Thing Plus with a Matter-compatible device, Silicon Labs has documentation for Matter development here:
They also have much more documentation covering other applications including Thread, other wireless protocols, and the Gecko SDK used in Simplicity Studio available on their main documentation page here:


