SparkFun QwiicBus Hookup Guide
 El Duderino,
  Englandsaurus
 Introduction
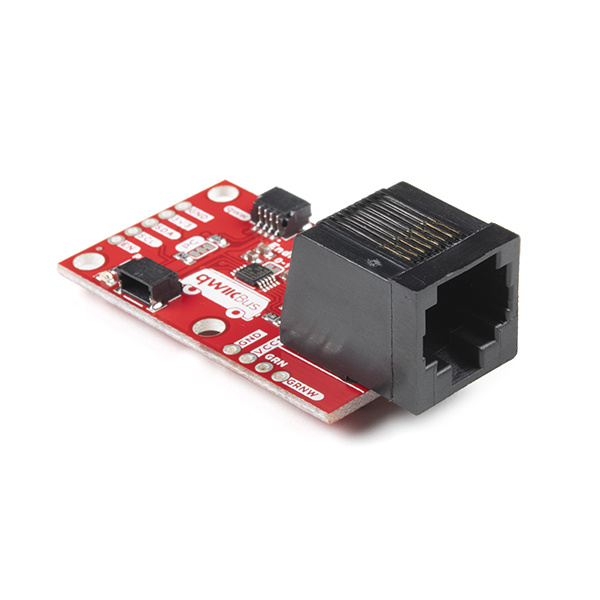
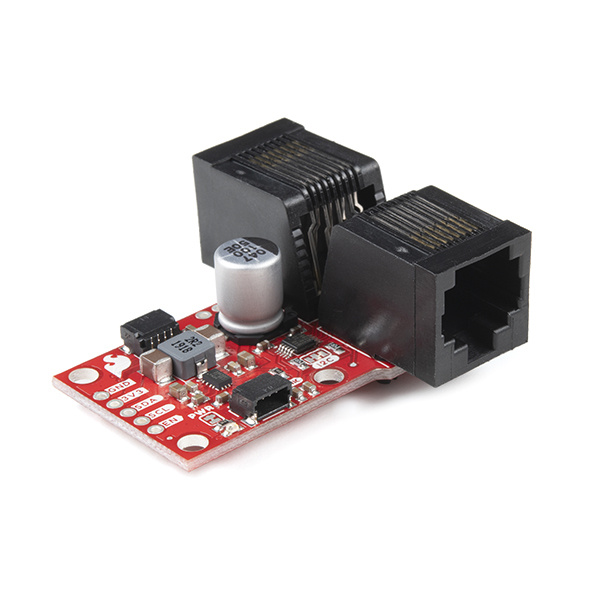
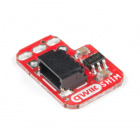
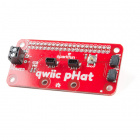
Introducing the SparkFun QwiicBus system! The QwiicBus is a fast and easy way to extend the range of your I2C bus. The QwiicBus system features two boards: the SparkFun QwiicBus EndPoint and the SparkFun QwiicBus MidPoint. SparkFun also offers the QwiicBus Kit that includes two EndPoints, one MidPoint and two Ethernet cables to get you started with the QwiicBus.
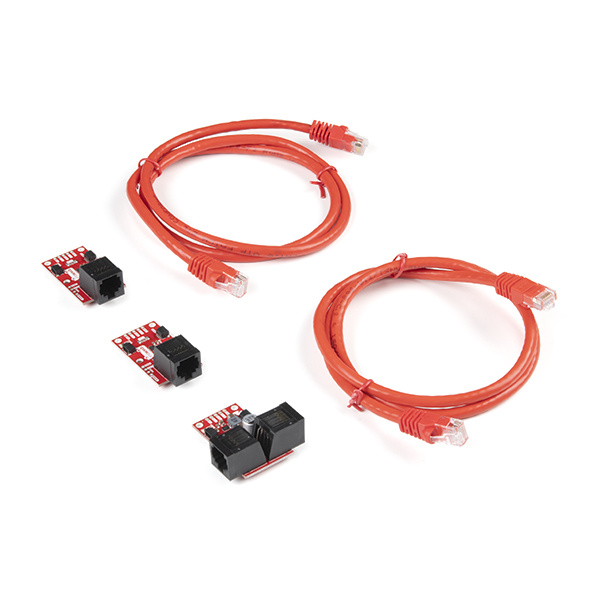
Using NXP's PCA9615 differential I2C bus buffer IC, the QwiicBus converts the two default I2C signals into four differential signals (two for SCL and two for SDA). The differential signals are sent over an Ethernet cable, which attaches to the EndPoint or MidPoint through the on-board RJ-45 connectors. Differential signaling allows the I2C signals to reach distances of over 100 feet while still maintaining their signal integrity. In our testing using two EndPoints, four MidPoints, at least one Qwiic device on each node and over 200 feet of Ethernet cable, we were able to use all devices with nearly no signal integrity loss!
The EndPoint acts as the starting and ending points of the QwiicBus and the MidPoint allows you to add a drop-in I2C connection to your long-distance differential I2C chain wherever you would like.
These boards grew out of a collaboration with FarmHand Automation. While developing autonomous micro-tractors to help small farmers grow their business, Farmhand realized they needed a low cost, open source CAN/Modbus alternative. Read more about their story here. FarmHand founder, Alex Jones said, "We knew the sensors we wanted to use, but as soon as you need to communicate over long distances in noisy environments things get complicated. The Qwiic Midpoint is going to solve a lot of that headache." The QwiicBus MidPoint and QwiicBus EndPoint are ideal for applications that require long-range communication over Ethernet, such as agricultural technology or data collection/monitoring in rural/remote areas.
Whether you have a robot with multiple I2C devices throughout it like FarmHand, a sensor network project with multiple sensors over a large area or other I2C projects you can think of that require a wired signal transmission over long distances, the QwiicBus makes that communication a breeze!
Required Materials
If you are using the QwiicBus Kit, you'll have the required boards and Ethernet cables to assemble your QwiicBus circuit. Otherwise, you'll want to pick up two EndPoints and however many MidPoints your project needs.
Along with the QwiicBus boards, you will need the following materials to follow along with this tutorial. You may not need everything though depending on what you have. Add it to your cart, read through the guide, and adjust the cart as necessary.
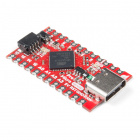
A microcontroller is needed to control any I2C devices attached to your QwiicBus. Below are a few options that come Qwiic-enabled out of the box:


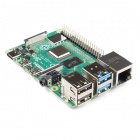
If you would prefer to use a single-board computer (SBC) like a Raspberry Pi or Jetson Nano as your controller, the products below will also work with the QwiicBus:
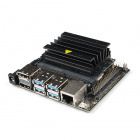
NVIDIA Jetson Nano Developer Kit (V3)
DEV-16271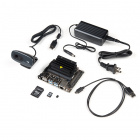
SparkFun DLI Kit for Jetson Nano
KIT-16308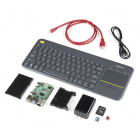
If your favorite microcontroller or single board computer is not already Qwiic-enabled, you can add that functionality with one or more of the following items:


You will also probably want a few Qwiic cables to connect your devices on your I2C bus:

Qwiic Cable - 50mm
PRT-14426
Qwiic Cable - 100mm
PRT-14427
Qwiic Cable - 200mm
PRT-14428
Qwiic Cable - 500mm
PRT-14429Finally, if you are not using the QwiicBus Kit you'll need at least one straight through Ethernet cable.
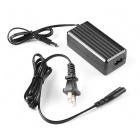
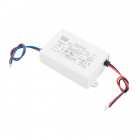
Optional Extras for Alternate QwiicBus Power Configurations
The QwiicBus offers multiple power configurations intended for applications where many devices need to be powered over the QwiicBus. We cover these configurations in more detail in the Hardware Overview and Hardware Assembly. To use these configurations you will need some extra hardware and tools. Click the button below to view some recommended products for alternate power configurations.


Suggested Reading
If you aren't familiar with the Qwiic system, we recommend reading here for an overview.
| Qwiic Connect System |
We would also recommend taking a look at the following tutorials if you aren't familiar with the topics they cover.