SparkFun Qwiic AS3935 Lightning Detector Hookup Guide
This Tutorial is Retired!
This tutorial covers concepts or technologies that are no longer current. It's still here for you to read and enjoy, but may not be as useful as our newest tutorials.
View the updated tutorial: SparkFun AS3935 Lightning Detector Hookup Guide (v20)
Introduction
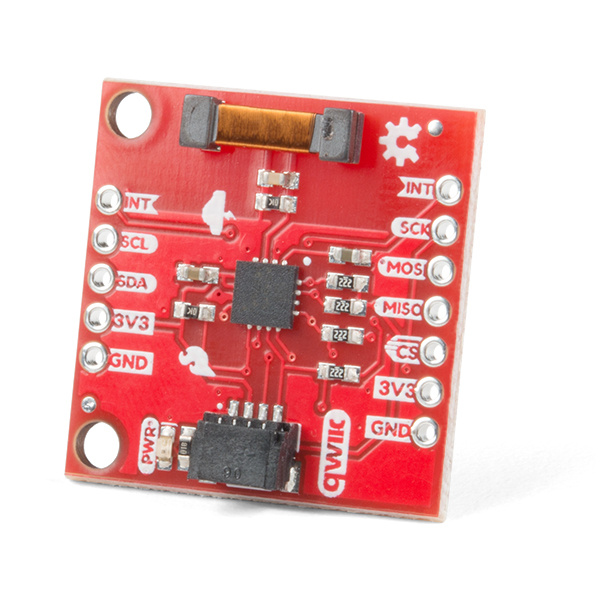
The SparkFun Qwiic AS3935 Lightning Detector adds lightning detection to your next weather station or to your next bike ride. Are you worried about the looming clouds in the distance, how far away is that storm exactly? The lightning detector can tell you the distance to the front of the storm 40 km away with an accuracy of 1km. It has false positive rejection and comes with many configurable features. To get at those features we have written a library that gives you access to settings such as storm sensing sensitivity when detecting indoors vs outdoors, or the number of lightning strikes needed to trigger an interrupt! The board supports both I2C and SPI, and so we've whipped out the Qwiic connector to make this easy to integrate into the Qwiic environment.
Required Materials
To follow along with the example code used in this tutorial, you will also need the following materials. You may not need everything though depending on what you have. Add it to your cart, read through the guide, and adjust the cart as necessary.
Qwiic Cable - 50mm
PRT-14426If you need different size Qwiic cables we offer a kit that contains many sizes but we also carry them individually as well:
Qwiic Cable - 100mm
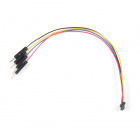
PRT-14427Qwiic Cable - Breadboard Jumper (4-pin)
PRT-14425Qwiic Cable - 500mm
PRT-14429Tools
Depending on your setup, you will may need a soldering iron, solder, and general soldering accessories.
Suggested Reading
If you aren't familiar with the Qwiic system, we recommend reading here for an overview.
 |
| Qwiic Connect System |
We would also recommend taking a look at the following tutorials if you aren't familiar with them.


