SparkFun Indoor Air Quality Sensor - ENS160 (Qwiic) Hookup Guide
Contributors:
Ell C
Example 4: Basic SPI
This example shows basic data retrieval from the SparkFun Indoor Air Quality Sensor - ENS160 using SPI.
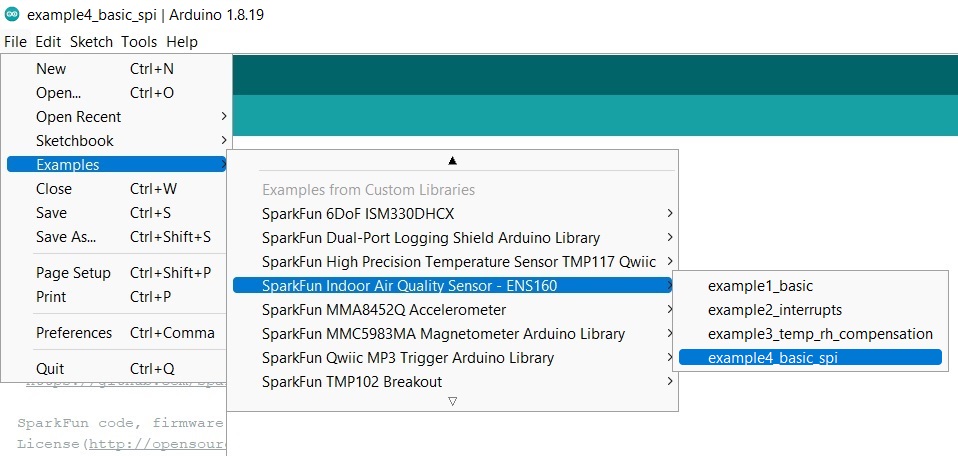
Go ahead and open up File->Examples->SparkFun Indoor Air Quality Sensor - ENS160->example4_basic_spi. Make sure to select your board (SparkFun RedBoard) and COM port before hitting upload to begin experimenting with the air quality sensor.
Alternatively, you can copy and paste the code below into a nice new Arduino sketch:
language:c
/* example4_basic_example_spi.ino

 This example shows basic data retrieval from the SparkFun Indoor Air Quality Sensor - ENS160 using SPI.

 Written by:
    Elias Santistevan @ SparkFun Electronics October, 2022

 Product:
  https://www.sparkfun.com/products/20844

 Repository:
    https://github.com/sparkfun/SparkFun_Indoor_Air_Quality_Sensor-ENS160_Arduino_Library

 SparkFun code, firmware, and software is released under the MIT
 License(http://opensource.org/licenses/MIT).

*/
#include <SPI.h>
#include "SparkFun_ENS160.h"

SparkFun_ENS160_SPI myENS;

// Adjust pin select to suit your project's needs.
int chipSelect = 1;
int ensStatus = 0;

void setup()
{

    pinMode(chipSelect, OUTPUT);
    digitalWrite(chipSelect, HIGH);

    SPI.begin();

    Serial.begin(115200);

    if( !myENS.begin(chipSelect) )
    {
        Serial.println("Did not begin.");
        while(1);
    }

    // Reset the indoor air quality sensor's settings.
    if( myENS.setOperatingMode(SFE_ENS160_RESET) )
        Serial.println("Ready.");

    delay(100);

    // Device needs to be set to idle to apply any settings.
  //    myENS.setOperatingMode(SFE_ENS160_IDLE);


    // Set to standard operation
    // Others include SFE_ENS160_DEEP_SLEEP and SFE_ENS160_IDLE
    myENS.setOperatingMode(SFE_ENS160_STANDARD);
    Serial.print("Operating Mode: ");
    Serial.println(myENS.getOperatingMode());

    // There are four values here:
    // 0 - Operating ok: Standard Opepration
    // 1 - Warm-up: occurs for 3 minutes after power-on.
    // 2 - Initial Start-up: Occurs for the first hour of operation.
  //                                                and only once in sensor's lifetime.
    // 3 - No Valid Output
    ensStatus = myENS.getFlags();
    Serial.print("Gas Sensor Status Flag: ");
    Serial.println(ensStatus);
}

void loop()
{
    if( myENS.checkDataStatus() )
    {
        Serial.print("Air Quality Index (1-5) : ");
        Serial.println(myENS.getAQI());

        Serial.print("Total Volatile Organic Compounds: ");
        Serial.print(myENS.getTVOC());
        Serial.println("ppb");

        Serial.print("CO2 concentration: ");
        Serial.print(myENS.getECO2());
        Serial.println("ppm");
    }

    delay(200);
}
Hookup for this example is a bit more complicated.

Let's sort through all those wires:
| RedBoard Pin | Air Quality Sensor Pin |
|---|---|
| 3.3V | 3.3V |
| GND | GND |
| 13 | SCL |
| 12 | ADR/POCI |
| 11 | SDA/PICO |
| 10 | CS |
So! Everything is hooked up and you've got your code uploaded - now you can open up a Serial Monitor and check out your output. You should see something like the following:
