SparkFun GPS NEO-M9N Hookup Guide
Contributors:
 Elias The Sparkiest
Elias The Sparkiest Resources and Going Further
Now that you've successfully got your GPS receiver up and running, it's time to incorporate it into your own project! For more information, check out the resources below:
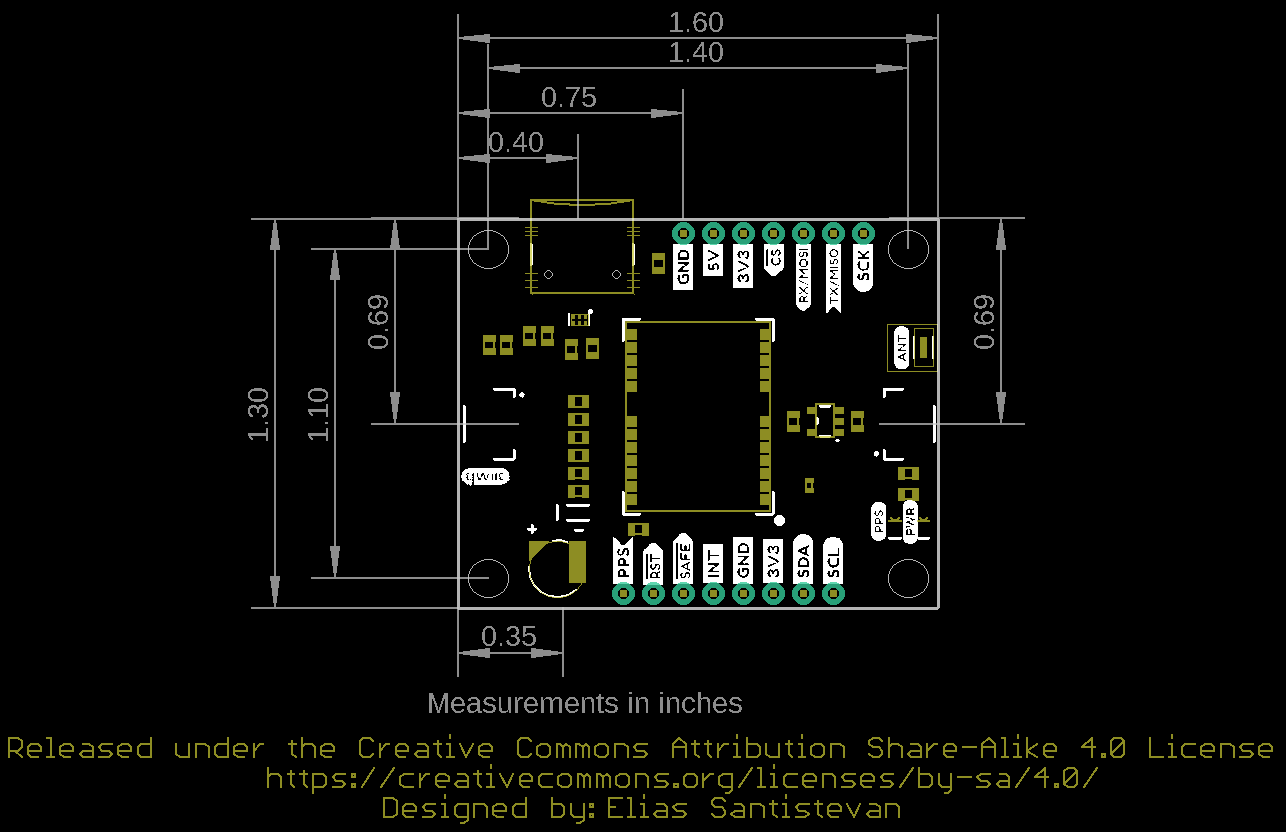
- SparkFun u-Blox NEO-M9N with Chip Antenna
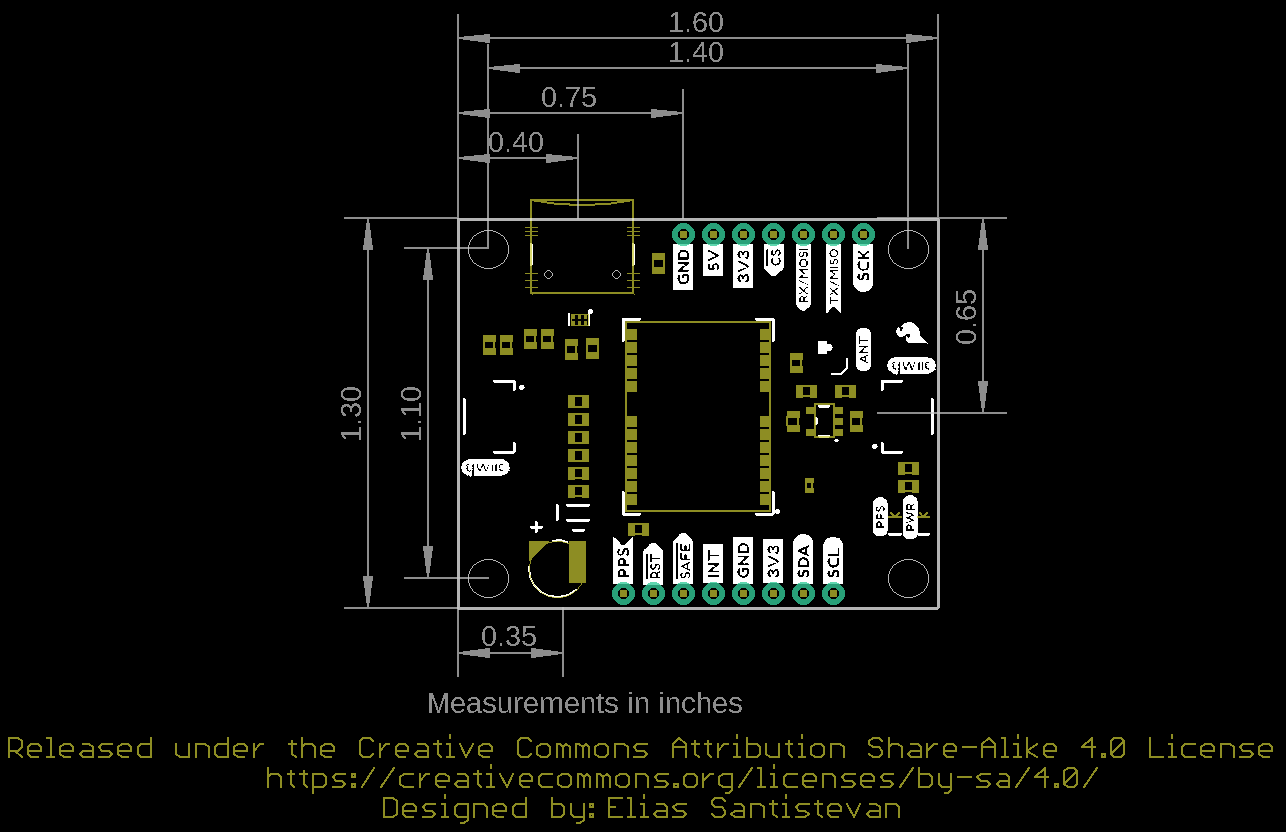
- SparkFun u-Blox NEO-M9N with U.FL Connector
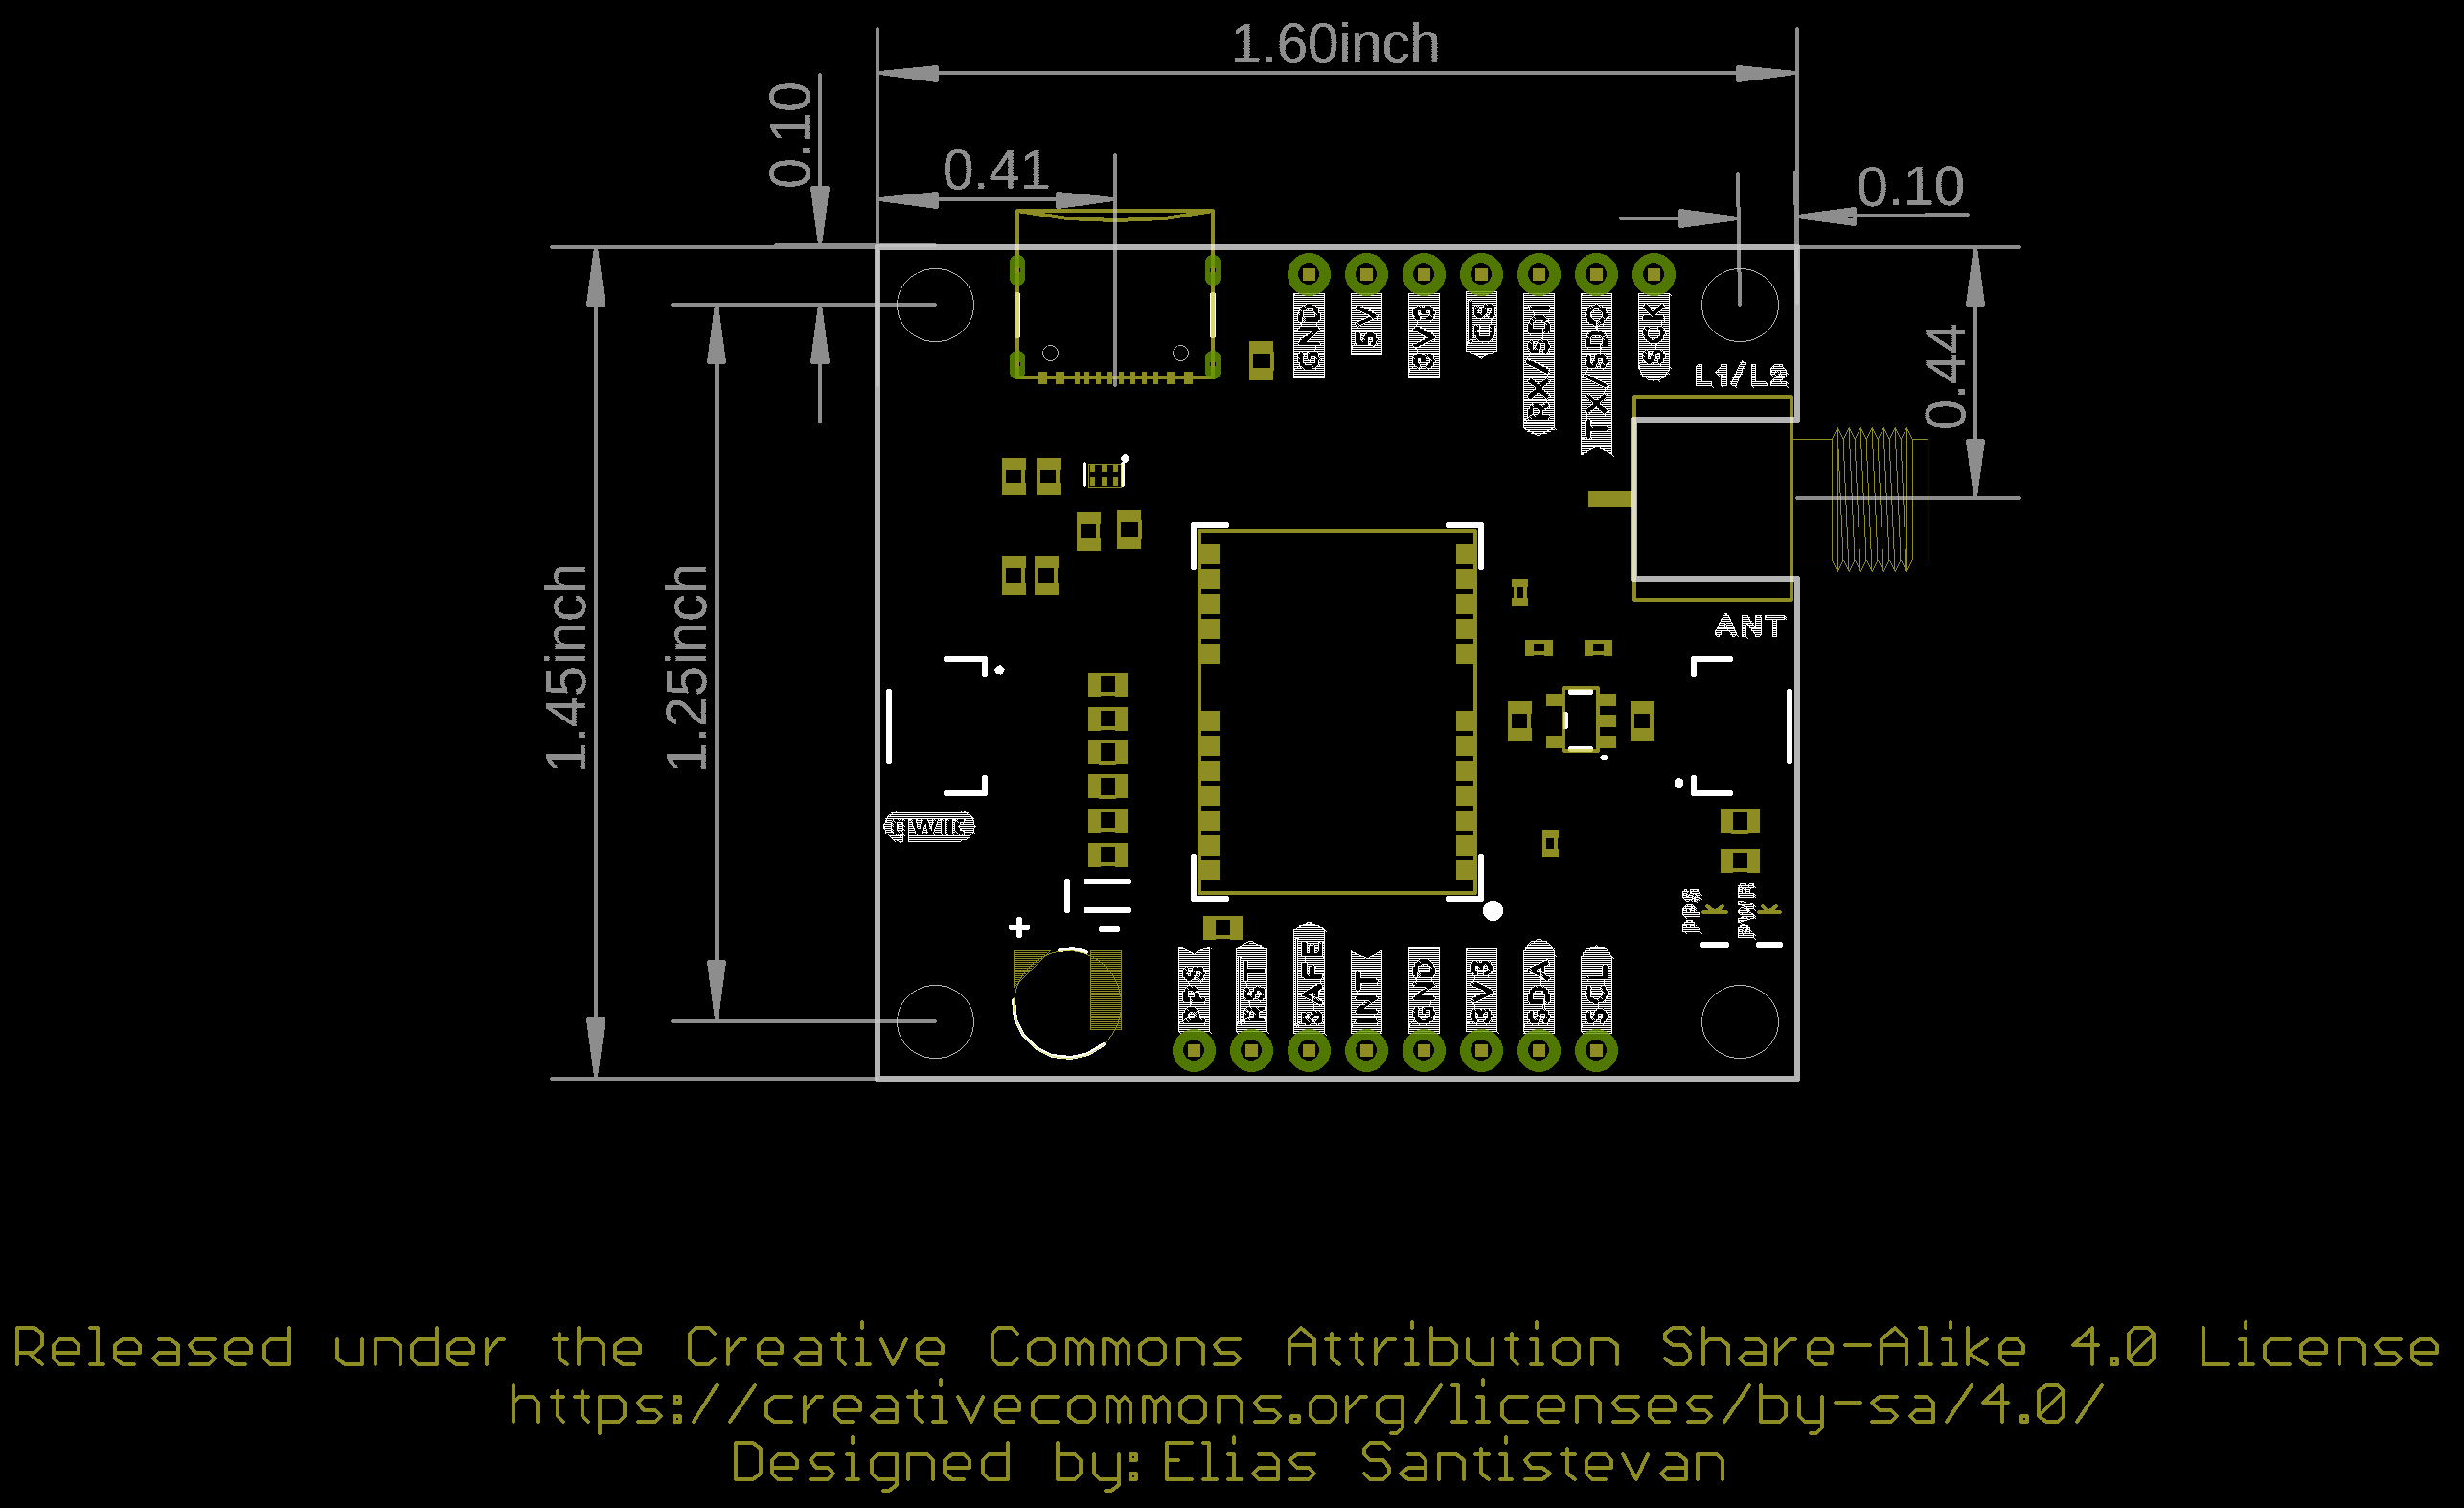
- SparkFun u-Blox NEO-M9N with SMA Connector
- u-blox Module Documentation
- GitHub
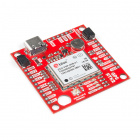
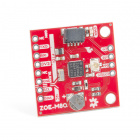
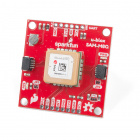
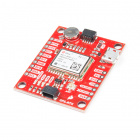
Are you looking for a GPS receiver with an insane 10mm 3D accuracy, then check out the two other u-Blox based GPS boards by SparkFun (ZED-F9P and NEO-M8P-2) on the left below. Need a smaller more compact GPS unit but don't need as high of a refresh rate, check out the ZOE-M8Q and SAM-M8Q on the right.

Need some inspiration for your next project? Check out some of these related tutorials:
Arduino Weather Shield Hookup Guide V12
Read humidity, pressure and luminosity quickly and easily. Add wind speed, direction and rain gauge for full weather station capabilities.
SparkFun GPS Breakout - XA1110 (Qwiic) Hookup Guide
Figure out where in the world you are with the Qwiic SparkFun GPS Breakout - XA1110.
RFID Beginners Tutorial
Make a remote work logger using an RFID reader and a GPS module. Scan a card and get ID, location, and time. All the perfect data to punch in and punch out from the middle of Nowhere!
smôl ZOE-M8Q Hookup Guide
Small in size, small on current draw. It's a smôl world! This guide will get you up and running with the smôl ZOE-M8Q GNSS Peripheral Board.