SparkFun gator:UV Hookup Guide
Adding the MakeCode Extension
- If you have not previously used MakeCode, please check out the Quick Start Guide fro micro:bit.
- If this is your first time using a micro:bit, please review our Getting Started with the micro:bit guide.
- If this is your first time using the gato:bit (v2), please review our SparkFun gator:bit v2 Hookup Guide.
The easiest way to get started using the gator:UV is to use Microsoft MakeCode, a web-based block editor. This tutorial assumes you are familiar with the with MakeCode, the gato:bit (v2), and the micro:bit development board. If this is your first time check out this guides linked in the suggested reading section (above).
Installing Extensions
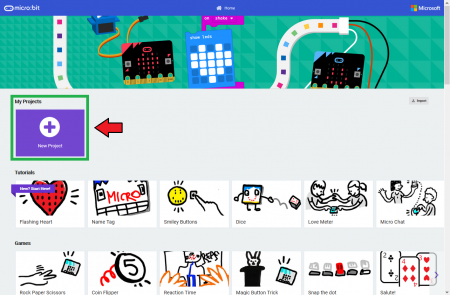
To get started with using MakeCode with the miccro:bit, head over to the MakeCode for micro:bit website by Microsoft. Then, click the New Project button to start a new project and open the Editor. (*Yes, all you only need to get start coding is a computer with internet access, an up-to-date web browser, and an available USB port!)
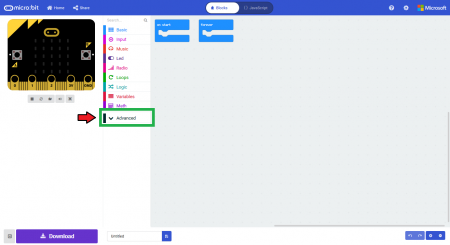
Once you have the editor up, click on the the Advanced block in the block library to reveal the drop down menu.
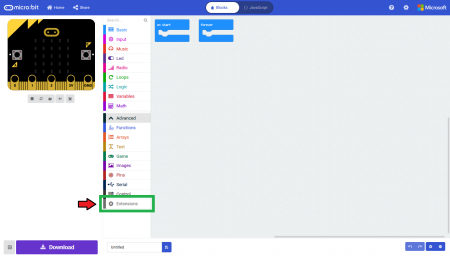
Finally, click on the Extensions block. This should bring up the extensions page. (*Alternatively, you could also click on the extensions link from the settings menu.)
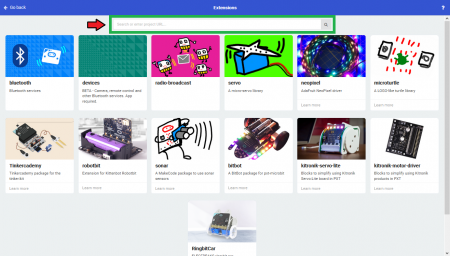
There are two methods for finding the gator:UV extension:
- Search for the name used on the extension1.
- Use the link to the GitHub repository for the pxt-package as the search term.
Search for the PXT-Package
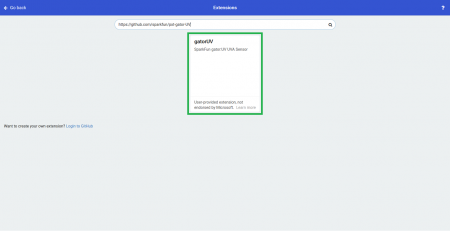
Search for the gator:UV extension using the GitHub repository link to the pxt-package:
https://github.com/sparkfun/pxt-gator-UV
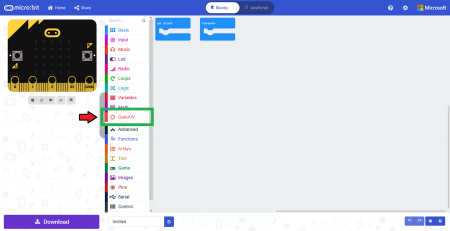
Then, click on the box for the extension to add it to the block library. The gator:UV extension should now appear in the block library.
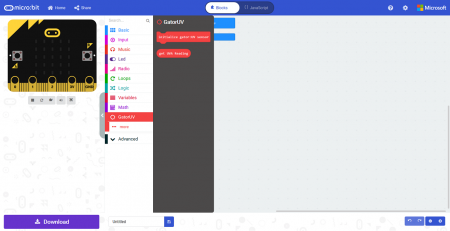
To verify that you have added the extension, click on the gator:UV block to make sure that your drop down menu options match the image below.
