Source: Youtube Doris from Disney's Meet the Robinsons
Introducing, the Auto pHAT! The *perfect GIF(t) to get that HAT moving...
Source: Youtube Doris from Disney's Meet the Robinsons
Terrible pun aside, this product isn't capable of creating DOR-15 (aka Doris), but it will get you started on your robotics adventure.
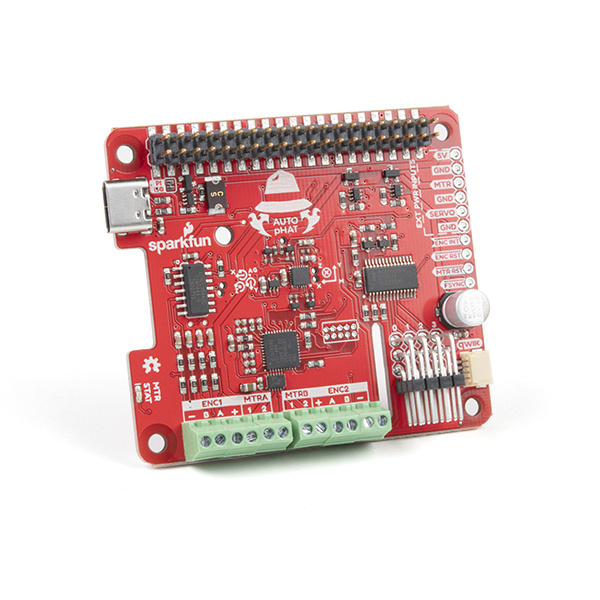
This device combines a few of our existing products onto a single pHAT. On the Auto pHAT you will find the following components:
There are dozens of applicable projects for this product, you can even use it to get started with your rover and robotics applications. Its limits are up to you.
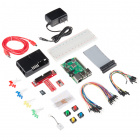
The required materials will depend on your project. However, at minimum, users will need:
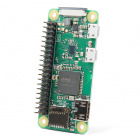
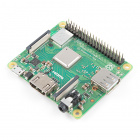
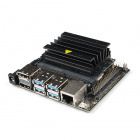
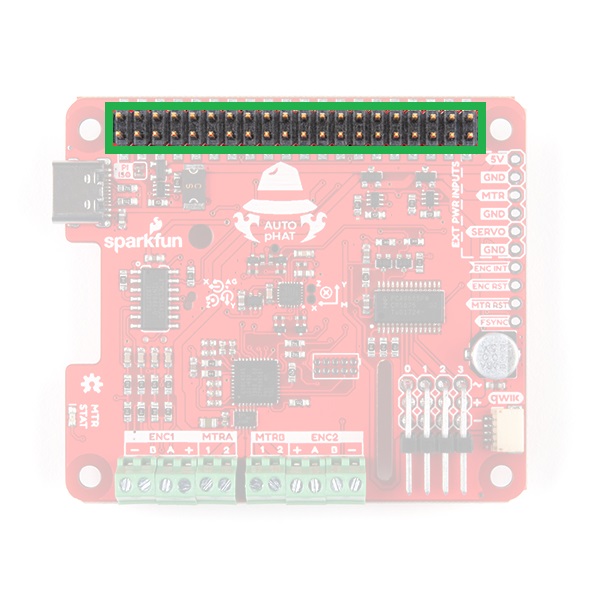
Each of the SBCs that we offer have a unique facet that separates it from the others. There is a 40-pin Raspberry Pi compatible header on each of the SBCs.
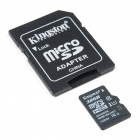
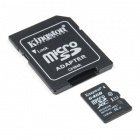
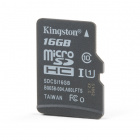
These SD cards in our catalog are tested and known to work with all the models of the Raspberry Pi and the Jetson Nano (excluding the NOOBS card).
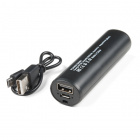
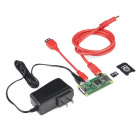
Use the appropriate power supply for the SCB you choose. The battery pack and USB-C cable are specifically for the Auto pHAT to supplement the current draw of the motor driver and servo controller.
The Auto pHAT has 4 available servo channels. This is perfect if for users looking to add a pan-tilt bracket for their camera, a claw, or any other servo or PWM related mechanism (like a robotic arm).
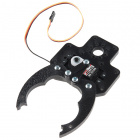

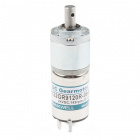
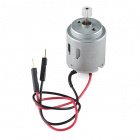
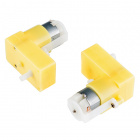
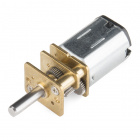
The motor driver on the Auto pHAT has 2 H-Bridge drive channels for DC motors. We recommend the hobby motor with encoder as the Auto pHAT was designed to match the pin layout of this product.
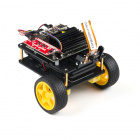
Besides a motor, users will also need a chassis or some kind of structure to assemble all the components on. You can't really call it a vehicle, if all you have is a motor.
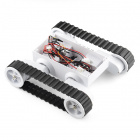
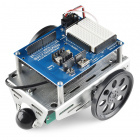
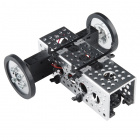
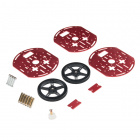
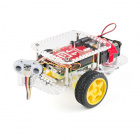
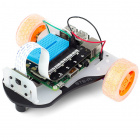
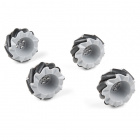
Wheels... these are pretty self explanatory. If you don't have them, then you can't get rolling (or tracks for "track-tion").
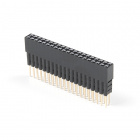
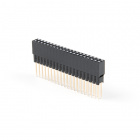
This is an optional item. For users looking to stack HATs, a header might be required for additional clearance between boards or components.
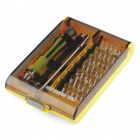
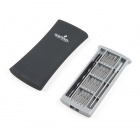
To tighten and loosen the screw terminals, users will need a small flathead screw driver. The head will need to be ~1.5mm; anything around 2mm will most likely be too large.

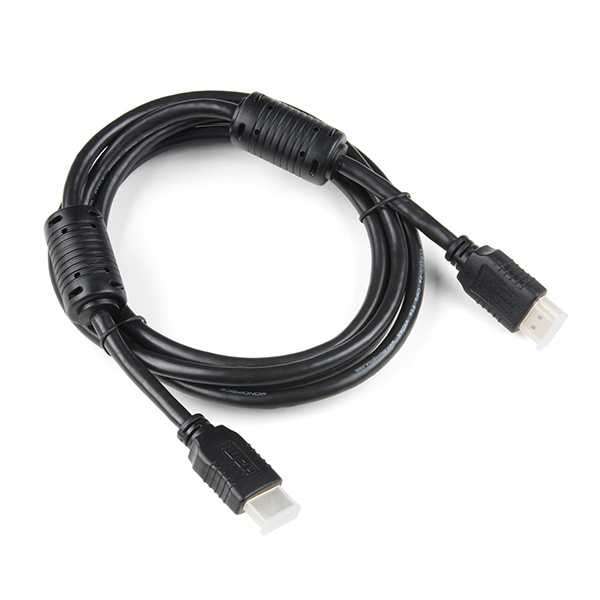
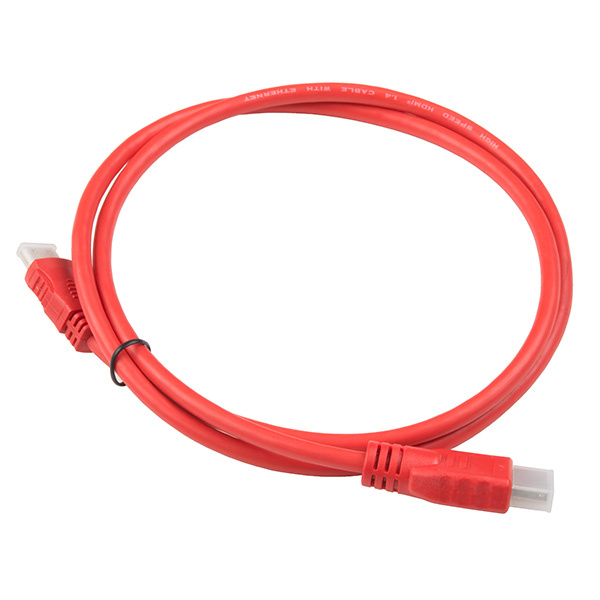
Note: If your display doesn't have an HDMI input, you will need to source an appropriate adapter. There are DVI and VGA to HDMI adapters, that will work on older computer monitors. Unfortunately, we don't have any adapters or a list of optional products for more outdated inputs (i.e. RCA, S-video, Component, or coaxial inputs).
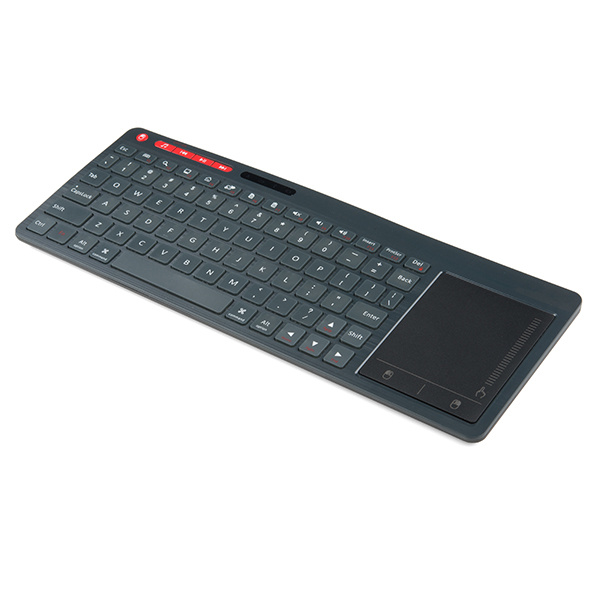
Note: This keyboard is similar to a smaller laptop form factor in the button layout. Users with the Raspberry Pi Zero W models will need an additional USB (OTG) cable.
Note: First time Raspberry Pi users should also head over to the Raspberry Pi Foundation website and check out their quickstart guides:
1st Edition (December 2018)
2nd Edition (June 2019)
3rd Edition (November 2019)
We have also listed a few additional resources for users to familiarize themselves with the Raspberry Pi:
Note: First time Nvidia Jetson Nano users should also head over to the Nvidia website and check out their guides and tutorials:
Below are some of our related tutorials that may be of interest to beginners:
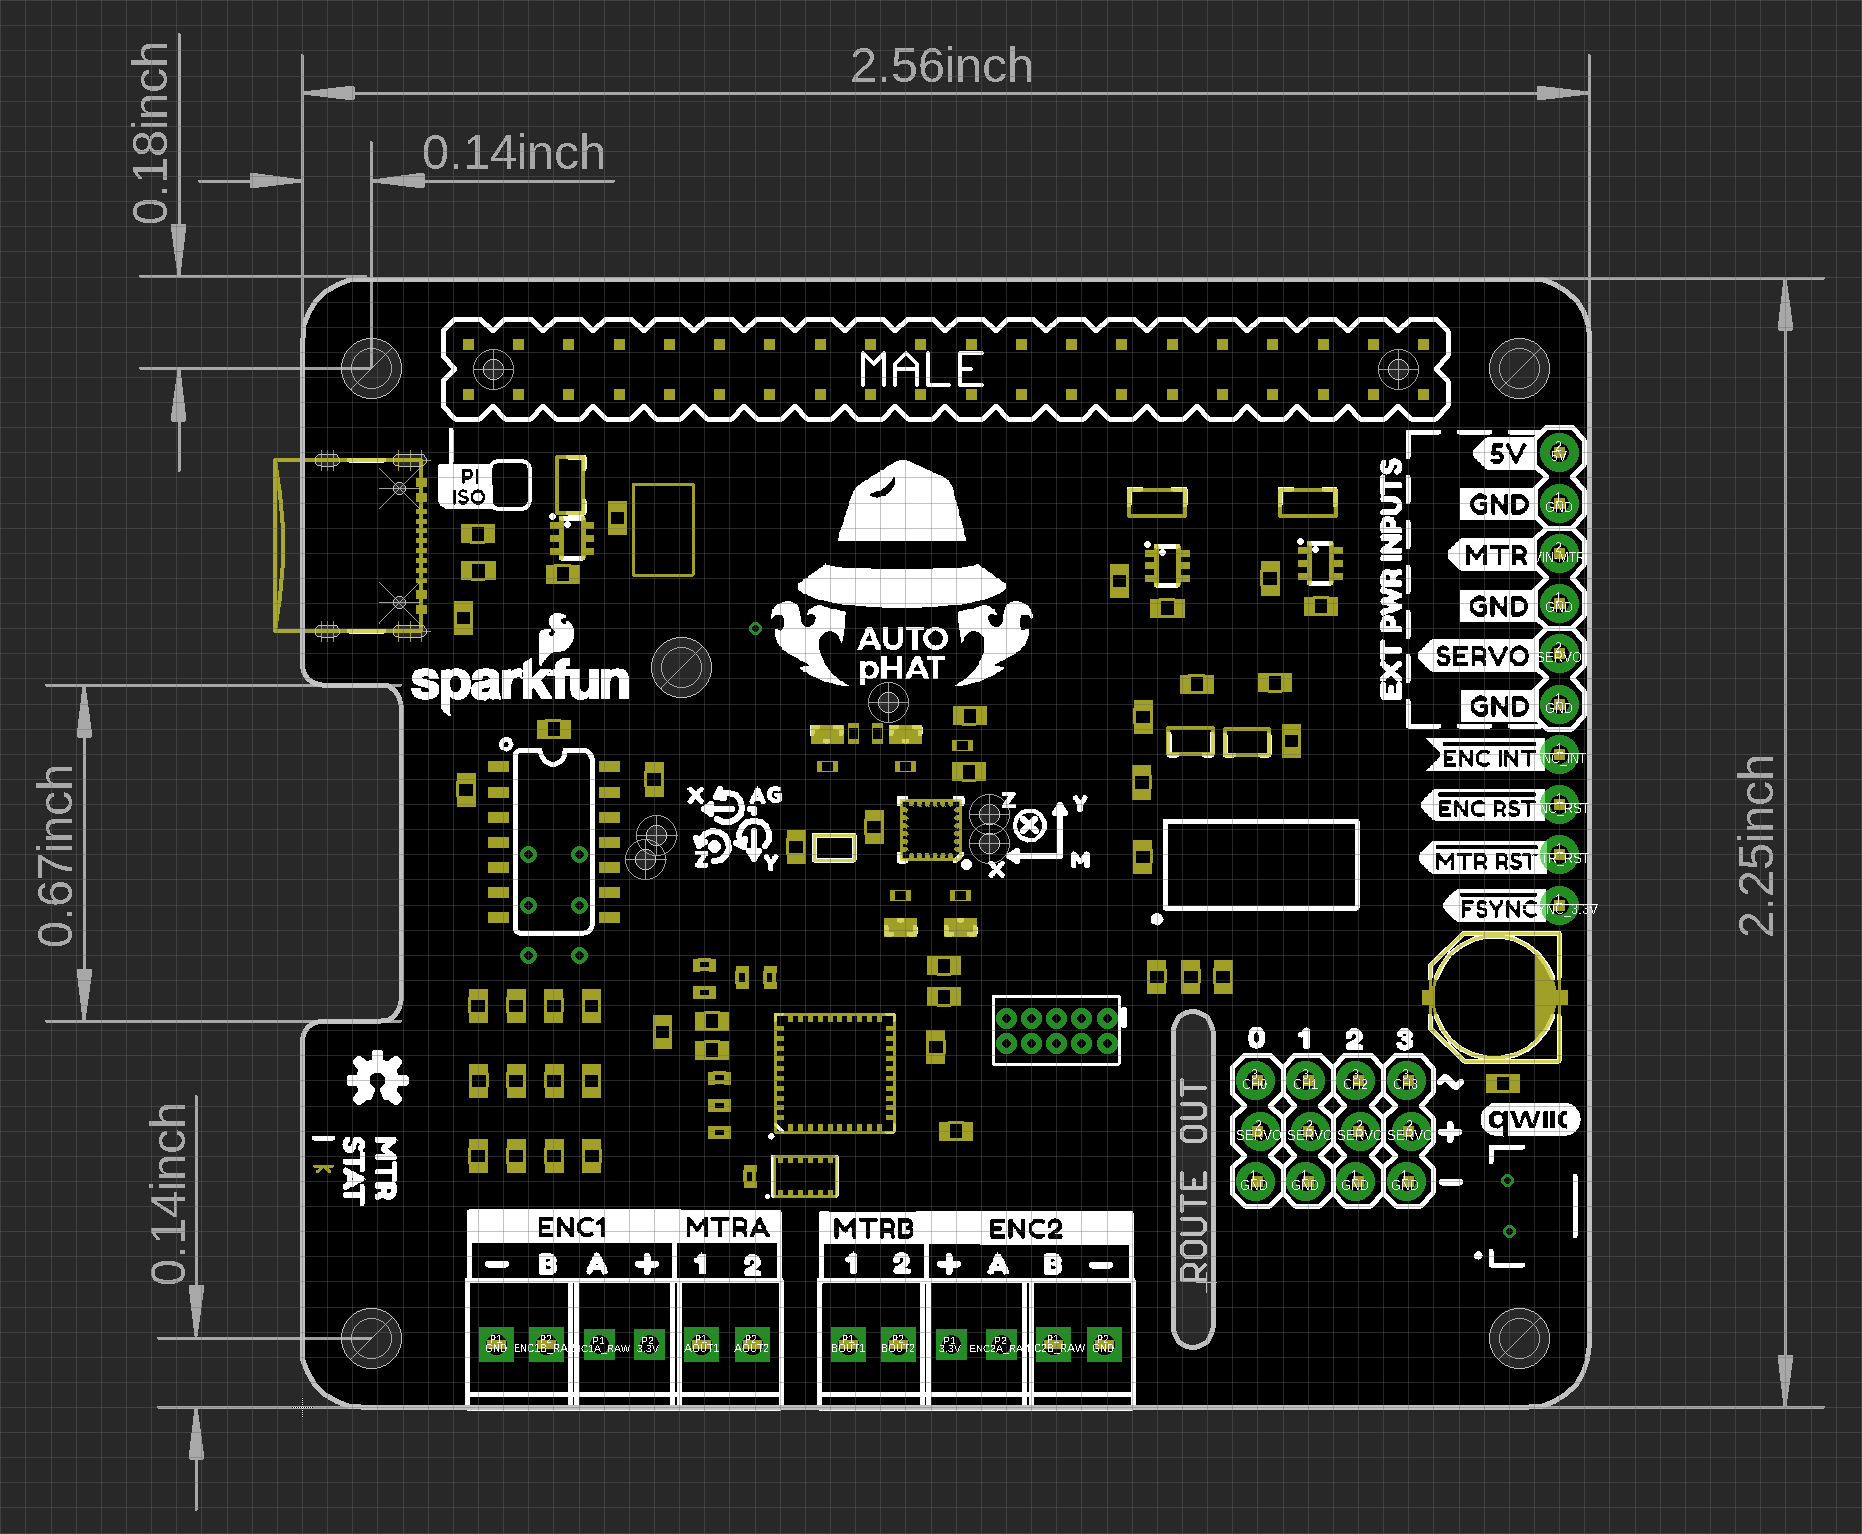
Below, is an overview of the major hardware components on the Auto pHAT.
The overall dimensions of the Auto pHAT are 57mm x 65mm. For more details, users can check out the layout in the Eagle files. The board also features two cut-outs for the camera and display ribbon connections.
As the Auto pHAT is also intended to integrate with other HATs, it is important to know all of the pin being utilized to avoid conflicts. Below is a layout of all the GPIO pins being utilized by the hardware on the Auto pHAT. (*Click the following links, for more information on the GPIO mapping of the Raspberry Pi or Jetson Nano.)

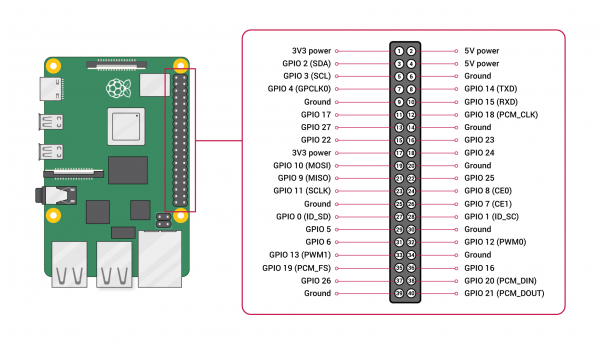 Standard GPIO layout on the Raspberry Pi.
 Power to the Auto pHAT is supplied through the GPIO pins; both 5V and 3.3V are utilized.
| Pin # | GPIO |
|---|---|
| 1 | 3.3V |
| 17 | 3.3V |
| 2 | 5V |
| 4 | 5V |
| 6 | GND |
| 9 | GND |
| Pin # | GPIO |
|---|---|
| 14 | GND |
| 20 | GND |
| 30 | GND |
| 34 | GND |
| 39 | GND |
| Pin # | GPIO | Function |
|---|---|---|
| 3 | GPIO 02 (SDA) | Qwiic (SDA) |
| 5 | GPIO 03 (SCL) | Qwiic (SCL) |
| 26 | GPIO 7 | Interrupt |
| Pin # | GPIO | Function |
|---|---|---|
| 3 | GPIO 02 (SDA) | Qwiic (SDA) |
| 5 | GPIO 03 (SCL) | Qwiic (SCL) |
| 7 | GPIO 4 | Interrupt |
| Pin # | GPIO | Function |
|---|---|---|
| 3 | GPIO 02 (SDA) | Qwiic (SDA) |
| 5 | GPIO 03 (SCL) | Qwiic (SCL) |
| Pin # | GPIO | Function |
|---|---|---|
| 3 | GPIO 02 (SDA) | Qwiic (SDA) |
| 5 | GPIO 03 (SCL) | Qwiic (SCL) |
| Pin # | GPIO | Function |
|---|---|---|
| 3 | GPIO 02 (SDA) | Qwiic (SDA) |
| 5 | GPIO 03 (SCL) | Qwiic (SCL) |
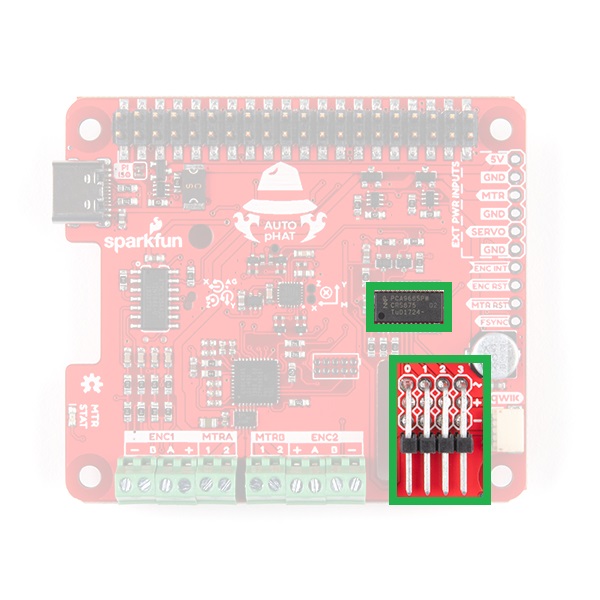
The servo controller utilizes the same PCA9685 IC used on the Pi Servo pHAT; however, only the first 4 PWM channels are broken out. The PCA9685 provides I2C control over the 16-channels of 12-bit pulse width modulation (PWM); although only the first 4-channels are available on the Auto pHAT. The default I2C address for the servo controller on the Auto pHAT is 0x40.
| Characteristic | Description |
|---|---|
| Operating Voltage (VDD) | 2.3 V to 5.5 V (Hardwired: 5V) |
| Operating Temperature | -40°C to 85°C |
| PWM Outputs |
16 Totem pole outputs (Default: Open-Drain) Sink 25 mA or Source 10 mA (at 5V) Shared PWM frequency Supports hot insertion |
| PWM Frequency | 24Hz to 1526 Hz (Default (1Eh): 200Hz) |
| PWM Resolution | 12-bit (4096 steps of control) |
| Duty Cycle | 0% to 100% (adjustable) |
| Oscillator |
Internal: 25 MHz (Hardwired) External: 50 MHz (max.) input (unavailable) |
| I2C Address |
8 available hardware configurable addresses
|
The motor driver consists of the same PSoC4245 and DRV8835 as the Serial Controlled Motor Driver and Qwiic Motor Driver. The DRV8835 H-Bridge provides two drive outputs, each capable of 1.2A at steady state. The default I2C address for the motor driver on the Auto pHAT is 0x5D.
| Characteristic | Description |
|---|---|
| Operating Voltage (VDD) | 3 V to 11 V (Hardwired: 5V) |
| Drive Channels | 2 Channels |
| Drive Strength |
1.5A per channel (max.) 1.2A (steady state) |
| Drive Control |
127 levels of control Direction inversion on a per motor basis Global Drive enable |
| I2C Address |
10 available hardware configurable addresses
|
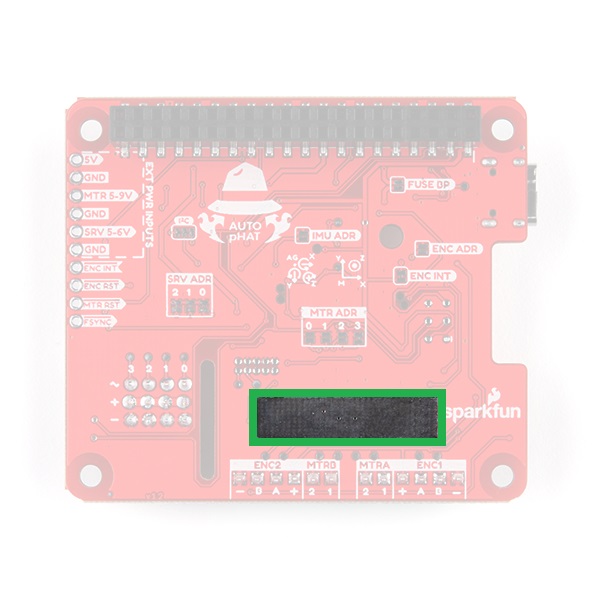
An important consideration for the motor driver is the thermal load due to the current draw of the motors. In order to dissipate the heat, users can use our Theragrip Thermal Tape to attach Small Heat Sinks across the thermally conductive area on the bottom of the board. As the thermal plane doesn't promote natural convection well, users can add a fan to help dissipate the energy, as well.

At the heart of the encoder reader is an ATtiny84, which is utilized on our pseudo I2C devices. The encoder reader is based off of the Qwiic Twist, but is capable of reading two, separate quadrature encoders. The default I2C address for the servo controller on the Auto pHAT is 0x73.

The 9-DoF (degree of freedom) IMU is the same ICM20948 IC used on the 9DoF IMU Breakout. It provides 10 unique measurements: 3 axes of acceleration, rotational rate, and magnetic strength data, as well as, internal temperature. Users should note the location of the IMU and the orientation of the axes (labeled on the board), when taking measurements. The default I2C address for the IMU on the Auto pHAT is 0x69.

| Characteristic | Description |
|---|---|
| Operating Voltage (VDD) | 1.71 V to 3.6 V (Hardwired: 1.8V) |
| Operating Temperature | -40°C to 85°C |
| Gyroscope |
Full Scale Ranges:
Sensitivity:
|
| Accelerometer |
Full Scale Ranges:
Sensitivity:
|
| Magnetometer |
Full Scale Range: ±4900 µT Sensitivity: .15 µT Output Data Rate: 100 Hz |
| I2C Address |
2 hardware configurable addresses:
|
Note: For more details on the ICM-20948 and its utilization as an IMU, check out the following hookup guide:
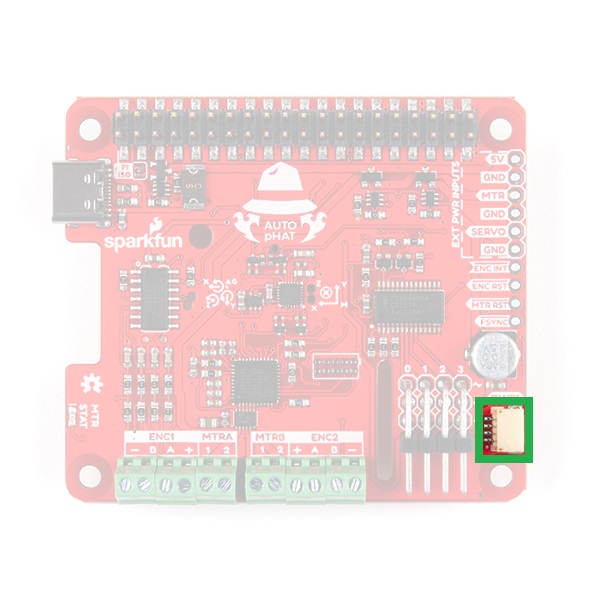
A connector is provided for attaching other Qwiic devices.
Note: While most of our Qwiic devices should be compatible with a single board computer (SBC), not all have a supported Python package. Users who are unfamiliar with our Qwiic connect system, can check out the video below:
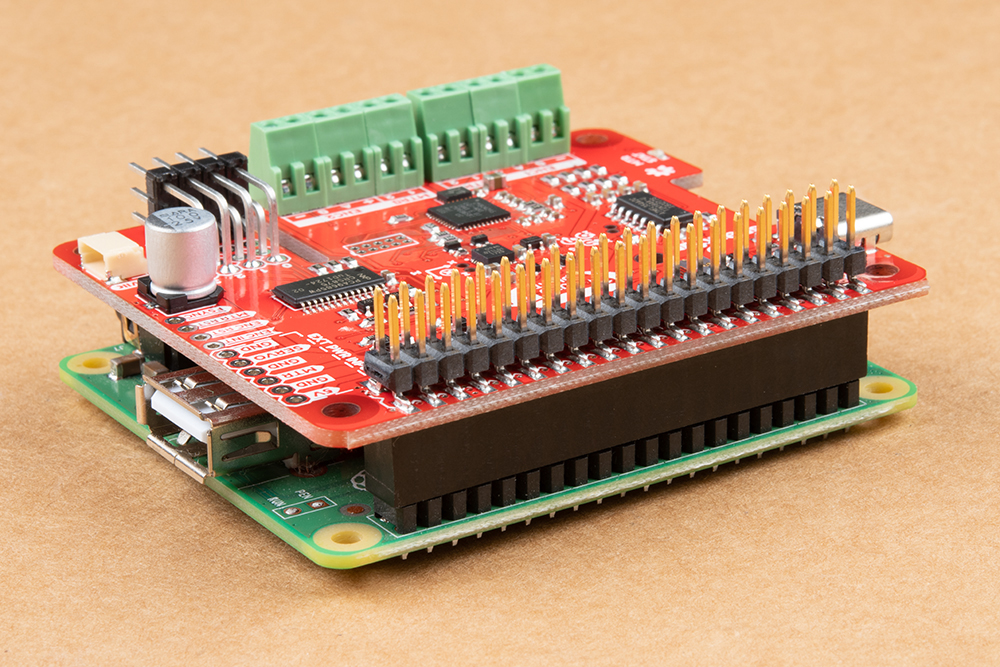
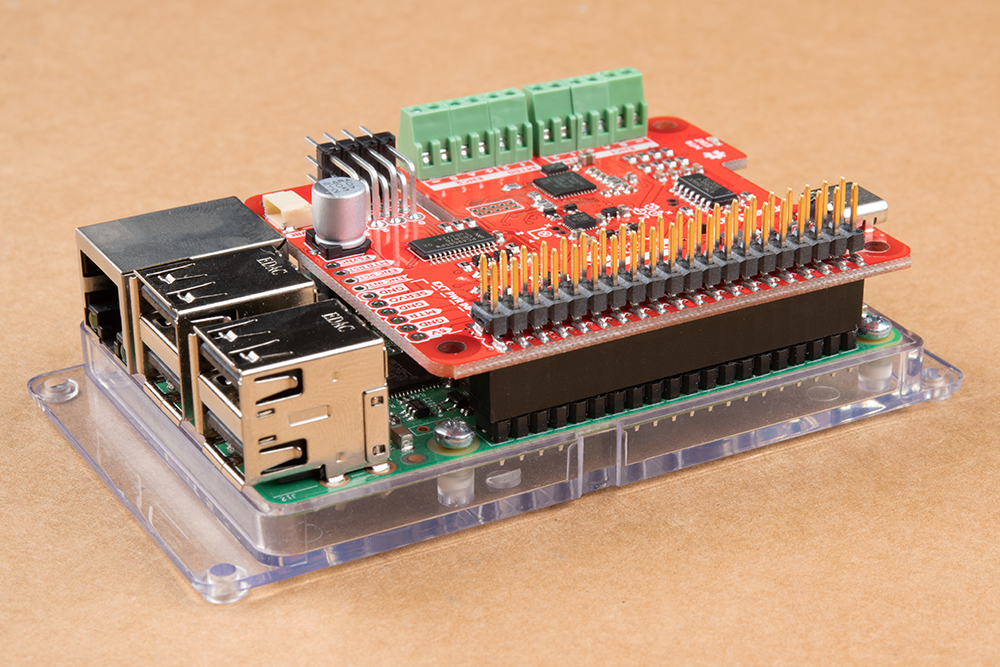
Assembly for the Auto pHAT is fairly straight forward. It plugs directly into the GPIO pins of a Raspberry Pi. Most importantly, users need pay attention to the orientation of the pHAT and double check that the pin are lined up properly. below are a few examples for users to follow.
Users will want to attach additional accessories to the Auto pHAT.
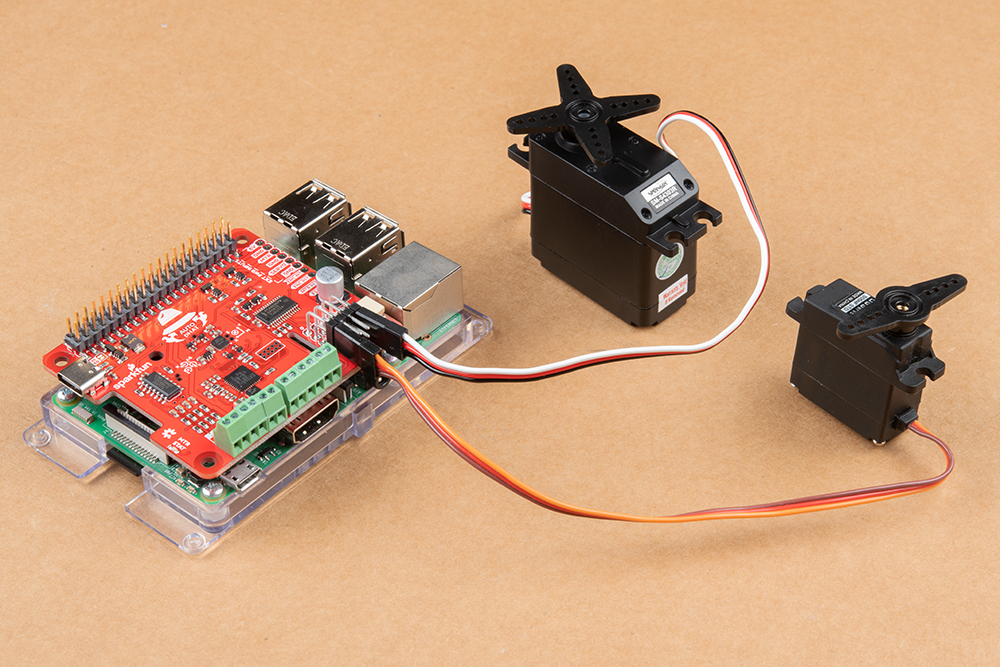
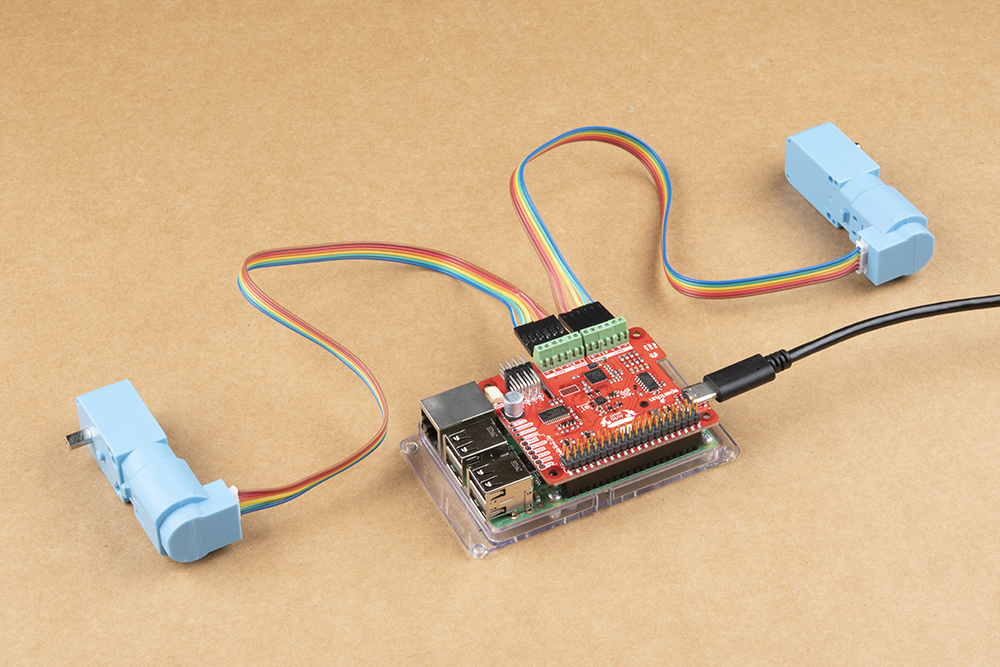
Servos are attached to the 3x4 right angle header. The channels and pins are indicated on the top and right of the header, when reading the silk screen. Below is an example with servos connected to channels 0 and 3. Users should pay close attention to the orientation of the servo connector, in order to match up the pin connections properly.
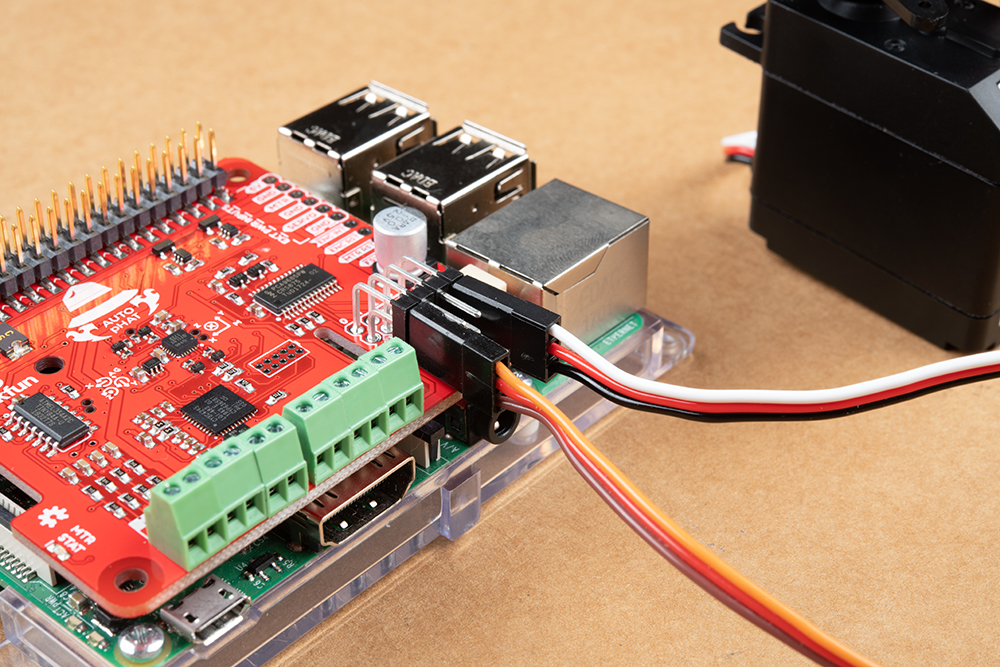

Annotated image of servo wiring harness. (Click to enlarge)
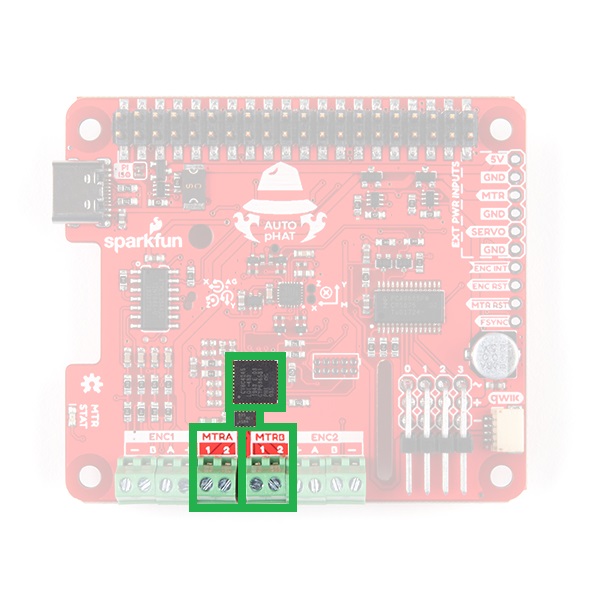
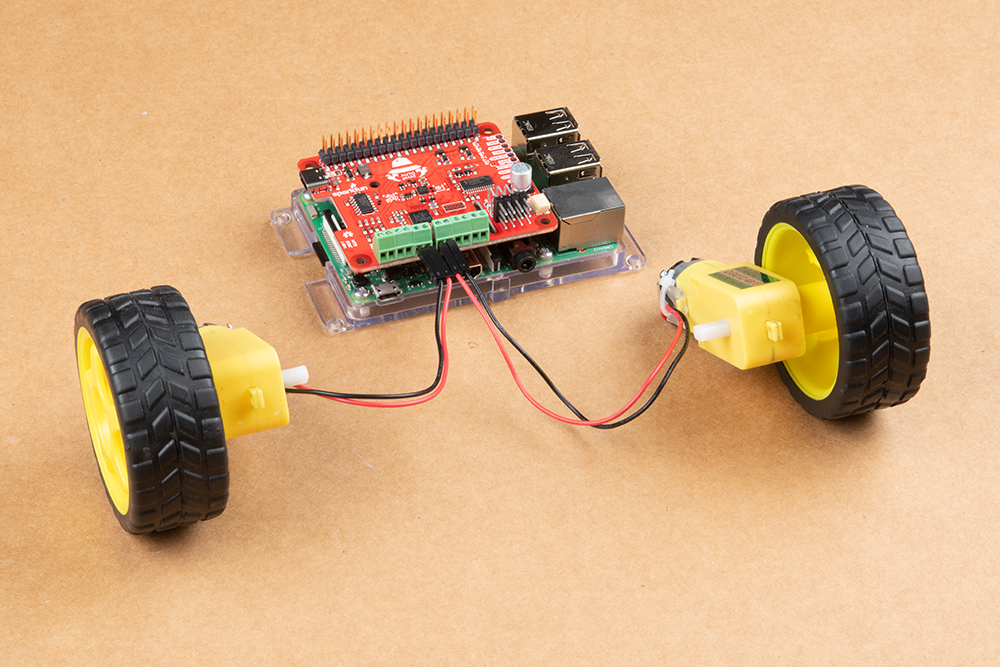
DC motors should be connected to the inner screw terminals indicated by MTRA and MTRB on the silk screen. Below, is an example of a pair of motors connected to the Auto pHAT. The orientation of the wires (between 1 or 2) shouldn't matter as the drive direction can be configured in software.
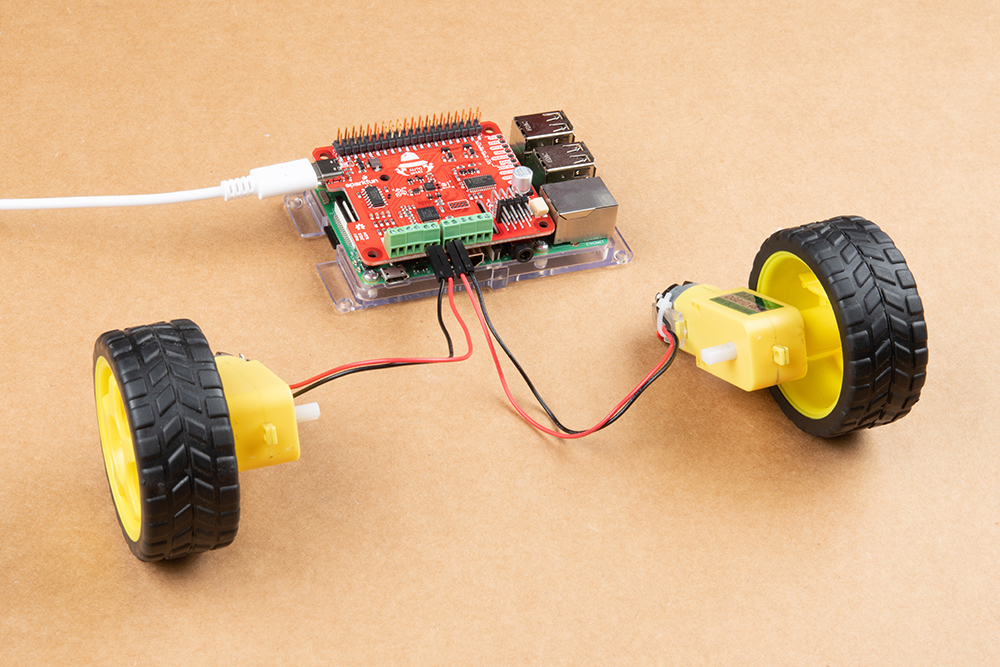
Note: Users unfamiliar with DC motors should check out our motors tutorial.
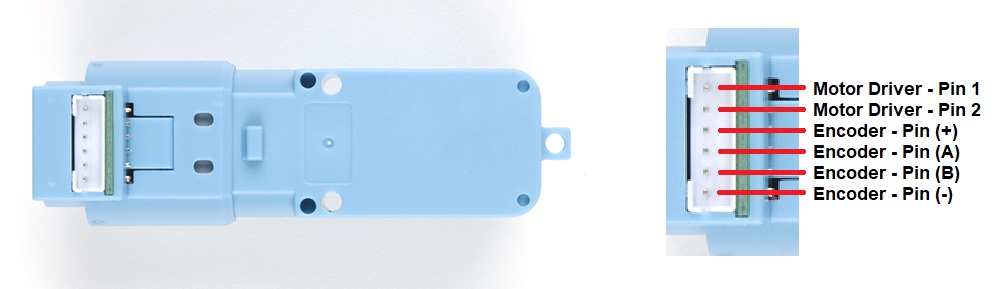
Connecting quadrature encoders to the Auto pHAT is relatively simple with the screw terminals. Users should use the silk screen on the board (+, A, B, and -) to match the connections for the encoder. The datasheet for other encoders should be used if the connections aren't apparent or labeled on the product.

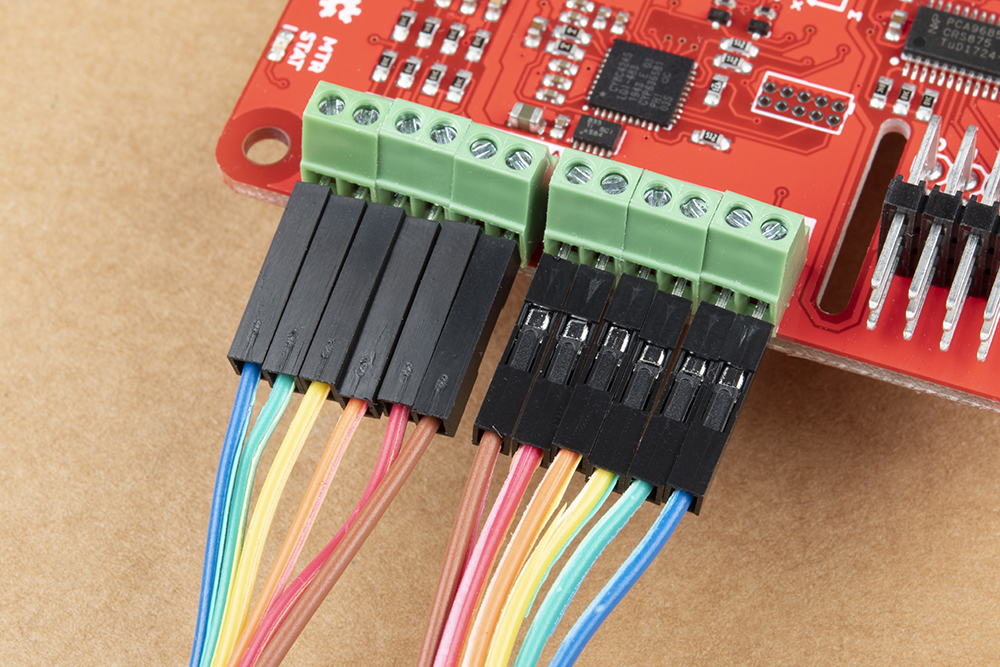
Motor and encoder wiring on the Auto pHAT.
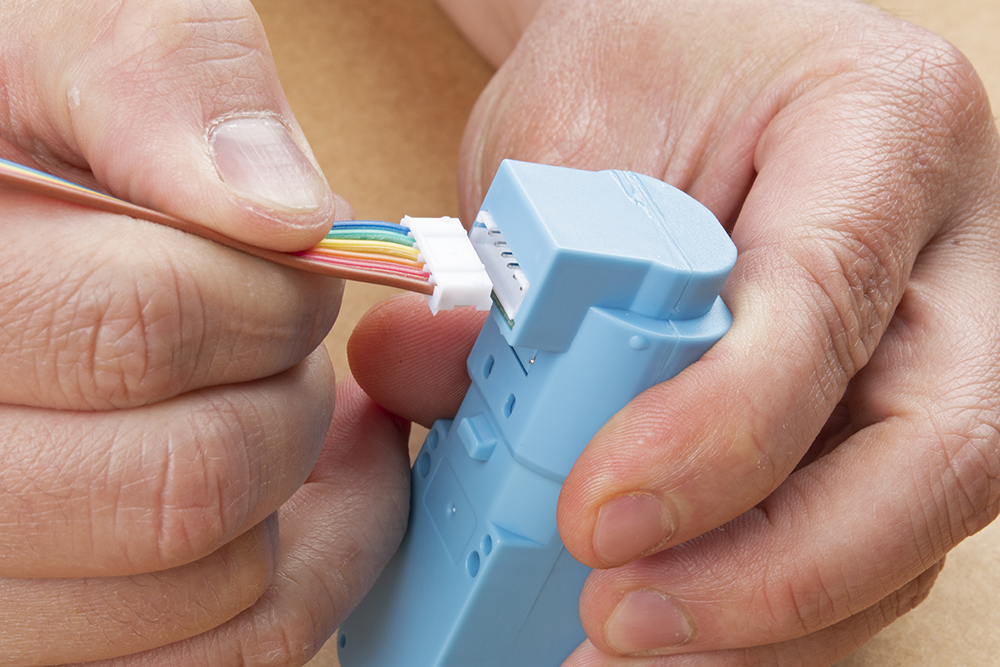
Cable attachment to DC hobby motor with encoder.
(Click images to enlarge)
For the hobby motor with encoder, that is offered in our catalog, pin connections match the Auto pHAT screw terminal layout; with the pin map shown below. (For more details, users can check out the datasheet.)
Note: Users who are unfamiliar with quadrature encoders and their operation should check out our Adventures in Science blog post on encoders.
Another consideration is the clearance of the pHAT from other components. Users can cover the header and screw terminal through hole pins with an insulator to avoid shorting the pins. Additionally, if the clearance between the pHAT and other components (including things like a the heat sink case for the Raspberry Pi 4) becomes an issue, a header should be used to increase the spacing.
To configure the Raspberry Pi for use with the Auto pHAT, the PIXEL desktop is recommended. It will be the most convenient for users, but users can still use other methods like SSH to remotely access the Raspberry Pi. To utilize the desktop, users will need to add peripherals like a monitor and keyboard.
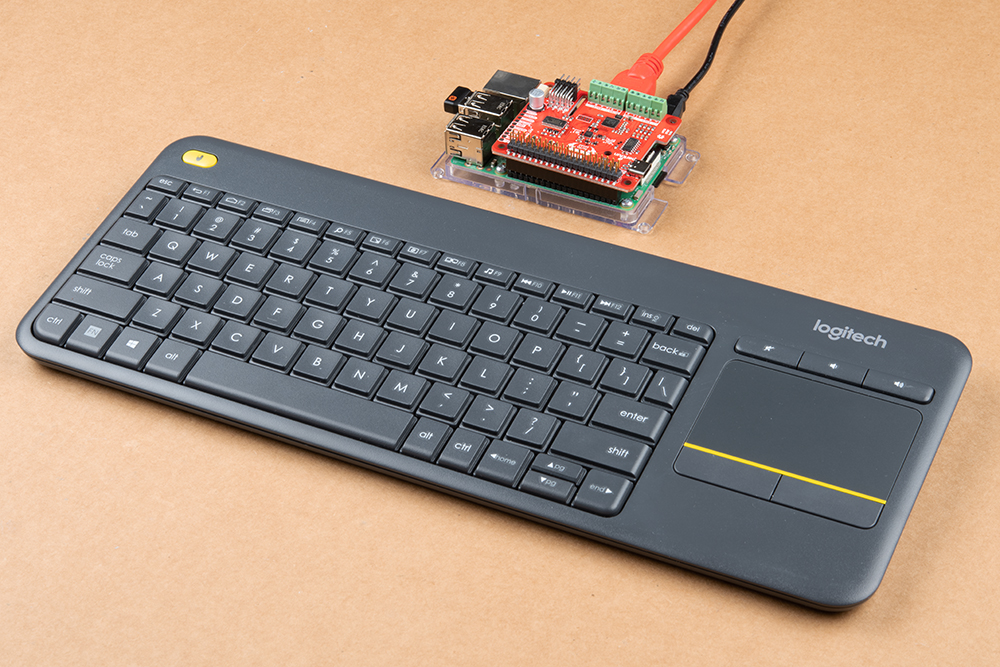
Configuring an OS for the Auto pHAT is relatively simple; the I2C interface will need to be enabled.
The I2C bus on the Nvidia Jetson is enabled by default; no configuration is necessary.
On the Raspberry Pi, this is easily accomplished within the Raspberry Pi PIXEL desktop. Using the graphical Raspberry Pi Configuration application from the Preferences menu will be the most user friendly option. Users can also make changes through the console based raspi-config application.

Raspberry Pi Configuration application. (Click to enlarge)
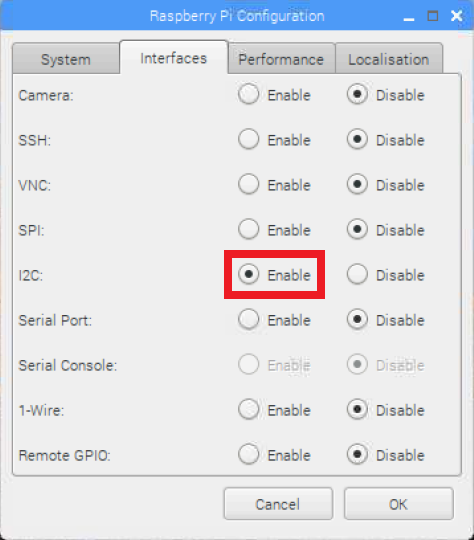
From the Interfaces tab, enable the I2C interface. (Click to enlarge)
Once done, click the OK button. Reboot the Raspberry Pi when prompted.
Note: This tutorial assumes you are using the latest version of Python 3. If this is your first time using Python or I2C hardware on a Raspberry Pi, please checkout our tutorial on Python Programming with the Raspberry Pi and the Raspberry Pi SPI and I2C Tutorial.
We've written a Python packages to easily get setup and utilize the Auto pHAT. There are two methods for installing the Python packages:
pi-servo-hat
sparkfun-qwiic-pca9685sparkfun-qwiic-scmdsparkfun-qwiic-dual-encoder-readersparkfun-qwiic-icm20948The all inclusive SparkFun Qwiic Python package, is recommended as is also installs the required I2C driver as well.
Note: Don't forget to double check that the hardware I2C connection is enabled on your Raspberry Pi or other single board computer.
This repository is hosted on PyPi as the sparkfun-qwiic package. On systems that support PyPi installation via pip3 (use pip for Python 2) is simple, using the following commands:
For all users (note: the user must have sudo privileges):
language:bash
sudo pip3 install sparkfun-qwiic
For the current user:
language:bash
pip3 install sparkfun-qwiic
In the future, changes to the Python package might be made. Updating the installed packages has to be done individually for each package (i.e. sub-modules and dependencies won't update automatically and must be updated manually). For example, with the sparkfun-qwiic-scmd Python package use the following command (use pip for Python 2):
For all users (note: the user must have sudo privileges):
language:bash
sudo pip3 install --upgrade sparkfun-qwiic-scmd
For the current user:
language:bash
pip3 install --upgrade sparkfun-qwiic-scmd
Documentation and examples for utilizing the servo controller is hosted on ReadtheDocs.
sparkfun-pi-servo-hat Python package.
This example is pulled from the examples in the ReadtheDocs documentation. It should be used with a 90 degree (range of rotation) servo
on channel 0 of the Auto pHAT. It will swing the servo arm between 0° and 90°, in a loop.
language:python
#!/usr/bin/env python
#-----------------------------------------------------------------------
# Pi Servo Hat - Example 1
#-----------------------------------------------------------------------
#
# Written by  SparkFun Electronics, June 2019
# Author: Wes Furuya
#
# Compatibility:
#     * Original: https://www.sparkfun.com/products/14328
#     * v2: https://www.sparkfun.com/products/15316
#
# Do you like this library? Help support SparkFun. Buy a board!
# For more information on Pi Servo Hat, check out the product page
# linked above.
#
# This program is distributed in the hope that it will be useful, but
# WITHOUT ANY WARRANTY without even the implied warranty of
# MERCHANTABILITY or FITNESS FOR A PARTICULAR PURPOSE. See the GNU
# General Public License for more details.
#
# You should have received a copy of the GNU General Public License
# along with this program.  If not, see <http:www.gnu.org/licenses/>.
#
#=======================================================================
# Copyright (c) 2019 SparkFun Electronics
#
# Permission is hereby granted, free of charge, to any person obtaining
# a copy of this software and associated documentation files (the
# "Software"), to deal in the Software without restriction, including
# without limitation the rights to use, copy, modify, merge, publish,
# distribute, sublicense, and/or sell copies of the Software, and to
# permit persons to whom the Software is furnished to do so, subject to
# the following conditions:
#
# The above copyright notice and this permission notice shall be
# included in all copies or substantial portions of the Software.
#
# THE SOFTWARE IS PROVIDED "AS IS", WITHOUT WARRANTY OF ANY KIND,
# EXPRESS OR IMPLIED, INCLUDING BUT NOT LIMITED TO THE WARRANTIES OF
# MERCHANTABILITY, FITNESS FOR A PARTICULAR PURPOSE AND NONINFRINGEMENT.
# IN NO EVENT SHALL THE AUTHORS OR COPYRIGHT HOLDERS BE LIABLE FOR ANY
# CLAIM, DAMAGES OR OTHER LIABILITY, WHETHER IN AN ACTION OF CONTRACT,
# TORT OR OTHERWISE, ARISING FROM, OUT OF OR IN CONNECTION WITH THE
# SOFTWARE OR THE USE OR OTHER DEALINGS IN THE SOFTWARE.
#=======================================================================

"""
This example should be used with a 90 degree (range of rotation) servo
on channel 0 of the Pi Servo Hat.

The extended code (commented out), at the end of the example could be
used to test the full range of the servo motion. However, users should
be wary as they can damage their servo by giving it a position outside
the standard range of motion.
"""

import pi_servo_hat
import time

# Initialize Constructor
test = pi_servo_hat.PiServoHat()

# Restart Servo Hat (in case Hat is frozen/locked)
test.restart()

# Test Run
#########################################
# Moves servo position to 0 degrees (1ms), Channel 0
test.move_servo_position(0, 0)

# Pause 1 sec
time.sleep(1)

# Moves servo position to 90 degrees (2ms), Channel 0
test.move_servo_position(0, 90)

# Pause 1 sec
time.sleep(1)

# Sweep
#########################################
while True:
    for i in range(0, 90):
        print(i)
        test.move_servo_position(0, i)
        time.sleep(.001)
    for i in range(90, 0, -1):
        print(i)
        test.move_servo_position(0, i)
        time.sleep(.001)

#########################################
# Code below may damage servo, use with caution
# Test sweep for full range of servo (outside 0 to 90 degrees).
# while True:
#     for i in range(-23, 100):
#         print(i)
#         test.move_servo_position(0, i)
#         time.sleep(.001)
#     for i in range(100, -23, -1):
#         print(i)
#         test.move_servo_position(0, i)
#         time.sleep(.001)
Documentation and examples for utilizing the motor driver is hosted on ReadtheDocs.
This example is pulled from the examples in the ReadtheDocs documentation. It should be used with a DC motor
on MTRA of the Auto pHAT. It will increase and decrease the speed between the 20 and 254 levels, in a loop.
language:python
#!/usr/bin/env python
#-----------------------------------------------------------------------------
# A simple test to speed up and slow down 1 motor.
#------------------------------------------------------------------------
#
# Written by Mark Lindemer
# SparkFun Electronics, April 2020
#
# This python library supports the SparkFun Electroncis qwiic
# qwiic sensor/board ecosystem on a Raspberry Pi (and compatable) single
# board computers.
#
# More information on qwiic is at https://www.sparkfun.com/qwiic
#
# Do you like this library? Help support SparkFun. Buy a board!
#
#==================================================================================
# Copyright (c) 2019 SparkFun Electronics
#
# Permission is hereby granted, free of charge, to any person obtaining a copy
# of this software and associated documentation files (the "Software"), to deal
# in the Software without restriction, including without limitation the rights
# to use, copy, modify, merge, publish, distribute, sublicense, and/or sell
# copies of the Software, and to permit persons to whom the Software is
# furnished to do so, subject to the following conditions:
#
# The above copyright notice and this permission notice shall be included in all
# copies or substantial portions of the Software.
#
# THE SOFTWARE IS PROVIDED "AS IS", WITHOUT WARRANTY OF ANY KIND, EXPRESS OR
# IMPLIED, INCLUDING BUT NOT LIMITED TO THE WARRANTIES OF MERCHANTABILITY,
# FITNESS FOR A PARTICULAR PURPOSE AND NONINFRINGEMENT. IN NO EVENT SHALL THE
# AUTHORS OR COPYRIGHT HOLDERS BE LIABLE FOR ANY CLAIM, DAMAGES OR OTHER
# LIABILITY, WHETHER IN AN ACTION OF CONTRACT, TORT OR OTHERWISE, ARISING FROM,
# OUT OF OR IN CONNECTION WITH THE SOFTWARE OR THE USE OR OTHER DEALINGS IN THE
# SOFTWARE.
#==================================================================================
# Example 1
#

from __future__ import print_function
import time
import sys
import math
import qwiic_scmd

myMotor = qwiic_scmd.QwiicScmd()

def runExample():
    print("Motor Test.")
    R_MTR = 0
    L_MTR = 1
    FWD = 0
    BWD = 1

    if myMotor.connected == False:
        print("Motor Driver not connected. Check connections.", \
            file=sys.stderr)
        return
    myMotor.begin()
    print("Motor initialized.")
    time.sleep(.250)

    # Zero Motor Speeds
    myMotor.set_drive(0,0,0)
    myMotor.set_drive(1,0,0)

    myMotor.enable()
    print("Motor enabled")
    time.sleep(.250)


    while True:
        speed = 20
        for speed in range(20,255):
            print(speed)
            myMotor.set_drive(R_MTR,FWD,speed)
            time.sleep(.05)
        for speed in range(254,20, -1):
            print(speed)
            myMotor.set_drive(R_MTR,FWD,speed)
            time.sleep(.05)

if __name__ == '__main__':
    try:
        runExample()
    except (KeyboardInterrupt, SystemExit) as exErr:
        print("Ending example.")
        myMotor.disable()
        sys.exit(0)
Documentation and examples for utilizing the encoder reader is hosted on ReadtheDocs.
This example is pulled from the examples in the ReadtheDocs documentation. It should be used with quadrature encoders attached to both ENC1 and ENC2 on the Auto pHAT. It will read and print out the encoder position; the ticker counter range rolls up to 32767 ticks.
language:python
#!/usr/bin/env python
#-----------------------------------------------------------------------------
# ex1_qwiic_dual_encoder_reader.py
#
# Simple Example demonstrating how to read encoder counts for the Qwiic Dual Encoder Reader (as part of the SparkFun Auto pHAT)
#------------------------------------------------------------------------
#
# Written by  SparkFun Electronics, May 2019
#
# This python library supports the SparkFun Electroncis qwiic
# qwiic sensor/board ecosystem on a Raspberry Pi (and compatable) single
# board computers.
#
# More information on qwiic is at https://www.sparkfun.com/qwiic
#
# Do you like this library? Help support SparkFun. Buy a board!
#
#==================================================================================
# Copyright (c) 2019 SparkFun Electronics
#
# Permission is hereby granted, free of charge, to any person obtaining a copy
# of this software and associated documentation files (the "Software"), to deal
# in the Software without restriction, including without limitation the rights
# to use, copy, modify, merge, publish, distribute, sublicense, and/or sell
# copies of the Software, and to permit persons to whom the Software is
# furnished to do so, subject to the following conditions:
#
# The above copyright notice and this permission notice shall be included in all
# copies or substantial portions of the Software.
#
# THE SOFTWARE IS PROVIDED "AS IS", WITHOUT WARRANTY OF ANY KIND, EXPRESS OR
# IMPLIED, INCLUDING BUT NOT LIMITED TO THE WARRANTIES OF MERCHANTABILITY,
# FITNESS FOR A PARTICULAR PURPOSE AND NONINFRINGEMENT. IN NO EVENT SHALL THE
# AUTHORS OR COPYRIGHT HOLDERS BE LIABLE FOR ANY CLAIM, DAMAGES OR OTHER
# LIABILITY, WHETHER IN AN ACTION OF CONTRACT, TORT OR OTHERWISE, ARISING FROM,
# OUT OF OR IN CONNECTION WITH THE SOFTWARE OR THE USE OR OTHER DEALINGS IN THE
# SOFTWARE.
#==================================================================================
# Example 1
#

from __future__ import print_function
import qwiic_dual_encoder_reader
import time
import sys

def runExample():

    print("\nSparkFun Qwiic Dual Encoder Reader   Example 1\n")
    myEncoders = qwiic_dual_encoder_reader.QwiicDualEncoderReader()

    if myEncoders.connected == False:
        print("The Qwiic Dual Encoder Reader device isn't connected to the system. Please check your connection", \
            file=sys.stderr)
        return

    myEncoders.begin()

    while True:

        print("Count1: %d, Count2: %s" % (myEncoders.count1, \
            myEncoders.count2, \
            ))

        time.sleep(.3)

if __name__ == '__main__':
    try:
        runExample()
    except (KeyboardInterrupt, SystemExit) as exErr:
        print("\nEnding Example 1")
        sys.exit(0)
Documentation and an example for utilizing the IMU is hosted on ReadtheDocs.
This example is pulled from the examples in the ReadtheDocs documentation. It display the raw data in the following order: a_x, a_y, a_z, g_x, g_y, g_z, m_x, m_y, and m_z.
language:python
#!/usr/bin/env python
#-----------------------------------------------------------------------------
# ex1_qwiic_ICM20948.py
#
# Simple Example for the Qwiic ICM20948 Device
#------------------------------------------------------------------------
#
# Written by  SparkFun Electronics, March 2020
#
# This python library supports the SparkFun Electroncis qwiic
# qwiic sensor/board ecosystem on a Raspberry Pi (and compatable) single
# board computers.
#
# More information on qwiic is at https://www.sparkfun.com/qwiic
#
# Do you like this library? Help support SparkFun. Buy a board!
#
#==================================================================================
# Copyright (c) 2019 SparkFun Electronics
#
# Permission is hereby granted, free of charge, to any person obtaining a copy
# of this software and associated documentation files (the "Software"), to deal
# in the Software without restriction, including without limitation the rights
# to use, copy, modify, merge, publish, distribute, sublicense, and/or sell
# copies of the Software, and to permit persons to whom the Software is
# furnished to do so, subject to the following conditions:
#
# The above copyright notice and this permission notice shall be included in all
# copies or substantial portions of the Software.
#
# THE SOFTWARE IS PROVIDED "AS IS", WITHOUT WARRANTY OF ANY KIND, EXPRESS OR
# IMPLIED, INCLUDING BUT NOT LIMITED TO THE WARRANTIES OF MERCHANTABILITY,
# FITNESS FOR A PARTICULAR PURPOSE AND NONINFRINGEMENT. IN NO EVENT SHALL THE
# AUTHORS OR COPYRIGHT HOLDERS BE LIABLE FOR ANY CLAIM, DAMAGES OR OTHER
# LIABILITY, WHETHER IN AN ACTION OF CONTRACT, TORT OR OTHERWISE, ARISING FROM,
# OUT OF OR IN CONNECTION WITH THE SOFTWARE OR THE USE OR OTHER DEALINGS IN THE
# SOFTWARE.
#==================================================================================
# Example 1
#

from __future__ import print_function
import qwiic_icm20948
import time
import sys

def runExample():

    print("\nSparkFun 9DoF ICM-20948 Sensor  Example 1\n")
    IMU = qwiic_icm20948.QwiicIcm20948()

    if IMU.connected == False:
        print("The Qwiic ICM20948 device isn't connected to the system. Please check your connection", \
            file=sys.stderr)
        return

    IMU.begin()

    while True:
        if IMU.dataReady():
            IMU.getAgmt() # read all axis and temp from sensor, note this also updates all instance variables
            print(\
             '{: 06d}'.format(IMU.axRaw)\
            , '\t', '{: 06d}'.format(IMU.ayRaw)\
            , '\t', '{: 06d}'.format(IMU.azRaw)\
            , '\t', '{: 06d}'.format(IMU.gxRaw)\
            , '\t', '{: 06d}'.format(IMU.gyRaw)\
            , '\t', '{: 06d}'.format(IMU.gzRaw)\
            , '\t', '{: 06d}'.format(IMU.mxRaw)\
            , '\t', '{: 06d}'.format(IMU.myRaw)\
            , '\t', '{: 06d}'.format(IMU.mzRaw)\
            )
            time.sleep(0.03)
        else:
            print("Waiting for data")
            time.sleep(0.5)

if __name__ == '__main__':
    try:
        runExample()
    except (KeyboardInterrupt, SystemExit) as exErr:
        print("\nEnding Example 1")
        sys.exit(0)
For comprehensive information or troubleshooting issues, on the Raspberry Pi, users should check out the Raspberry Pi Foundation website and their forum.
As a general guideline, users should use the following resources when looking for technical information or assistance that is specifically related to the Raspberry Pi itself:
For comprehensive information or troubleshooting issues, on the Nvidia Jetson, users should check out the Nvidia website and their forum.
As a general guideline, users should use the following resources when looking for technical information or assistance that is specifically related to the Jetson Nano itself:
learn.sparkfun.com | CC BY-SA 3.0 | SparkFun Electronics | Niwot, Colorado