smôl ESP32 Hookup Guide
 PaulZC
Arduino Example: RGB_LED
With the SparkFun ESP32 Arduino core installed, you're ready to begin programming. Make sure you have the ESP32 Thing definition selected under your Tools > Board menu, then it is time to connect your smôl ESP32 to your computer using a USB-C cable.
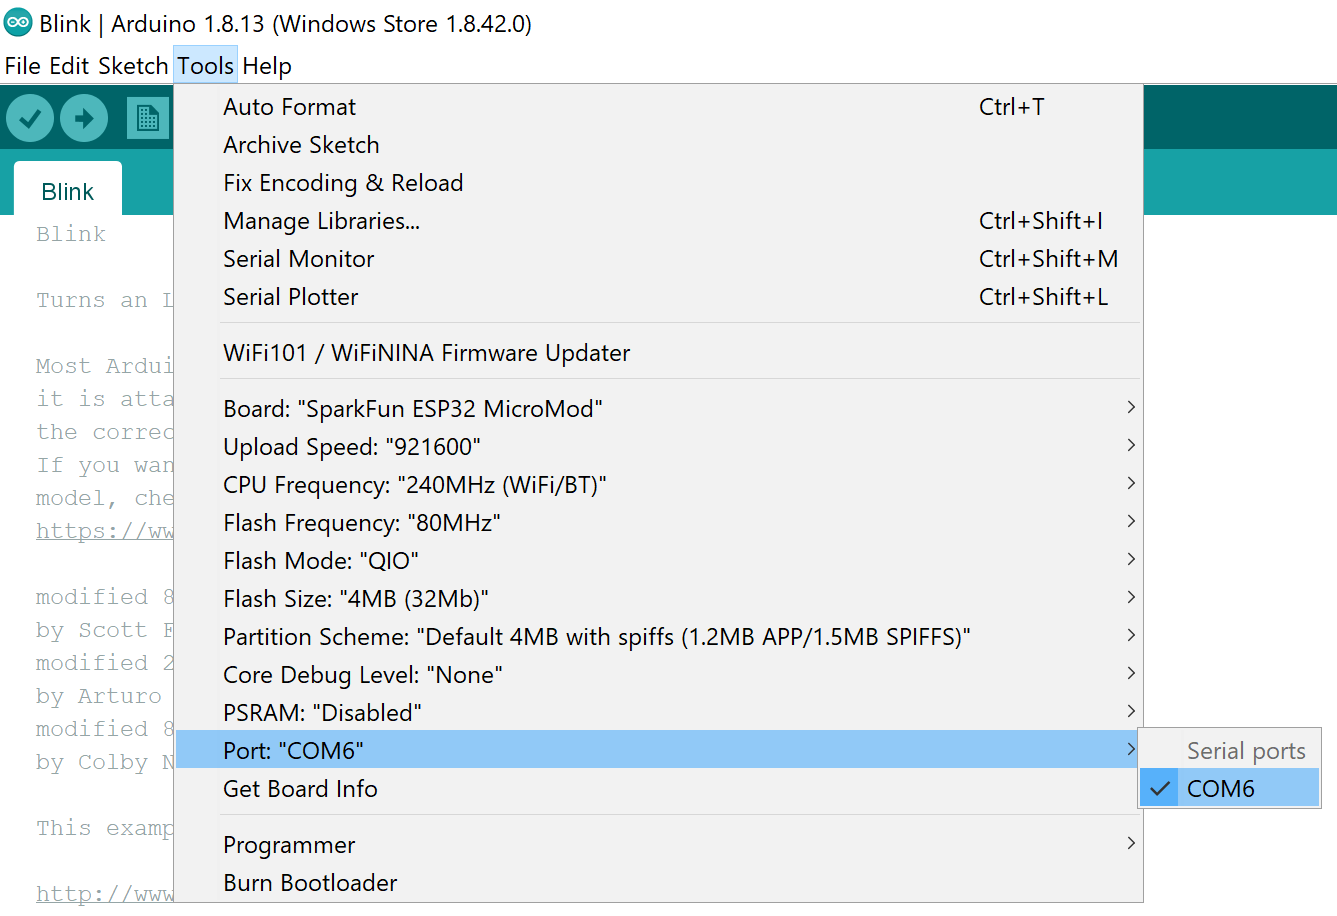
Next, select your serial port under the Tools > Port menu.
You can also select the Upload Speed: "921600" baud -- the fastest selectable rate -- will get the code loaded onto your ESP32 the fastest, but may fail to upload once-in-a-while. (It's still way worth it for the speed increase!)
Loading the RGB_LED Demo
To make sure your toolchain and board are properly set up, we'll upload a simple sketch -- RGB_LED! The WS2812C LED on the ESP32 Processor Board is perfect for this test. Copy and paste the example sketch below into a fresh Arduino sketch:
language:c
// smôl ESP32 LED Demo
//
// Select SparkFun ESP32 Thing as the board
//
// Make sure you have the correct drivers installed for the Silicon Labs
// CP210x USB to UART Bridge otherwise the automatic upload may fail
// https://www.silabs.com/developers/usb-to-uart-bridge-vcp-drivers

#include <FastLED.h> // http://librarymanager/All#FastLED

#define LED_PIN     25 //GPIO25 on smôl ESP32 is connected to WS2812 LED
#define COLOR_ORDER GRB
#define CHIPSET     WS2812
#define NUM_LEDS    1

#define BRIGHTNESS  50

CRGB leds[NUM_LEDS];

uint8_t gHue = 0; // rotating "base color" used by many of the patterns

void setup() {
    delay(30); // sanity delay
    FastLED.addLeds<CHIPSET, LED_PIN, COLOR_ORDER>(leds, NUM_LEDS).setCorrection( TypicalLEDStrip );
    FastLED.setBrightness( BRIGHTNESS );
}

void loop()
{
  fill_rainbow( leds, NUM_LEDS, gHue, 7);
  FastLED.show();

  EVERY_N_MILLISECONDS( 10 ) { gHue++; } // cycle the "base color" through the rainbow
}
With everything set up correctly, click the arrow icon to upload the code! Once the code finishes transferring, the RGB LED should start cycling through all the colors of the rainbow. Hypnotic isn't it?!
Troubleshooting
If you haven't used the fantastic FastLED library before, you will need to install it through the IDE Library Manager. The easiest way to do that is to click the link next to the #include <FastLED.h>. When the Library Manager has finished searching, select the latest version of FastLED and click Install.
If the code fails to upload when you click the upload (arrow) icon, check you have the correct port selected and have the official CP210x driver installed. If you're trying to use a generic USB driver, it won't be able to initialize the Bootloader via DTR and RTS pins.