Serial Peripheral Interface (SPI)
Resources and Going Further
Tips and Tricks
Because of the high speed signals, SPI should only be used to send data over short distances (up to a few feet). If you need to send data further than that, lower the clock speed, and consider using specialized driver chips.
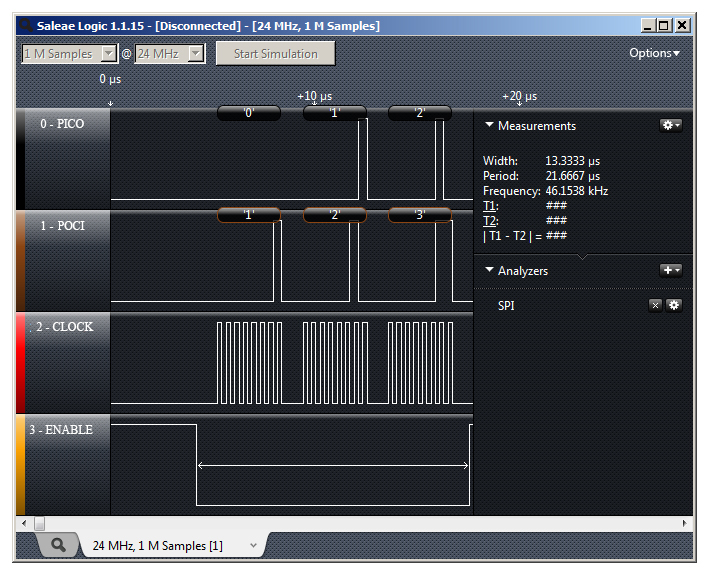
If things aren't working the way you think they should, a logic analyzer is a very helpful tool. Smart analyzers like the Saleae USB Logic Analyzer can even decode the data bytes for a display or logging.
Advantages of SPI:
It's faster than asynchronous serial
The receive hardware can be a simple shift register
It supports multiple peripherals
Disadvantages of SPI:
It requires more signal lines (wires) than other communications methods
The communications must be well-defined in advance (you can't send random amounts of data whenever you want)
The controller must control all communications (peripherals can't talk directly to each other)
It usually requires separate CS lines to each peripheral, which can be problematic if numerous peripherals are needed.
Further Reading
Check out the Wikipedia page on SPI, which includes lots of good information on SPI and other synchronous interfaces.
This page presents a more correct way to set up an SPI network amongst your embedded devices, particularly for use with an Arduino microcontroller.
A number of SparkFun products have SPI interfaces. For example, the Bar Graph Breakout kit has an easy-to-use SPI interface that you can use to turn any of 30 LEDs on or off.
Other communication options:
Serial Communication
Analog to Digital Conversion
I2C
AST-CAN485 Hookup Guide
Now that you’re a pro on SPI, here are some other tutorials to practice your new skills:
