Serial Graphic LCD Hookup
Example 1 - FTDI Basic
Now that we know the commands used to control the LCD, why don't you give it a shot. In this example, you will be using an FTDI Basic to communicate with and control your LCD.
What You Will Need
- Either the 128x64 pixel Graphic LCD or the 160x128 pixel Graphic LCD
- FTDI Basic - 5V or FTDI Cable
- Mini USB Cable
- Male-to-Female Jumper Wires
Hardware
The simplest and fastest way to connect and print to the LCD is to use an FTDI Basic or FTDI Cable. Using jumper wires, connect the FTDI to the LCD like so...
| FTDI | Graphic LCD |
| 5V | Vin |
| GND | GND |
| TXO | RX |
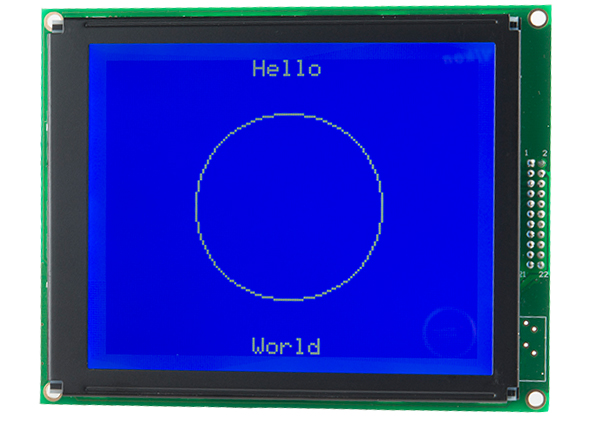
Once you have the the LCD wired up correctly, plug the FTDI device into your computer. Open a terminal window. Make sure you have the correct settings: Baud: 115200, 8-N-1-NONE. Once you are connected, begin typing. Everything you type should now show up on the LCD! Refer back to the ASCII Commands section to see which keys you need to press to perform specific commands such as clearing the screen, drawing a circle, or printing text to a specific x,y coordinate.
Talking to the LCD from the computer is fun and all, but the real fun begins when you can print information to the LCD from and embedded device. In the next example, we'll use an Arduino to print information to the LCD.
