Serial Graphic LCD Hookup
Backpack Overview
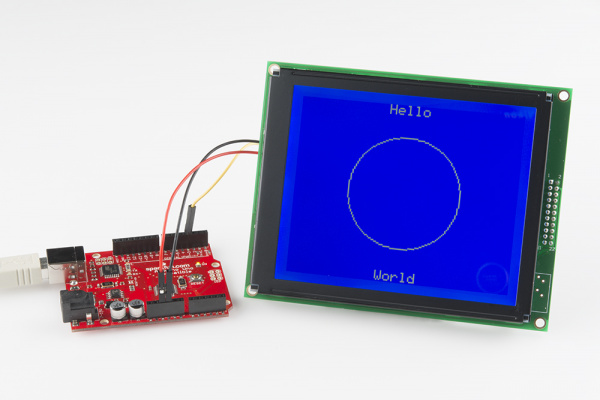
The Serial Graphic LCD backpack was designed to provide a simple, serial interface for large, graphic liquid-crystal displays (LCDs). Besides writing text, the backpack allows the user to draw lines, circles and boxes, set or reset individual pixels, erase specific blocks of the display, and control the backlight. There's also a reverse mode that swaps the colors of the pixels and the background.
Although SparkFun sells the backpack individually, it is also sold with the 128x64 pixel Graphic LCD and the 160x128 pixel Graphic LCD. For the purposes of this tutorial, we will be using both of these LCDs to demonstrate the functionality of the backpack.
The backpack is controlled with an ATmega168 microcontroller running at 5V/16MHz. This product is primarily intended for embedded applications, but it can easily be connected to a computer and written to with a terminal emulator. Both methods will be covered in this tutorial.
Power Requirements
Voltages of up to 7V may be used to power the backpack, however, care should be taken to reduce the backlight duty cycle in such cases to reduce the chance of overloading the voltage regulator on the backpack. To avoid complication with the voltage regulator, it's best to power the backpack at 6V. You can also get away with powering the backpack from another 5V source. Keep in mind that anything below 5V will result in issues with the backlight and/or the display. If you are powering the backpack from a computer USB port or a microcontroller, make sure the output is actually 5V and not something like 4.5V.
Other Hardware Features
Contrast Potentiometer
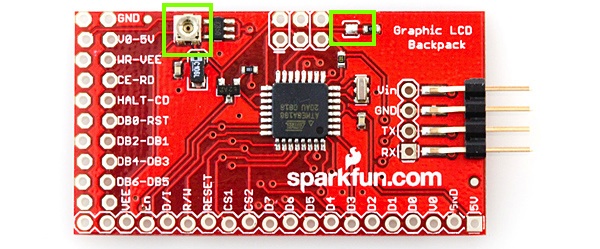
There is a small potentiometer on the backpack that allows for contrast adjustments. This should already be adjusted for you, but if text is not readily apparent or otherwise does not suit your needs, feel free to adjust to your liking. If at anytime the text on your LCD becomes unreadable, ALWAYS check the contrast potentiometer first. It is very sensitive, and, if it gets bumped, even just slightly, it can throw off the contrast of the LCD making it unreadable.
Solder Jumper
There is a solder jumper on the backpack that determines which display is used. When the solder jumper is closed, code for the 128x64 display will run. If the jumper is open, code for the 160x128 display will run. This jumper is soldered during production according to which LCD the backpack is being attached. However, if you wish to use the backpack with your own LCD, you may need to handle this jumper accordingly.
TX Line
The TX line from the backpack has been left in the final design for future code revisions, debugging and user development, but it is not currently utilized as of this writing.

