RGB Panel Hookup Guide
Contributors:
 jimblom
jimblom Introduction
Are you looking to add a lot of color to your project? These massive RGB LED panels are an awesome place to start. You can create animations, games, or all sorts of other fun displays with them. Depending on the manufacturer, these panels can come in different sizes, LED pitch, and scan rates. Here are the ones that SparkFun currently carries in the catalog:
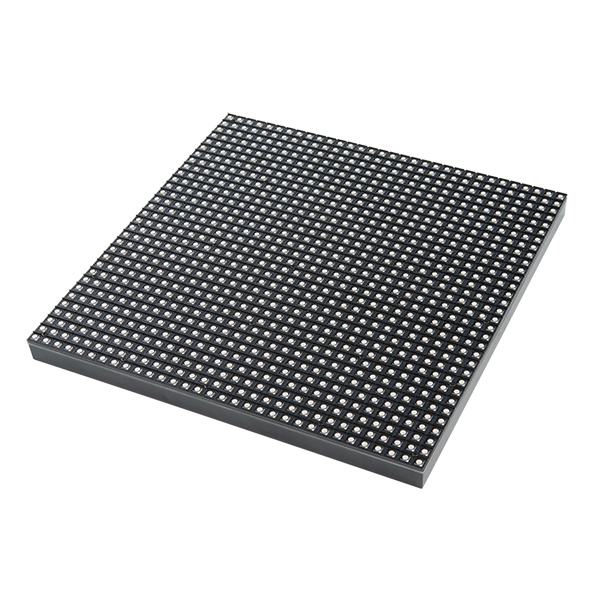
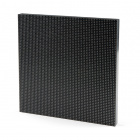
- 1024 pixels (3072 total LEDs!) 32x32 pixel panel with 1:16 scan rate measuring 7.5"x7.5"
- 2048 pixels (6144 total LEDs!) 32x64 pixel panel with 1:16 scan rate measuring 5x10"
RGB LED Matrix Panel - 32x64
COM-14718Warning: Due to the limitations of the Arduino library used in this tutorial, a 64x64 RGB LED matrix panel will not work with a standard Arduino (Arduino Uno with Atmega328P, etc). You will need a Teensy, Raspberry Pi, FPGA, or a development board that has a higher processing speed and memory. Try looking at the Resources and Going Further at the end of this tutorial for more information on alternatives to drive the 64x64 panels.
 Retired
RGB LED Matrix Panel - 64x64
COM-14824Note: The 16x32 version has been retired from our catalog, but we are keeping the information in the tutorial for reference.
 Retired
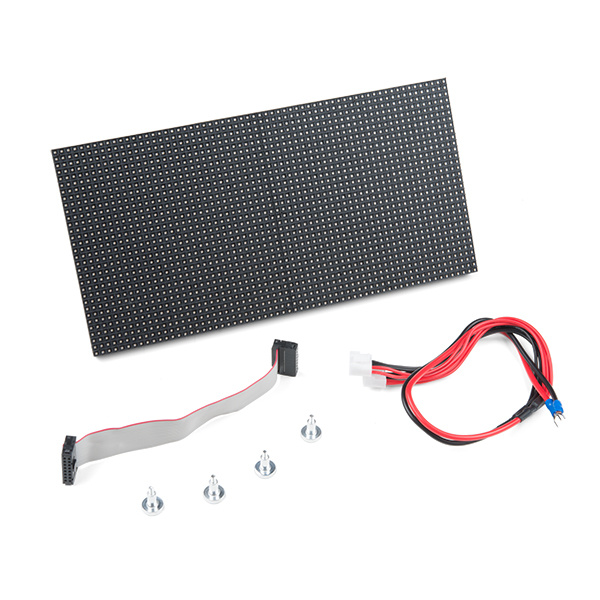
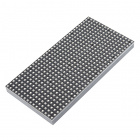
RGB LED Panel - 16x32
COM-12583In this tutorial we'll show you just how, exactly, these panels operate. We'll dig into the hardware hookup and examine how to best power them. Then we'll work up a demo sketch and control them with Arduino.
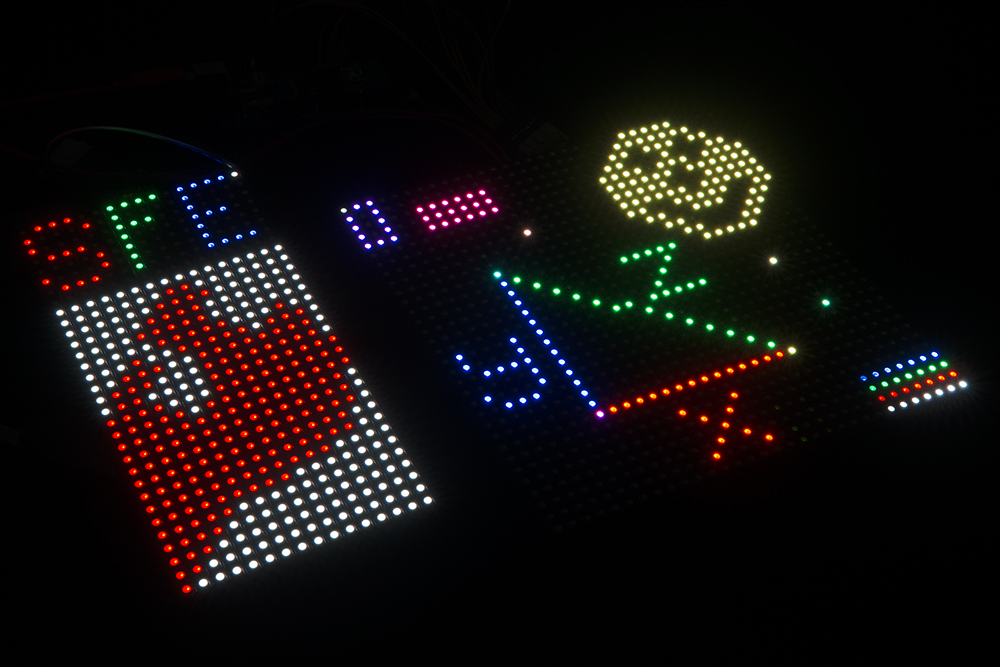
A 16x32 RGB LED panel to the left, and a 32x32 panel to the right.
Required Materials
On top of either size panel, you'll also need:
- At least an Arduino Uno (or comparable ATmega328-based Arduino). These panels really stretch the Arduino to its limits. If you have an Arduino Mega 2560 you may want to whip that out instead. Any size higher than a 32x32 panel requires an Arduino Mega 2560 or faster microcontroller.
- Two packs of male-to-male jumper wires. You'll need around 16 to wire from the panel to your Arduino.
- A 5V power supply. You'll need something that can source a high amount of current. A simple 5V (1A) wall adapter does work, at least in the short run, but you may want to step up to a higher capacity supply, like the 12V/5V (2A) or 5V/2A wall adapter.
- You'll also need some method to connect your power supply to the panel. The panel includes a 4-pin polarized connector and spade-terminated cable for its power supply. Check out the next page for help finding a power source and cable.
Suggested Reading
Before following along with this tutorial, we recommend reading through these tutorials first:
How to Power a Project
A tutorial to help figure out the power requirements of your project.
Working with Wire
How to strip, crimp, and work with wire.
What is an Arduino?
What is this 'Arduino' thing anyway? This tutorials dives into what an Arduino is and along with Arduino projects and widgets.
Shift Registers
An introduction to shift registers and potential uses.
Light-Emitting Diodes (LEDs)
Learn the basics about LEDs as well as some more advanced topics to help you calculate requirements for projects containing many LEDs.
12V/5V Power Supply Hookup Guide
In this tutorial, we will replace the 12V/5V (2A) power supply's molex connector with two male barrel jacks adapters.