RGB Panel Hookup Guide
Example Code
Serial Paint
We wanted to write another fun sketch that provided an interactive way to explore with the panels and the Arduino library. What we came up with is a serial-controlled paint program. With this sketch, you can use the serial monitor (or, better yet, another terminal program) to control a cursor and draw on the matrix.
Download and unzip the sketch included in the zipped libraries using the link below if you have not already.
• Selecting You LED Matrix Size
Before uploading, make sure the sketch is set up to work with your panel where it says:
language:c
/* - One of these should be commented out!
   - Also, make sure to adjust the saved image in the <bitmap.h> file.*/

/* ========== For 32x64 LED panels: ==========
  You MUST use an Arduino Mega2560 with 32x64 size RGB Panel */
//RGBmatrixPanel matrix(A, B, C, D, CLK, LAT, OE, false, 64); // 32x64

/* ========== For 32x32 LED panels: ========== */
RGBmatrixPanel matrix(A, B, C, D, CLK, LAT, OE, false); // 32x32

/* ==========  For 32x16 LED panels: ========== */
//RGBmatrixPanel matrix(A, B, C, CLK, LAT, OE, false); // 32x16
By default, the Serial Paint example uses the 32x32. If you are using 32x64, make sure to uncomment the following line by removing the "//"
language:c
//RGBmatrixPanel matrix(A, B, C, D, CLK, LAT, OE, false, 64); // 32x64
Then comment out the following line by adding a "//" at the beginning of the line.
language:c
RGBmatrixPanel matrix(A, B, C, D, CLK, LAT, OE, false); // 32x32
• Selecting the Saved Bitmap Image
Make sure to also uncomment/comment out the bmp[] array in the bitmap.h file by removing and adding "/*" and "*/" for your respective size.
• Upload!
Once you have adjusted the code to your screen, upload it to the Arduino! After upload, a single pixel should be blinking at the top left of the panel. It doesn't look like much, but that's a good sign.
Using the Sketch
To control the program, open up your serial terminal to 9600 bps. Try hitting sending l (lowercase 'L') through the serial monitor, which should load the demo bitmap. You can send E (uppercase) to erase the screen.
The idea of this sketch is: move the cursor around to draw pixels, shapes, or text. Here are the commands made available by the sketch (they are case-sensitive):
- Movement:
w,a,s,d(up, down, left, right) - Draw Pixel:
Spacebar - Erase Pixel:
e - Erase Screen:
E - Fill screen with active color:
f - Color Control:
- Red value up:
R(values between 0 [off] and 7 [most bright]) - Red value down:
r - Green up/down:
G/g - Blue up/down:
B/b - Copy color:
z(copies a color under the cursor)
- Red value up:
- Shape Drawing:
- Line: press
vto place starting point. Then move cursor to endpoint and pressvagain. - Rectangle: press
xorXto place first corner. Then move your cursor to where you want the diagonal corner. Then press eitherxfor an empty box, orXfor a filled box. - Circle: press
corCto place the center of the circle. Then move your cursor to where you want the outside edge of your circle to be. Then presscfor an empty circle orCfor a filled circle.
- Line: press
- Text: press
tto go to text mode. Now any characters received will be displayed on the panel. It'll wrap around from one line to the next, but not from bottom to top. Press`(above Tab / left of 1) to exit text mode. - Print: press
pto print an array of your drawing to the serial terminal. You can copy this, and put it back in your sketch if you want to load it again. - Load: press
lto load a pre-defined array from the sketch. The sketch includes a demo array, which was created from the print command. Follow this example to load your own drawings!
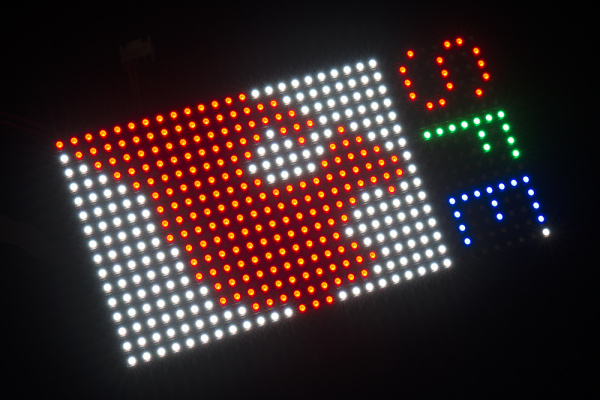
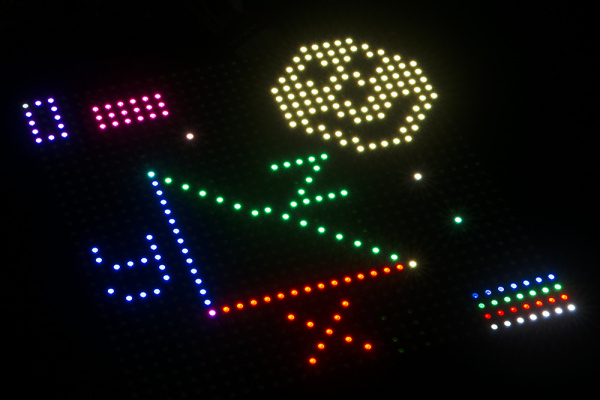
Give the paint sketch a try! See if you can make the next great Lite-Brite LED Panel picture. If you make something neat, share it with us! Don't laugh. I drew that SFE flame one pixel at a time! Here are our creations:
 |
 |
| A drawing on the 16x32 panel. | An example drawing on the 32x32 panel. |
Try modifying the code to change the color and move around the matrix using potentiometers and buttons. You can see it in action in our product showcase: